


This article guides readers on how to run and deploy their first Web application using Flutter.
Flutter has moved to a new stage, the Web, after having travelled a long way in Android and iOS development. Flutter 1.5 has been released by Google, along with support for Web application development.
Configuring Flutter for the Web
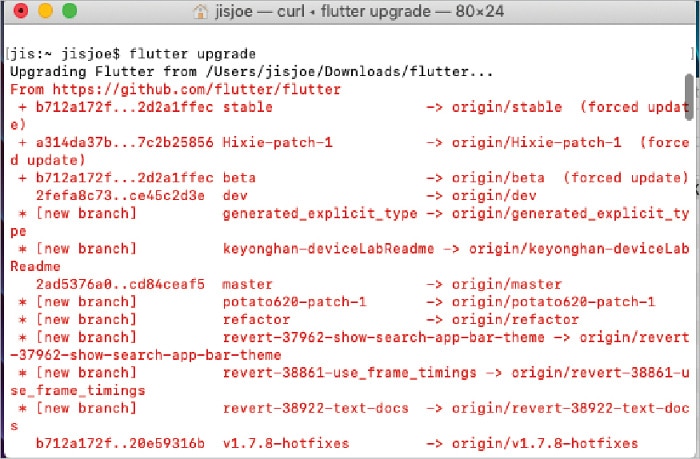
In order to use the Web package, enter the flutter upgrade command to update to Flutter version 1.5.4.
- Open a terminal
- Type flutter upgrade
- Check the version by typing flutter –version
One can also use Android Studio 3.0 or later versions for Flutter Web development, but we will use Visual Studio Code for this tutorial.
Creating a new project with Flutter Web
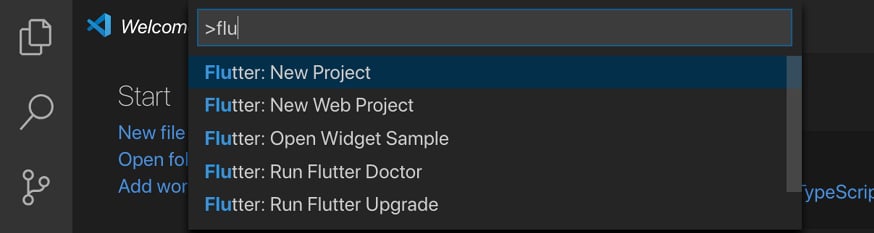
Open Visual Studio Code and press Shift+Ctrl+P to start a new project. Type flutter and select New Web Project.
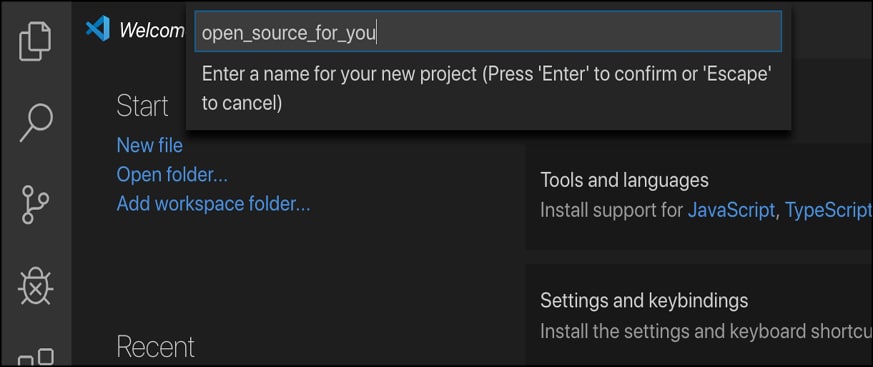
Now, name the project. I have named it open_source_for_you.
Open the terminal window in VSC, and type in the following commands:
flutter packages pub global activate webdev

flutter packages upgrade
Now use the following command to run the website, on localhost, with the IP address 127.0.0.1
flutter packages pub global run webdev serve
Open any browser and type, http://127.0.0.1:8080/
There is a Web folder inside the project directory which contains an index.html file. The dart file is compiled into a JavaScript file and is included in the HTML file using the following code:
<script defer src="main.dart.js" type="application/javascript"></script>
Coding and making changes to the demo page
Let’s create a simple application, which will print ‘Welcome to OSFY’ on the Web page.
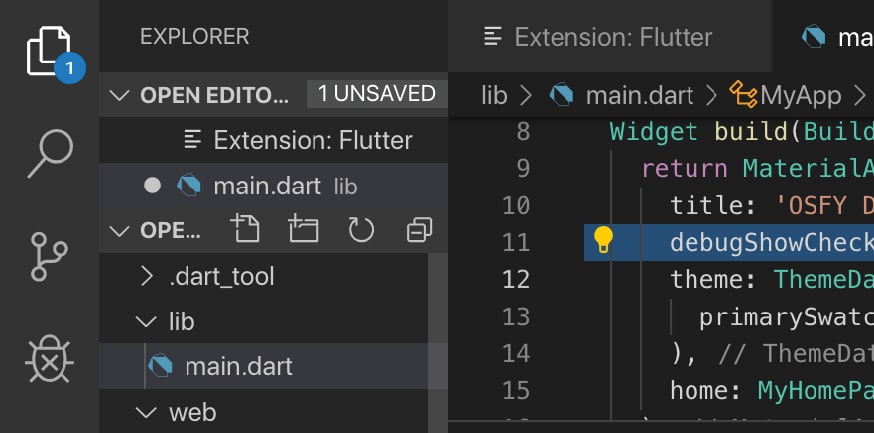
Let’s now open the Dart file, which is located in the lib folder main.dart (the default name) (see Figure 5).
We can now remove the debug tag using the property of MaterialApp, as follows:
debugShowCheckedModeBanner: false

Now, adding more into the Dart file is very similar to writing code in Flutter in Dart. For that, we can declare a class titled MyClass, which extends the StatelessWidget.
We use a Center widget to position elements to the centre. We can also add a Padding widget to add padding. Use the following code to obtain the output shown in Figure 5. Use the Refresh button to view the changes.
class MyClass extends StatelessWidget {
@override
Widget build(BuildContext context) {
return Scaffold(
body: Center(
child: Column(
mainAxisAlignment: MainAxisAlignment.center,
children: <Widget>[
Padding(
padding: EdgeInsets.all(20.0),
child: Text(
'Welcome to OSFY',
style: TextStyle(fontSize: 24.0, fontWeight: FontWeight.bold),
),
),
],
),
),
);
}
}

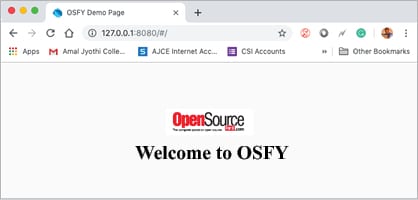
Let’s add an image from the Internet – I’ve chosen the ‘Open Source for You’ logo from the magazine’s website. We use Image.network.
Image.network(
'https://www.opensourceforu.com/wp-content/uploads/2014/03/OSFY-Logo.jpg',
height: 100,
width: 150
),
The final output is shown in Figure 7.


