


Almost every day, we hear of data breaches in some website or the other. Since the loss of one’s privacy can result in serious consequences, read on to learn how to protect it in a Linux environment, by taking a few simple steps.
Data privacy is an area of concern, due to the ways in which personal information can be misused if it falls into the wrong hands. Privacy can be related to information that personally identifies someone, or other information like the browsing behaviour and the sites visited by people. The logs can be used to gather personal information about individuals.
A few simple methods that can be used in the Linux environment to protect your privacy are given here. They will help to maintain your confidentiality to some extent. All the commands and tools were tested on an Ubuntu 18.04 system.
Use a space before a command
The Linux Bash shell stores the commands typed by the user in the History file. The number of commands that are stored can be configured as per the convenience of the user.
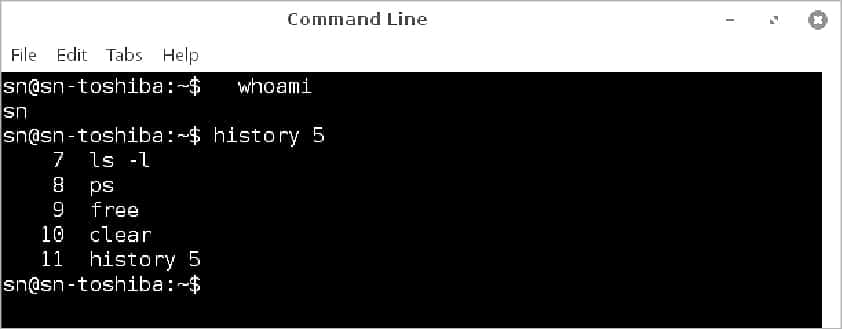
Adding a space (‘‘ “) before the command will prevent the latter from being saved in the History file. This could be used to prevent the saving of confidential commands, particularly those that involve giving passwords as part of the command.
$ command
Notice that the ‘whoami’ command with the space inserted before it is not displayed by the History command. The number, 5, after the History command is the option given, which indicates the number of the previous commands to be displayed.
In case the above method does not work in your system, then the environmental variable HISTCONTROL should be set to ignorespace or ignoreboth, after which the commands with spaces before them will not be logged.
$HISTCONTROL=ignorespace
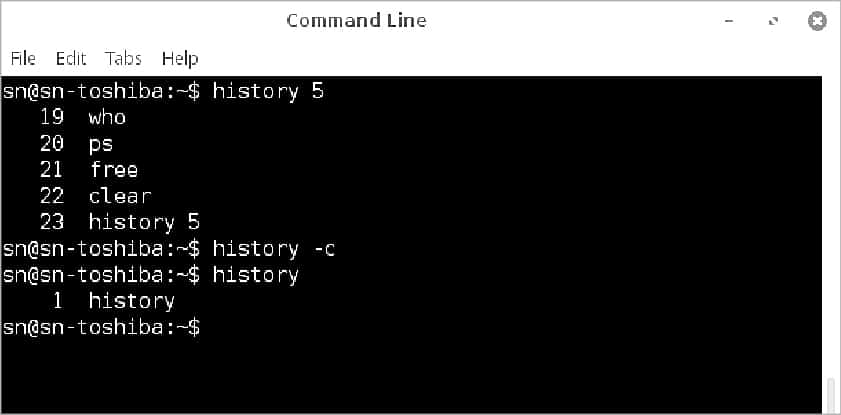
You can also completely delete all the commands of the current session from the History file by giving the following command:
$history -c
The command given below will wipe out the commands completely.
$history -cw
One way of stopping the saving of commands for the current session, but not erasing the previous commands already saved in the History file, is to stop the recording of the commands by disabling history.
$set -o history
The above command will stop logging the commands until you log out from the session.
A specific command can be deleted from the History file by giving the number of the command and the -d switch with the History command. The following command will delete the 50th command in the history:
$history -d 50
The shred command
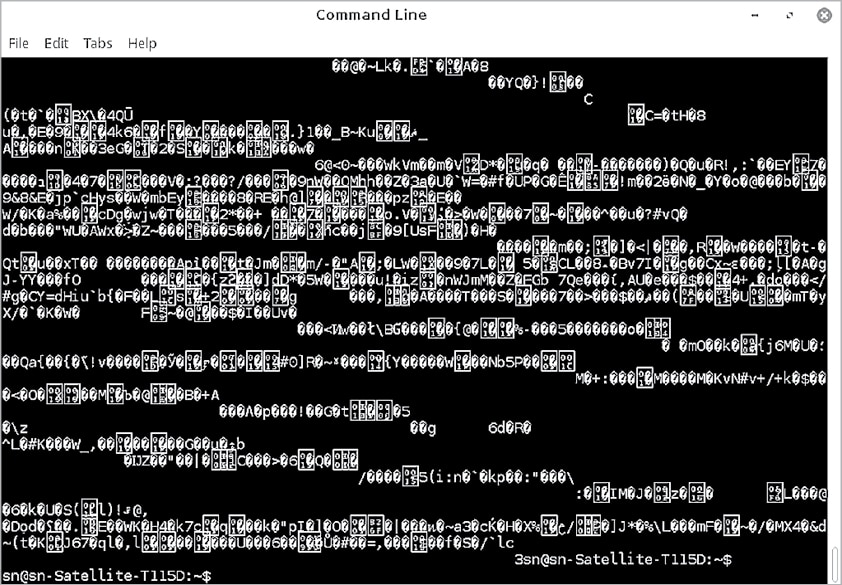
When a file is deleted from the disk, the contents of the file are not actually deleted and can be retrieved with the right set of tools. The shred utility, available in most versions of Linux, can be used to completely overwrite a file to wipe its original contents.
$shred trial.txt
The above command will overwrite contents of the file trial.txt.
The contents are overwritten three times, by default. This number can be changed with the -n option.
$shred -n1 trial.txt
The file can also be deleted after being overwritten with the -u option.
$shred -u trial.txt
The -z option does the final overwrite with zeros. More options can be found using the man command.
The shred command may not work effectively in the modern log-structured or journaled file systems like Ext3, ReiserFS, JFS, etc, due to different ways of storing the file.
Encryption in VI editor
You can also encrypt a file in the Vi/Vim editor. To encrypt a file, go to the command mode and type the following command:
:x
You will then be asked to enter the password twice, after which the file will be saved in the encrypted format. The editor will ask for the password when you want to open the file the next time onwards.
The file can be decrypted by opening it in the Vi/Vim editor and typing the following in the command mode:
:x
The editor will ask for the password, after which you can press the Enter key twice and exit the editor by typing :wq in the command mode. The file will then be saved in the decrypted form.
Encrypting a file in the CLI
When it is required to password protect confidential files in an easy way, one can try GnuPG2, an easy-to-use open source tool, which is a free implementation of the OpenPGP standard. It permits encryption with symmetric as well as asymmetric methods. As we are considering encryption for personal use, I will describe the symmetric method that uses the same passphrase for both encryption as well as decryption without the need to exchange keys. The utility is available on most distributions of Linux and Windows.
Install GnuPG2 with the following command on an Ubuntu system:
$sudo apt-get install gnupg2
The command to encrypt a file is as follows:
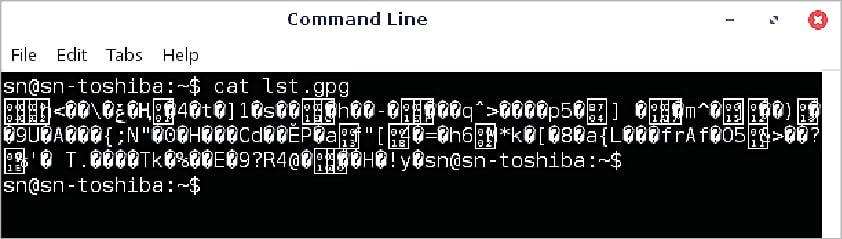
$gpg2 –symmetric trial.txt
The above command will ask for a passphrase and then create a new file called trial.txt.gpg, after which the original file can be deleted using shred.
The default algorithm used for encryption is AES128. If you want to use the AES256 cipher instead, you can specify it in the command in the following way:
$gpg2 -c --cipher-algo AES256 trial.txt
The encrypted file can then be decrypted by running the command gpg2 with the name of the encrypted file as the parameter. The passphrase must be entered, following which the command will produce the decrypted file which is the same, but with the .gpg extension removed from the file name.
$gpg2 trial.txt.gpg
The -o option can be used to give the name of the output file, both for encryption and decryption.
$gpg -o trial.txt.gpg trial.enc

$gpg -o trial.dec trial.enc
Note: The password for decryption will not be asked for if you use gpg2 to decrypt the file within a certain time, the duration of which can be configured as per your requirements.
Browser related privacy issues: Clearing the browser cache, cookies and history
The browser caches the recent sites visited, logs the sites visited and stores the cookies (if any) of the websites visited. Such data can be cleared to protect privacy and confidentiality.
In Chrome, the browser cache, cookies and the history can be cleared by pressing the Ctrl-Shift-Del keys. Choose the time range to clear the cache. The All time option clears the cache and history completely.
In Firefox, press Ctrl-Shift-Del and choose the time range and the categories of data that you want to delete.
Browser settings for privacy
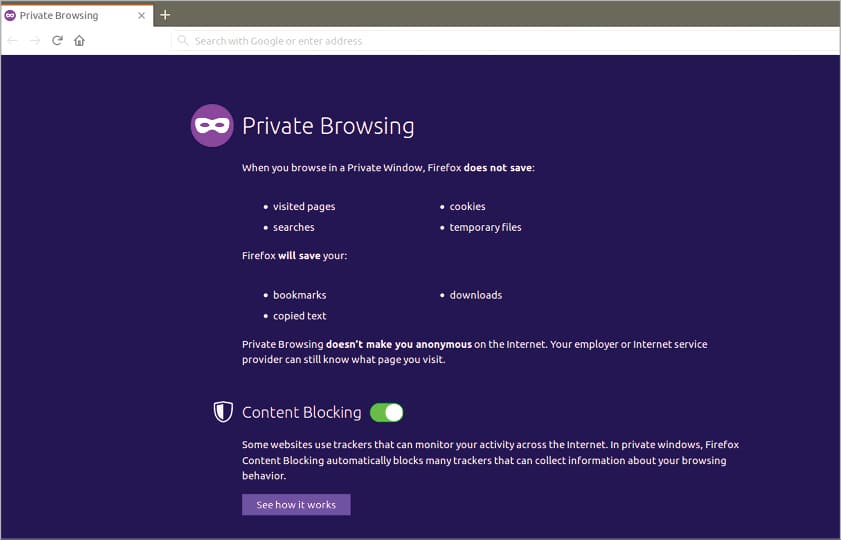
Opening browsers in private mode: Most browsers have a private mode, which can be used to eliminate any traces of the sites visited in the local system. Hence, all traces of usage are eliminated once the browsing window is closed. This is particularly useful in shared systems.
In Chrome, the browser can be started in private mode by using Ctrl-Shift-N and is called the incognito mode.
In Firefox, the browser can be started in private mode by using Ctrl-Shift-P and is called the private window.
Tracking protection: Many websites do cross-site tracking by saving cookies in the user’s system to learn about the websites visited, search subjects, etc. This can be prevented by turning off Browser tracking in the browser settings.
For tracking protection in Firefox, take the following steps:
- Click the Menu button — the three horizontal lines in the upper-right-hand corner of the browser.
- Choose Options.
- Select Privacy and Security.
- Open the Tracking Protection section.
Select the tracking protection you want. If you opt for it to be always on, it may affect the functioning of some regularly visited websites. To avoid these problems, you can choose to block the third-party cookies only.
You can also go to the Cookies blocking options directly by clicking on the Content blocking option in the Settings menu.
Take the following steps for tracking protection in Chrome:
- Go to Settings.
- Click on Privacy and Security in the Advanced section.
- Click on Content settings -> Cookies.
- Choose Block third-party cookies.
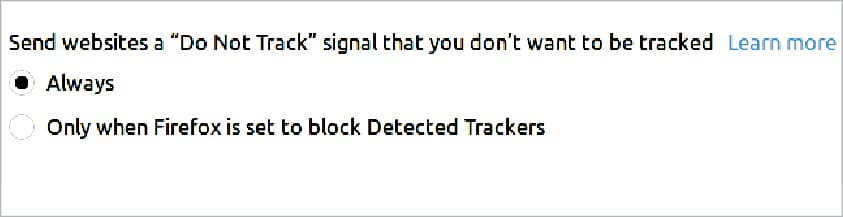
The ‘Do not track’ option: Chrome and Firefox have the Do not track option in the browser settings, which can be turned on to prevent the websites from collecting the browsing information. But this is not sufficient as most of the websites do not honour the request since they face no penalty for not doing so.
Choosing a browser and search engine
Chrome is the most used browser. Since it acts as the gateway to the Internet for those using Chrome, the amount of data collected by Google, about each user, is very large. Though it is used only to serve ads, the scope for misusing data and manipulating the user is huge.
Users can opt for the Mozilla Firefox browser, as it is open source and prevents dominance by one single company.
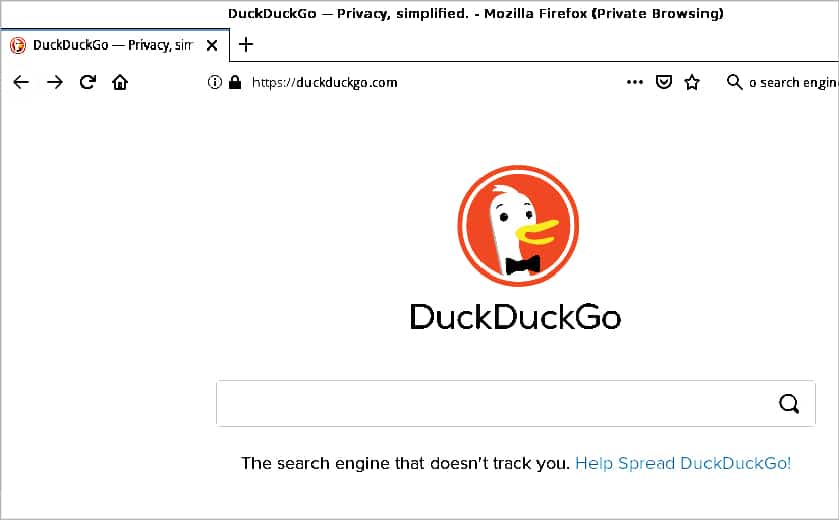
The DuckDuckGo search engine can be used instead of the Google search engine to prevent Google from collecting data about you. DuckDuckGo does not track users or collect user information, and maintains privacy. You can make it the default search engine in Preferences. Alternatively, you can select it from the list of search engines which appear when the search keyword is being typed.
The Bleachbit utility
One very useful multi-purpose tool for cleaning the system and increasing privacy is Bleachbit. It is an open source cross-platform application available on various distributions of Linux and even Windows. It is a good tool for those who are used to CCleaner in Windows. It had its moment of fame when it came to be known that Hillary Clinton’s IT team used Bleachbit to wipe the email servers clean so that no data could be recovered.
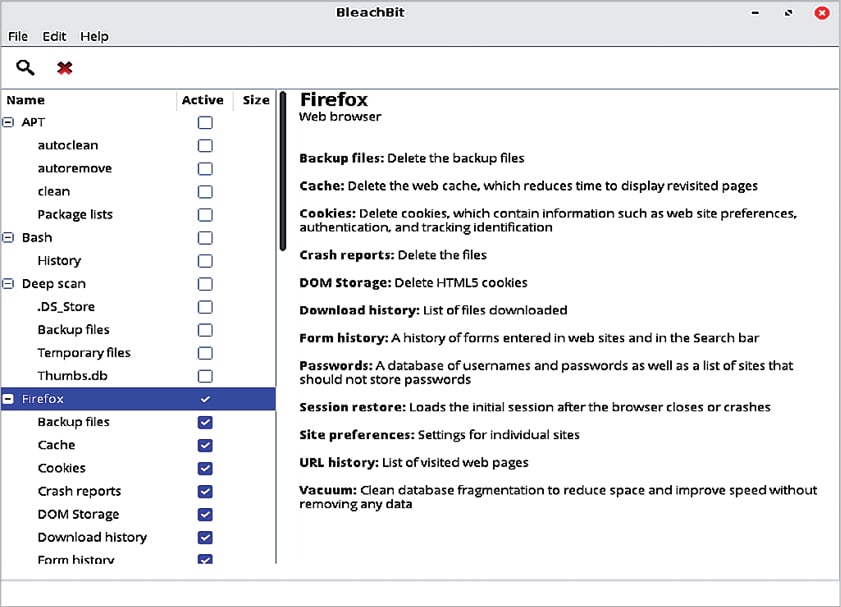
Bleachbit can be used to clean up the junk files and folders of commonly used applications, delete temporary files and free up space. It also clears the browser cache, the list of downloaded files and even the commands in the History file. In addition, it can be used to shred files and folders so that they cannot be recovered and wipe the free disk space.
Bleachbit can be installed by using the following command in an Ubuntu system:
$sudo apt-get install bleachbit
The utility can be run both in CLI and GUI mode. Once the program opens in GUI mode, the left side displays the list of folders and files to clean up, which can then be checked by the user. Click on the ‘x’ icon above the list to remove the files. You can click on the magnifying glass icon to see the list of files that will be removed. It is better to avoid the package section, and do not run it as the root user unless you are an experienced user.
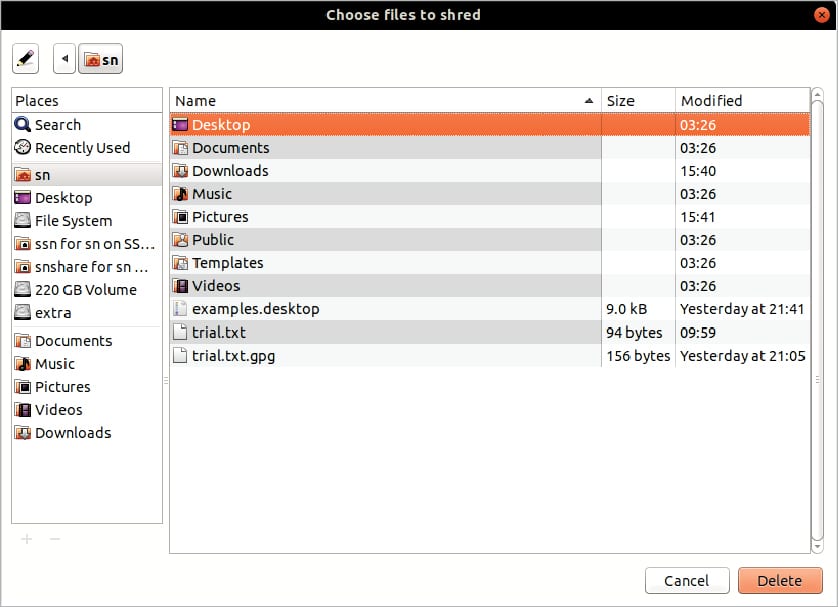
Shredding using Bleachbit: To shred files or folders, click on the File menu on top and choose either Shred files or Shred folders after which you can choose the items to be shredded. The space occupied by the files/folders is then completely overwritten so that the original contents cannot be recovered.


