


Many Windows users, especially those thinking of transiting to Linux, would like to first try out the latter on their Windows machines. Here’s a way to run Linux on a Windows machine. This article is also a good start for beginners who are new to virtualisation, since it will help them set up their own Linux labs using VirtualBox.
Virtualisation has made it possible to run multiple operating systems on a single computer, simultaneously. In this article, we discuss how to run Linux on a Windows machine. We can achieve this using a hosted hypervisor. Today, there are many hosted hypervisors available in the market, such as VirtualBox, VMware Workstation, and so on. However, we are going to concentrate on VirtualBox, which is free and open source software.
Download and install VirtualBox
VirtualBox is freely available. Visit https://www.virtualbox.org/wiki/Downloads and download it for Windows hosts. At the time of writing this article, the VirtualBox version was 5.2.18.
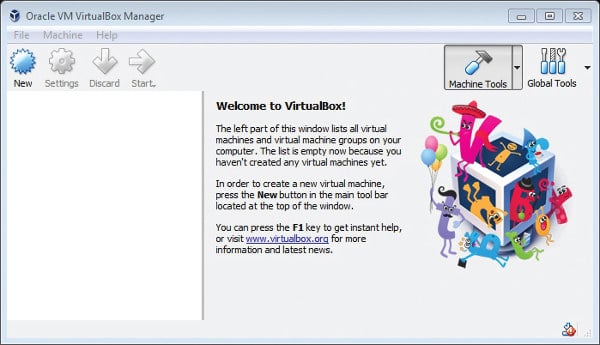
VirtualBox’s installation on Windows is pretty straightforward, just like any other software. After downloading the installer, just double-click on it and follow the on-screen instructions. If everything goes fine, you should see the window of the VirtualBox manager, as shown in Figure 1.
Creating the virtual machine
A virtual machine is an emulation of a computer system. Just like any other physical system, it has memory, a CPU, a network, storage and other ‘peripheral devices’. To create the virtual machine, perform the following steps:
- Launch VirtualBox manager.
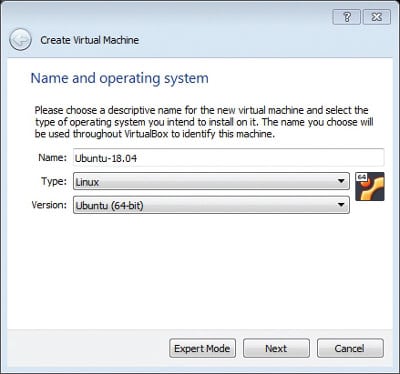
- Go to Machine->New menu.
- Select the name and operating system.
- Provide memory for the virtual machine.
- Select the ‘Create a virtual hard disk now’ option as a brand new virtual machine is being created.
- Select VDI as the hard disk file type.
- Select ‘Dynamically allocated’ as the storage option.
- Select the file location and size; then click on the Create button.
The virtual machine has now been created. This virtual machine is useless without an operating system. The next section deals with that.

Installing an operating system
To install the operating system, we need an ISO image. In this article, Ubuntu 18.04 is being used. You can download it from https://www.ubuntu.com/download. To install the operating system, perform the steps given below:
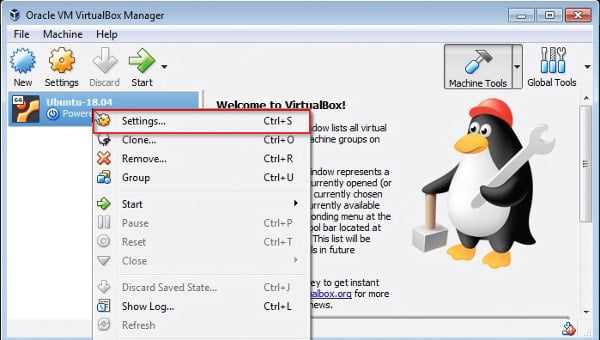
- Launch the VirtualBox manager.
- Right click on the newly created virtual machine and select the settings.
- Select Storage->Empty->Optical Drive->Choose Virtual Disk Optical File.
- Select the ISO image and click on the Open button.
- Click on OK.
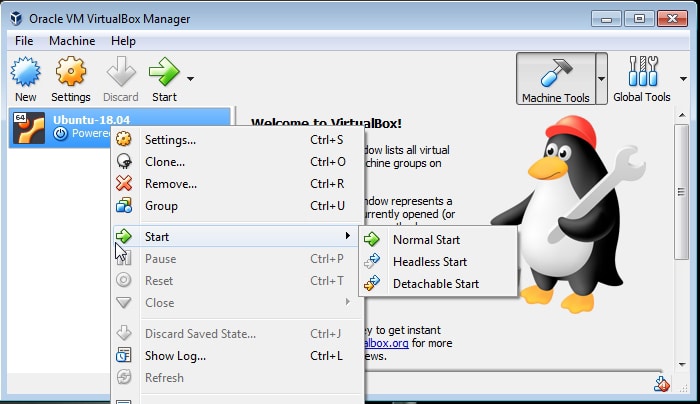
- Right click on Virtual machine and select the Start->Normal Start option.
- This will open a new window from where one can install the operating system.
- Follow the on-screen instructions to complete the installation.
Note: To return ownership of the keyboard and mouse to your host operating system, VirtualBox reserves a special key on your keyboard for itself — the host key. By default, this is the right ‘Control’ key on your keyboard.
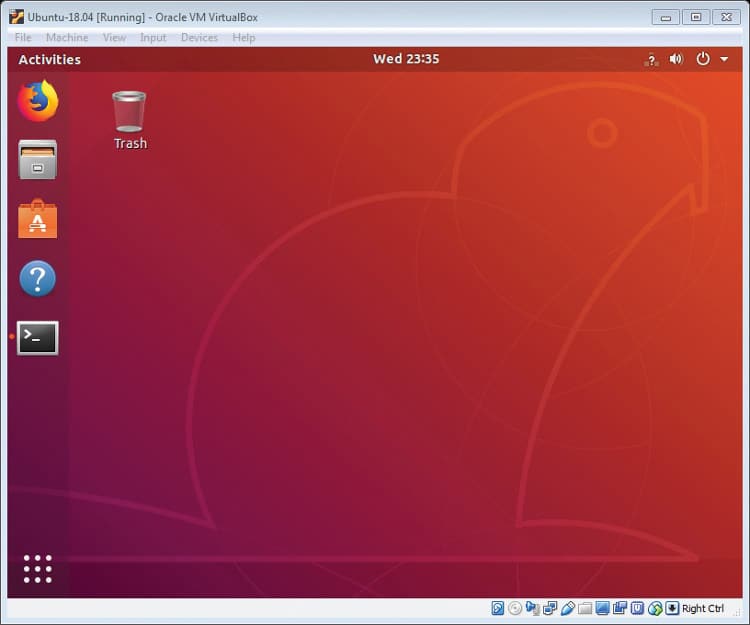
That’s it, the installation is done. Now, both Windows and Linux can run simultaneously on a single computer. From now onwards, one can access the Ubuntu machine just like another computer. After successful installation, you should be able to see the window shown in Figure 6.
Accessing Linux via SSH
As seen in the previous section, we can access the Linux GUI from VirtualBox itself. To access it via SSH, we need to install the SSH server. Follow the steps given below to install SSH server on Ubuntu.
- Log in to Ubuntu from VirtualBox.
- Open a terminal and execute the following commands:
$ sudo apt update

$ sudo apt install openssh-server
Now, let us perform the SSH login. But before that, execute the command given below by using a terminal to find the IP address:
$ ip addr show
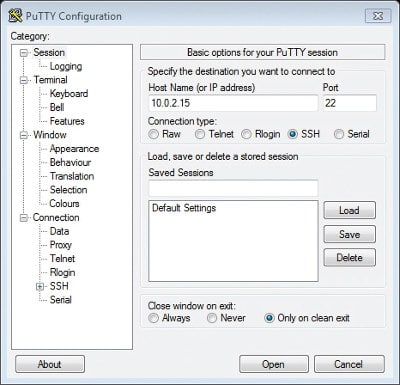
We need a Windows SSH client for Windows and PuTTY is one of them. One can download PuTTY from https://www.putty.org/. To access the Linux server via ssh perform the steps given below:
- Open the PuTTY application.
- Enter the Linux machine’s IP address. In my case, the IP address was 10.2.0.15.
- Click on the Open button.
- Enter the user name and password, and you will be connected to the Linux machine.
Now onwards, you can execute Linux commands on this machine.
Sharing files between the host and guest
In this section, we’ll discuss how to copy files from Windows to Linux and vice versa. VirtualBox provides various ways to share files between the host and guest like shared folders, shared clipboards, etc. We will explore one another way which will work with any remote Linux system.
We can share files between Windows to Linux using WinSCP, which is a free and open source SFTP, FTP, WebDAV, Amazon S3 and SCP client for Microsoft Windows. You can download it from https://winscp.net/eng/download.php.
To share files using WinSCP, perform the following steps:
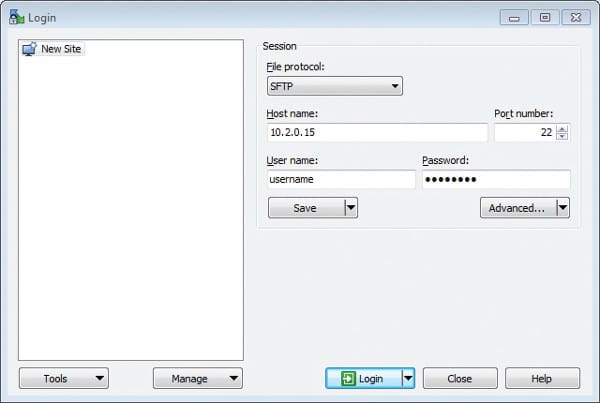
- Launch the WinSCP application.
- Select the appropriate file protocol, and then enter the IP address, user name and password.
- Click on the Login button.
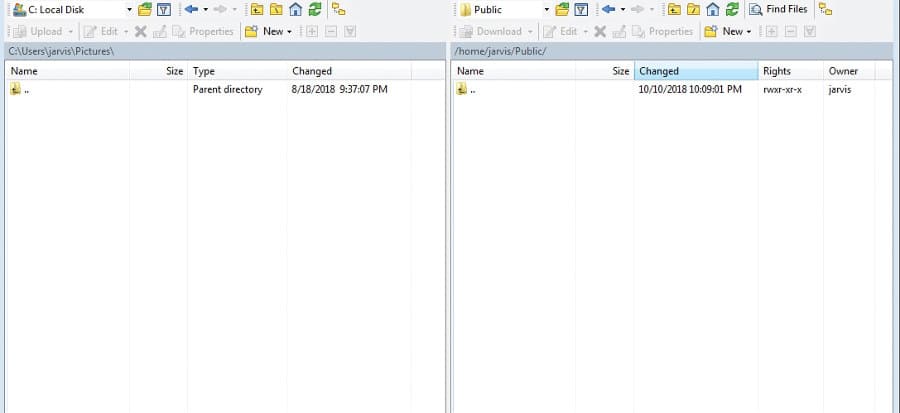
- This will open a window that is vertically split. The left side is a Windows workspace, while the right side is the Linux workspace.
-
To copy files from one machine to another, just drag and drop them from one workspace to the other.


