


‘Azure App Services’ enables the development of powerful apps for any platform and any device. Let’s try and build a simple Web application using this PaaS offering from Microsoft Azure.
The global industry is increasingly leaning towards Platform as a Service (PaaS), which has advanced considerably over time. Today, PaaS uses several programming languages such as .NET, Java, PHP, Python and Ruby.
Microsoft Azure and its services
Microsoft Azure is one of the most dominant cloud services providers in the market. Microsoft Toolsets provides an easy way to deploy applications that are built on a platform like Java and .NET.
Microsoft Azure comes with some core concepts that are important to understand. Its services are available in 36 regions around the world, with plans announced for four additional regions. Details regarding these regions are available at https://azure.microsoft.com/en-in/regions/. To view products or services available, based on the region, you can go to https://azure.microsoft.com/en-in/regions/services/. ‘Resource Groups’ in Microsoft Azure is a logical container. It can be used to group different resources such as Microsoft Azure App Services, SQL databases, and storage accounts available in Microsoft Azure.
An App Service Plan (ASP) comprises the instance size and instance count on which the application is hosted, as well as its features. There are different capabilities and limits within ASPs. It is important to understand that ASPs can be shared by multiple applications and deployment slots are usually on the same ASP; however, we can change the ASP for the slots too. If you want to understand how pricing works in Microsoft Azure, you should explore Azure Calculator at https://azure.microsoft.com/en-in/pricing/calculator/.
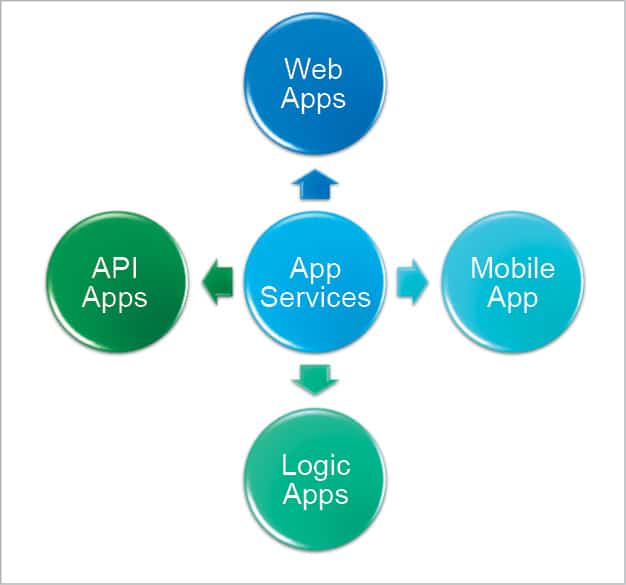
Microsoft Azure App Services
App Services is one of the most popular offerings from Microsoft Azure. Web Apps are a PaaS offering that have computing resources and runtime environments managed by Microsoft Azure.
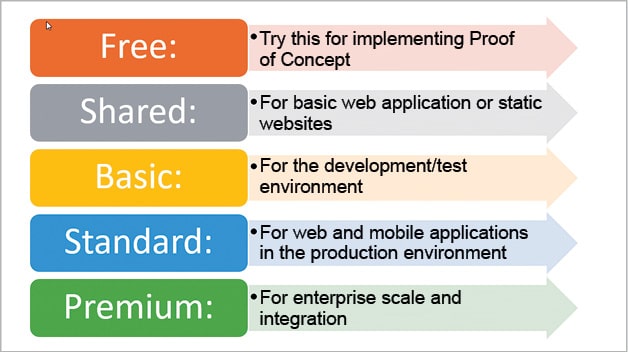
For Azure App Services, five pricing tiers are available – free, shared, basic, standard and premium.
- Free: Try this to implement a proof-of-concept.
- Shared: This is for basic Web applications or static websites.
- Basic: This is for development/test environments.
- Standard: This is for Web and mobile applications in the production environment.
- Premium: This is for enterprise scale and integration.
App Services can be easily used in DevOps practices too. Visual Studio Team Services can be used for continuous integration and delivery, or continuous deployment using different tasks and ways in different environments, with approved scenarios.
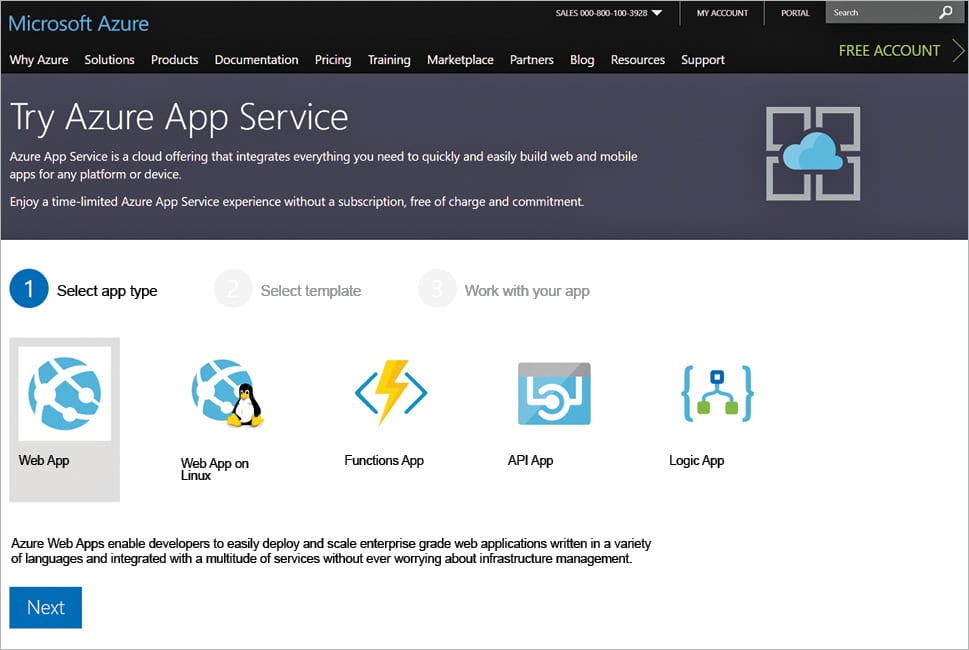
To check how these services work, go to https://azure.microsoft.com/en-us/try/app-service/. Select Web App. Click on Continue and follow the rest of the steps indicated.
If you have a valid Microsoft Azure subscription, you can go to https://portal.azure.com/. To get some quick hands-on experience on creating an application, follow the steps given below.
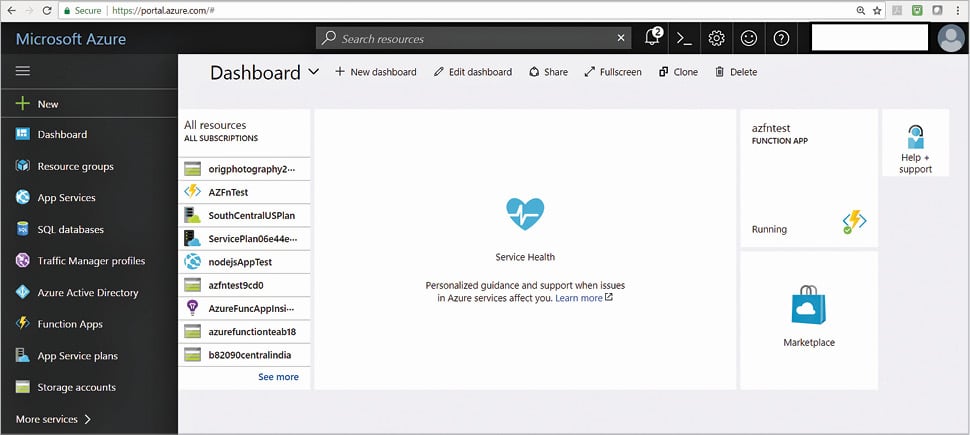
Log in with valid credentials and you will get the Azure dashboard.
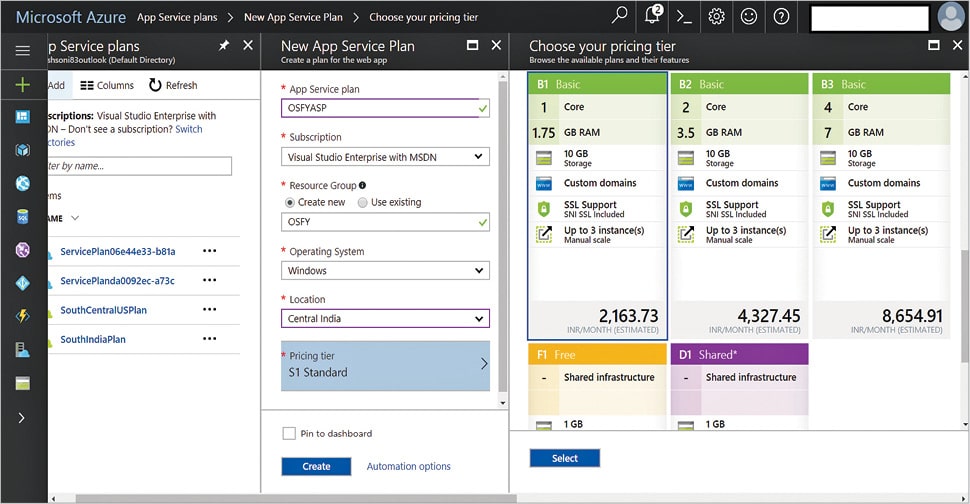
First, let’s create an App Service Plan (ASP) so that we can host Azure App Services on it. Click on ASP in the left sidebar, and then click on + Add.
Give the name of the ASP, then the name of the New Resource Group, the operating system, the location where ASP must be hosted, and the most important part — the pricing tier. Next, click on Create.
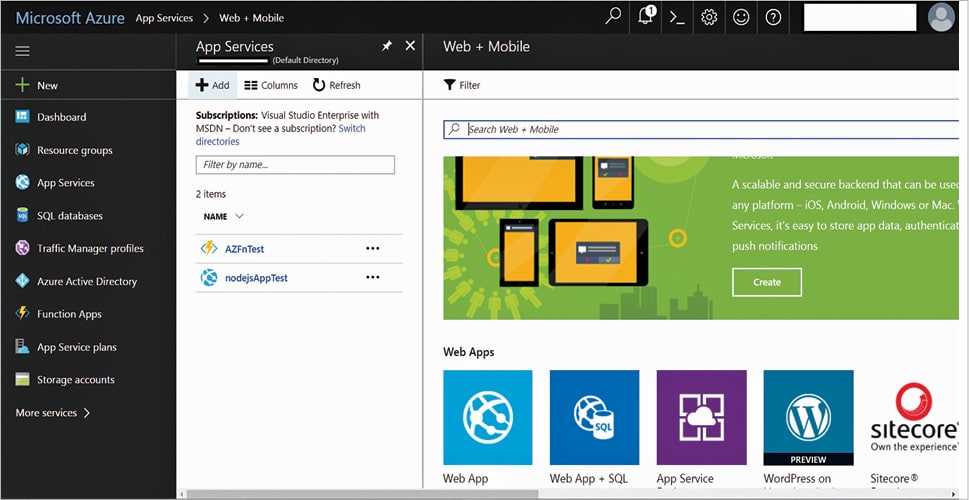
Once we have ASP ready, click on App Services in the left sidebar and then on +Add.
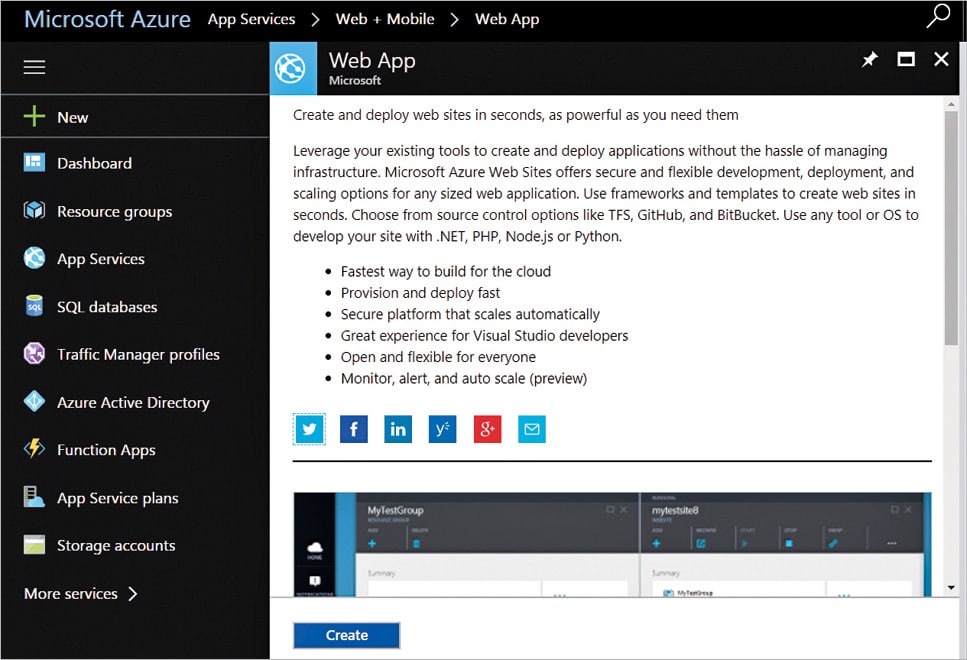
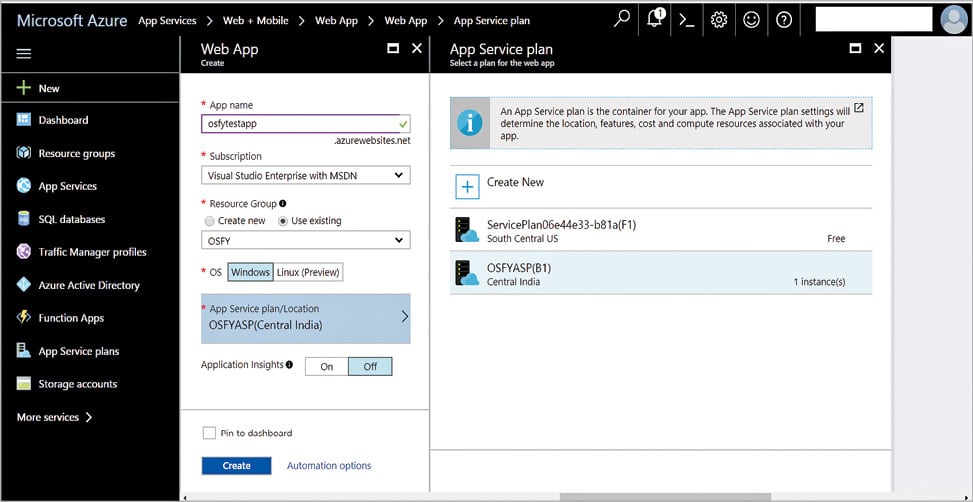
Select Web App. Click on Create. Give the App Name, and select the Resource Group that we have created while creating the ASP. Click on Create.
Wait for some time, and once the Azure Web App is ready, you can access it from the Azure dashboard.
Verify the Resource Group, the status of the Web App (its location and URL), the App Service Plan, FTP details and monitoring related details.
Visit the URL in the browser.

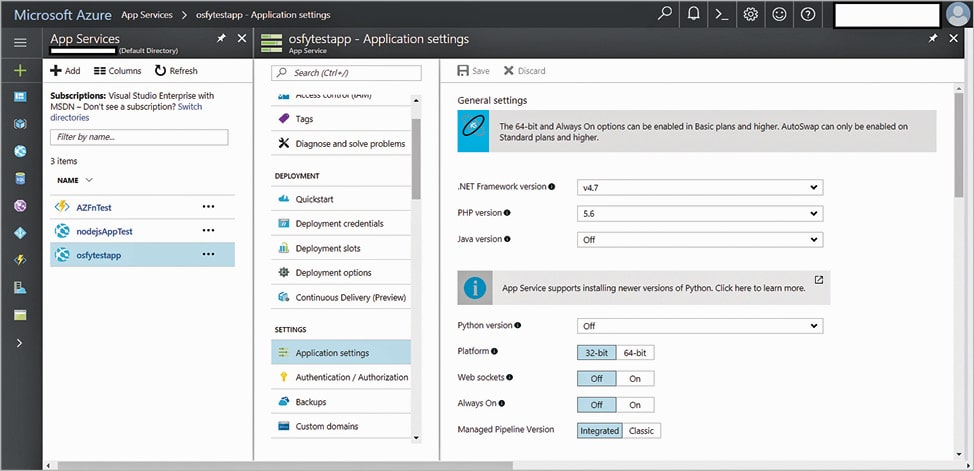
Go to the Azure Web App just created and click on Application Settings. When we create an Azure Web app, by default, it is a .NET app. Let’s look at how to change it to a Java application.
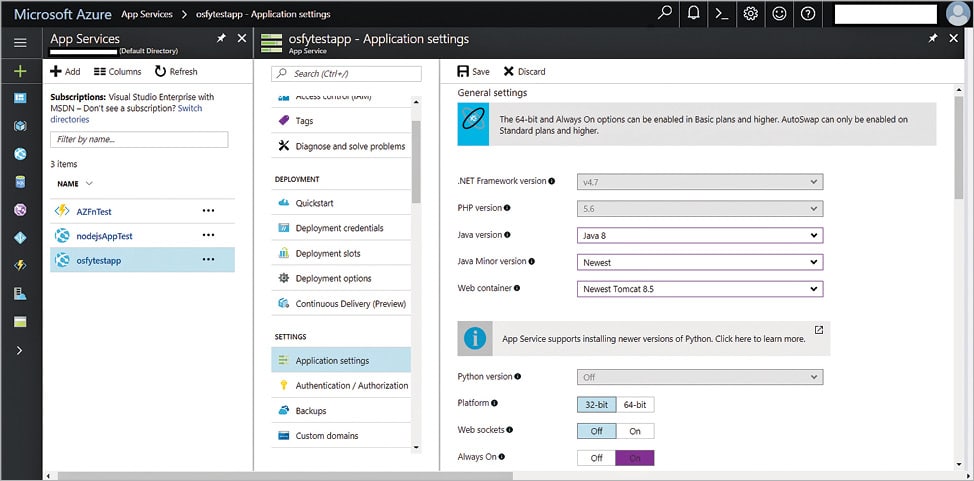
Select the Java version as Java 8. Select the Java Minor version and Web Container too.
To keep a 64-bit platform for the application, we need to change the pricing plan to Standard.
Put the Always On switch on, and click on Save.
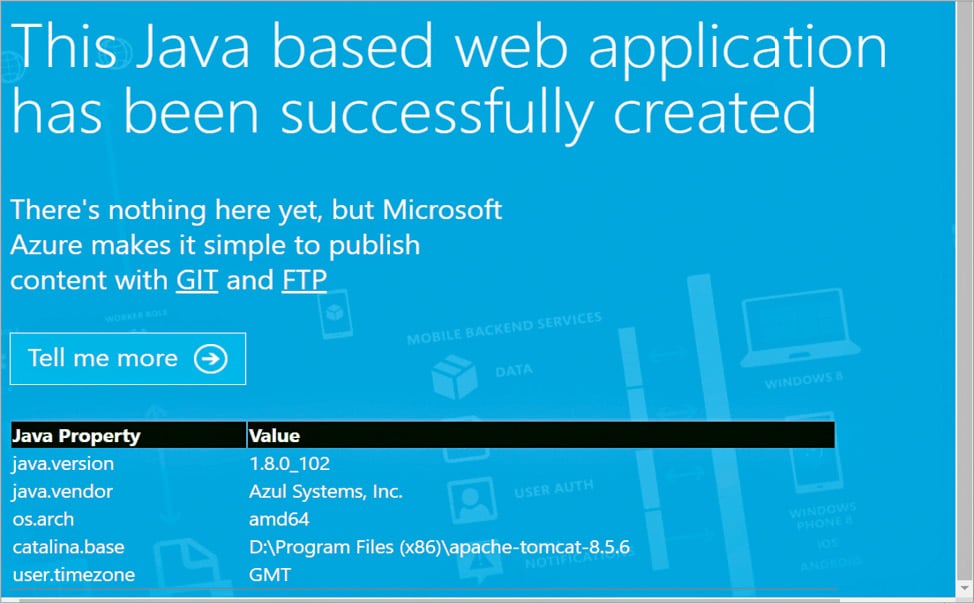
Visit the URL of the Azure Web App and verify the change in the Java application.
Go to Properties, check the status, the virtual IP address, the outbound IP address, and FTP related details.
For checking logs, and to know more about the structure, go to the Kudu editor using the URL https://osfytestapp.scm.azurewebsites.net. Add SCM in the original URL.
Verify the Web Apps directory.
There are two types of scaling – vertical and horizontal. When scaling up, we can perform vertical scaling. Actually, this is a scaling up of the App Service Plan.
In the Basic pricing tier, horizontal scaling is not supported, but it is supported in the Standard pricing tier.
Logging is an important aspect in case of troubleshooting and, by default, logging is not enabled.
All log files can be accessed from the Azure portal as well as the Kudu editor.
In this article, we have created a Web application using Microsoft Azure App Services, which is a PaaS offering from Microsoft. The road ahead can be continuous integration and delivery using Visual Studio Team Services to implement DevOps practices.


