


Web crawling or spidering is the process of systematically extracting data from a website using a Web crawler, spider or robot. A Web scraper methodically harvests data from a website. This article takes the reader through the Web scraping process using Scrapy.
Scrapy is one of the most powerful and popular Python frameworks for crawling websites and extracting structured data useful for applications like data analysis, historical archival, knowledge processing, etc.
To work with Scrapy, you need to have Python installed on your system. Python can be downloaded from www.python.org.
Installing Scrapy with Pip
Pip is installed along with Python in the Python/Scripts/folder. To install Scrapy, type the following command:
pip install scrapy
The above command will install Scrapy on your machine in the Python/Lib/site-packages folder.
Creating a project
With Scrapy installed, navigate to the folder in which you want to create your project, open cmd and type the command below to create the Scrapy project:
scrapy startproject scrapy_first
The above command will create a Scrapy project with the following file structure:
“scrapy_first/

-scrapy.cfg

scrapy_first/

-__init__.py

- items.py

-pipelines.py

-settings.py

-spiders/

-__init__.py”
In the folder structure given above, ‘scrapy_first’ is the root directory of our Scrapy project.
A spider is a class that describes how a website will be scraped, how it will be crawled and how data will be extracted from it. The customisation needed to crawl and parse Web pages is defined in the spiders.
 A spiders’s scraping life cycle
1. You start by generating the initial request to crawl the first URL obtained by the start_requests() method, which generates a request for the URLs specified in the start_urls, and parses them using the parse method as a callback to get a response.
2. In the callback, after the parsing is done, either of the three dicts of content — request object, item object or iterable — is returned. This request will also contain the callback and is downloaded by Scrapy. The response is handled by the corresponding callback.
3. In callbacks, parsing of page content is performed using the XPath selectors or any other parser libraries like lxml, and items are generated with parsed data.
4. The returned items are then persisted into the database or the item pipeline, or written to a file using the FeedExports service.
Scrapy is bundled with three kinds of spiders.
BaseSpider: All the spiders must inherit this spider. It is the simplest one, responsible for start_urls / start_request() and calling of the parse method for each resulting response.
CrawlSpider: This provides a convenient method for crawling links by defining a set of rules. It can be overridden as per the project’s needs. It supports all the BaseSpider’s attributes as well as an additional attribute, ‘rules’, which is a list of one or more rules.
XMLSpider and CSVSpider: XMLSpider iterates over the XML feeds through a certain node name, whereas CSVSpider is used to crawl CSV feed. The difference between them is that XMLSpider iterates over nodes and CSVSpider iterates over rows with the parse_rows() method.
Having understood the different types of spiders, we are ready to start writing our first spider. Create a file named myFirstSpider.py in the spiders folder of our project.
import scrapy

class MyfirstspiderSpider(scrapy.Spider):

name = “myFirstSpider”

allowed_domains = [“opensourceforyou.com”]

start_urls = (

‘https://www.opensourceforu.com/2015/10/building-a-django-app/’,

)

def parse(self, response):

page = response.url.split(“/”)[-2]

filename = ‘quotes-%s.html’ % page

with open(filename, ‘wb’) as f:

f.write(response.body)

self.log(‘Saved file %s’ % filename)
In the above code, the following attributes have been defined:
1. name: This is the unique name given to the spider in the project.
2. allowed_domains: This is the base address of the URLs that the spider is allowed to crawl.
3. Start_requests(): The spider begins to crawl on the requests returned by this method. It is called when the spider is opened for scraping.
4. Parse(): This handles the responses downloaded for each request made. It is responsible for processing the response and returning scraped data. In the above code, the parse method will be used to save the response.body into the HTML file.
Crawling
Crawling is basically following links and crawling around websites. With Scrapy, we can crawl on any website using a spider with the following command:
scrapy crawl myFirstSpider
Extraction with selectors and items
Selectors: A certain part of HTML Source can be scraped using selectors, which is achieved using CSS or Xpath expressions.
Xpath is a language for selecting nodes in XML documents as well as with HTML, whereas CSS selectors are used to define selectors for associate styles. Include the following code to our previous spider code to select the title of the Web page:
def parse(self, response):

url=response.url

for select in response.xpath(‘//title’):

title=select.xpath(‘text()’).extract()

self.log(“title here %s” %title)
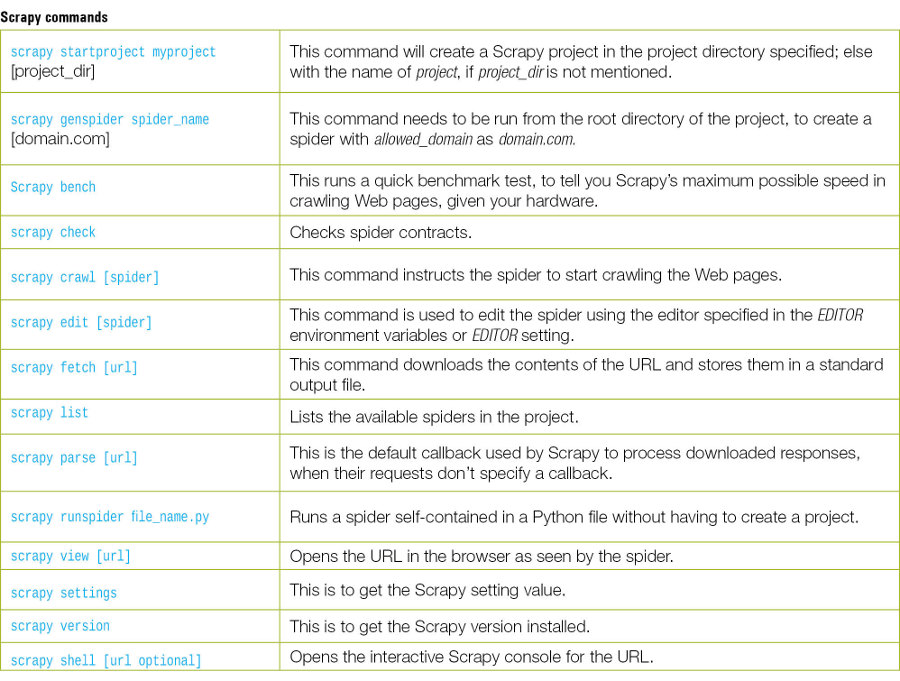
Items: Items are used to collect the scraped data. They are regular Python dicts. Before using an item we need to define the item Fields in our project’s items.py file. Add the following lines to it:
title=item.Field()

url=item.Field()
Our code will look like what’s shown in Figure 1.
After the changes in the item are done, we need to make some changes in our spider. Add the following lines so that it can yield the item data:
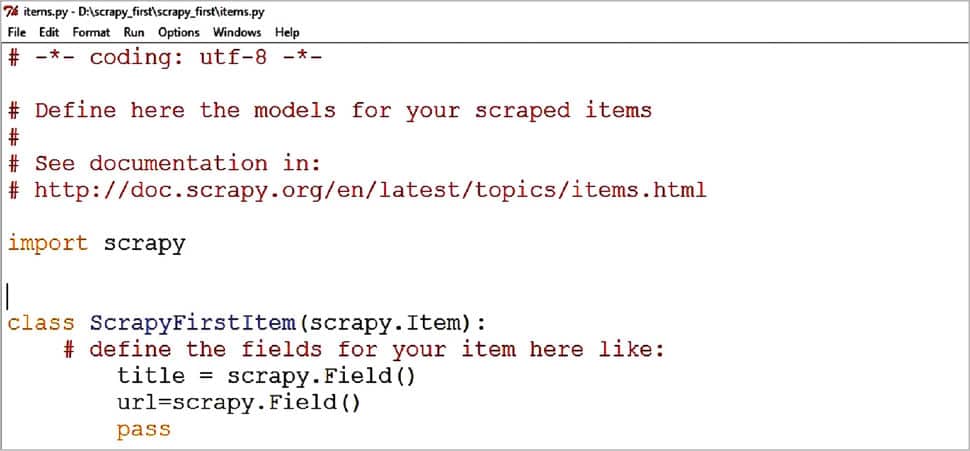
from scrapy_first.items import ScrapyFirstItem

def parse(self, response):

item=ScrapyFirstItem()

item[‘url’]=response.url

for select in response.xpath(‘//title’):

title=select.xpath(‘text()’).extract()

self.log(“title here %s” %title)

item[‘title’]=title

yield item
Now run the spider and our output will look like what’s shown in Figure 2.
Scraped data
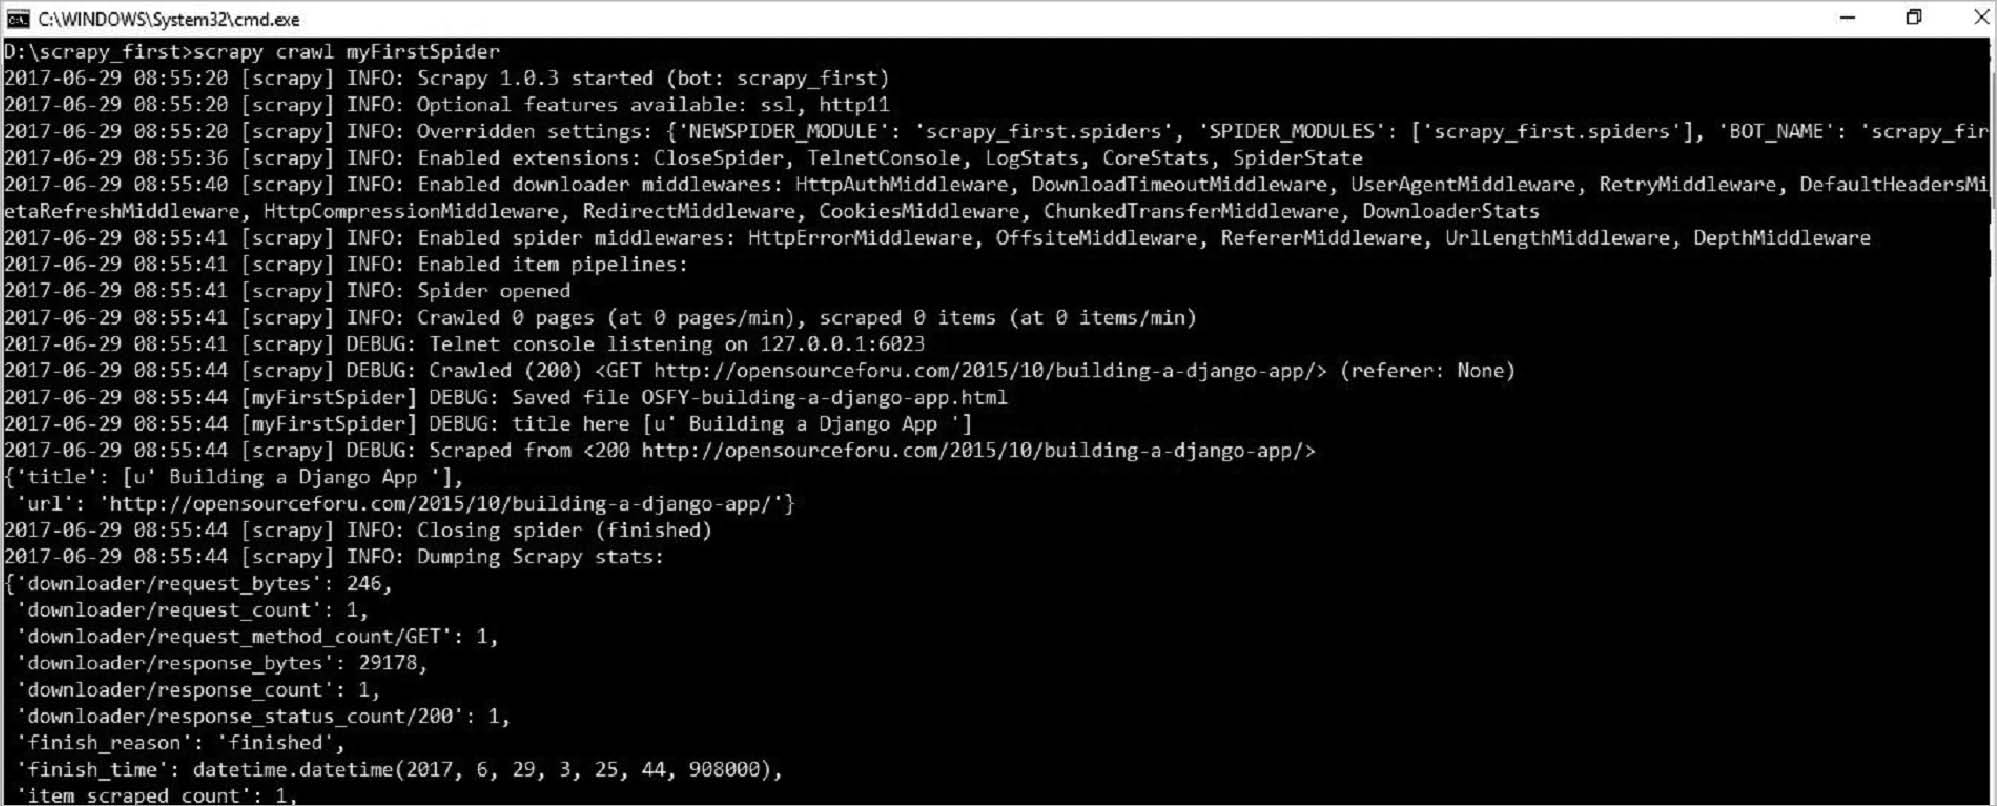
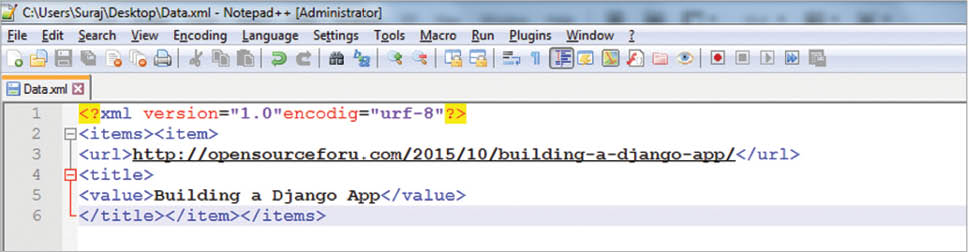
After data is scraped from different sources, it can be persisted into a file using FeedExports, which ensures that data is stored properly with multiple serialisation formats. We will store the data as XML. Run the following command to store the data:
scrapy crawl myFirstSpider -o data.xml
We can find data.xml in our project’s root folder, as shown in Figure 3.
Our final spider will look like what’s shown in Figure 4.
Built-in services
1. Logging: Scrapy uses Python’s built-in logging system for event tracking. It allows us to include our own messages along with third party APIs’ logging messages in our application’s log.
import logging

logging.WARNING(‘this is a warning’)

logging.log(logging.WARNING,”Warning Message”)

logging.error(“error goes here”)

logging.critical(“critical message goes here”)

logging.info(“info goes here”)

logging.debug(“debug goes here”)
2. stats collection: This facilitates the collection of stats in a key value pair, where values are often counter. This service is always available even if it is disabled, in which case the API will be called but will not collect anything.
The stats collector can be accessed using the stats attribute. For example:
class ExtensionThatAccessStats(object):

def __init__(self,stats):

self.stats=stats

@classmethod

def from_crawler(cls,crawler):

return cls(crawlse.stats)

Set stat value: “stats.set_value(‘hostname’,socket.gethostname())”

Increment stat value: “stats.inc_value(‘count_variable’)”

Get stat value: “stats.get_stats()”
3. Sending email: Scrapy comes with an easy-to-use service for sending email and is implemented using a twisted non-blocking IO of the crawler. For example:
from scrapy.mail import MailSender

mailer=MailSender()

mailer.send(to=[‘abc@xyz.com’],subject=”Test Subject ” ,body=”Test Body”, cc=[‘cc@abc.com’])
4. Telnet console: All the running processes of Scrapy are controlled and inspected using this console. It comes enabled by default and can be accessed using the following command:
telnet console 6023
5. Web services: This service is used to control Scrapy’s Web crawler via the JSON-RPC 2.0 protocol. It needs to be installed separately using the following command:
pip install scrapy-jsonrpc
The following lines should be included in our project’s settings.py file:
EXTENSIONS={‘scrapy_jsonrpc.webservice.WebService’:500,}

Set JSONRPC_ENABLED settings to True.
Scrapy vs BeautifulSoup
Scrapy: Scrapy is a full-fledged spider library, capable of performing load balancing restrictions, and parsing a wide range of data types with minimal customisation. It is a Web scraping framework and can be used to crawl numerous URLs by providing constraints. It is best suited in situations like when you have proper seed URLs. Scrapy supports both CSS selectors and XPath expressions for data extraction. In fact, you could even use BeautifulSoup or PyQuery as the data extraction mechanism in your Scrapy spiders.
BeautifulSoup: This is a parsing library which provides easy-to-understand methods for navigating, searching and finally extracting the data you need, i.e., it helps us to navigate through HTML and can be used to fetch data and parse it into any specific format. It can be used if you’d rather implement the HTML fetching part yourself and want to easily navigate through HTML DOM.


