


Profanity is a text based instant messaging application which uses Command line Interface (CLI), which beats many GUI (Graphical User Interface) applications of a similar nature. By virtue of having a CLI, Profanity is faster than any GUI, since it involves less effort as there’s no fumbling between mouse and keyboard. The biggest advantage of Profanity is that the user can generate various scripts to multi-task.
Profanity is a command line chat application for the XMPP-Extensible Messaging Presence Protocol, which is packed with loads of features for typical user needs. In this article, we’re going to explore some of its features.
Why prefer CLI when there’s GUI?
There are plenty of instant messengers (IMs) available for all the three platforms, which provide loads of features. So what makes Profanity stand out?
The answer is that Profanity is one of the very few applications that uses the CLI (command line interface) instead of a GUI (graphical user interface).
In our daily life, we use GUI applications everywhere, and the users’ expectations of the appearance of the software have grown dramatically over the past years. Newer frameworks focus on how best the UI can be pleasant without compromising on the functions of that particular software.
It is a perception that CLI applications are for geeks, hackers and systems admins, while typical users prefer GUI applications since the latter are much easier to work with. But Linux users can be exceptions to this, since they often use the CLI for installing, configuring and fine-tuning the operating system.
Both the CLI and GUI have their pros and cons, but the former is a much better option for many reasons, some of which are listed here.
1. CLI users need only the keyboard to work on and hence can perform tasks faster than GUI users who need to use the mouse as well as the keyboard. For a simple copy and paste operation, the CLI uses a single command whereas the GUI has to navigate through the source and target locations in the file system.
2. The CLI offers more control on the file and system than the GUI, like changing the user permissions (read, write and execute) and the ownership of a particular file.
3. Since the CLI is only used to perform tasks that require a few system resources, it is highly unlikely to be clogged or to freeze mid-task.
4. The CLI enables users to write scripts to perform a series of tasks, while the GUI supports multi-tasking for performing multiple tasks at the same time, but it doesn’t beat the CLI’s performance.
Installation
Profanity is available for Linux, Windows and Mac. For now, let’s look at how to install it in Linux machines. Separate installation instructions for Windows and Mac can be found at the Profanity website.
Profanity has been included on some of the major distributions such as Arch, Gentoo, Ubuntu, Open SUSE and Slackware. If your OS is not in the above list, then you can use the installation script found in the Profanity tar ball. When you run the installation shell script, it will take care of all the dependencies, configure all the necessary settings and successfully install Profanity in your system.
Getting started
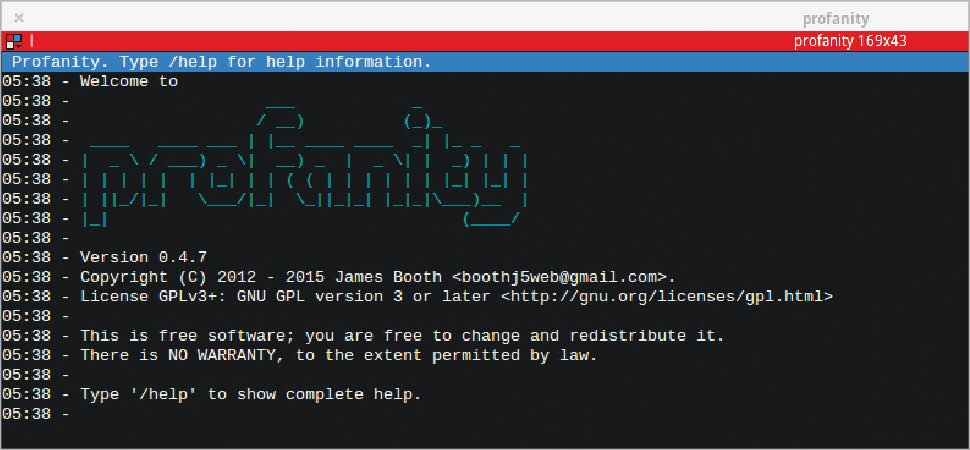
To start Profanity, just issue the following command in the terminal:
$profanity
Once Profanity is up and running, you can start issuing commands.
Always make sure that your command begins with ‘/’. For further assistance, use the /help command and it will present you with various categories of help.
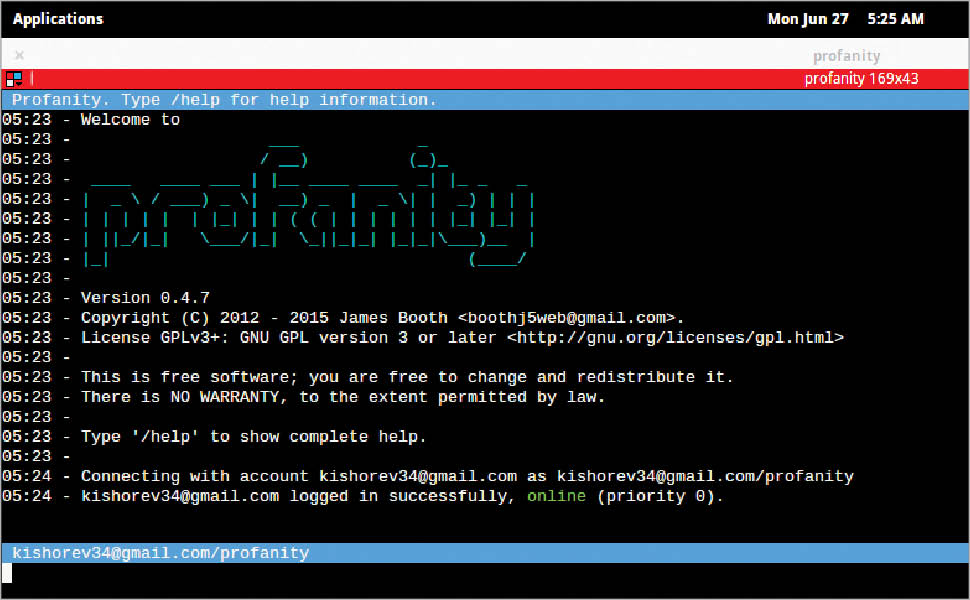
Now it is time to connect to your account in Profanity. You can use your Jabber ID or any XMPP service for which you have an account. In this article we are going to use the gtalk account in Profanity.
Type the following command in Profanity:
/connect user@gmail.com
Once you supply the valid password for that account, you will see a message stating that you have successfully logged into your account. On the upper right corner, you will find your status is indicated as Online and below that, you will find the list of your Online Contacts and Offline Contacts.
If you get a ‘Login Failed’ message, please note that, by default, Google will turn off access for the less secure apps to your Google account. You can enable it by visiting https://www.google.com/settings/security/lesssecureapps
Once you’ve turned on your access, Profanity will work just fine.
After you have successfully connected to your account, it is time to chat with other users. To send a message to other users, issue the following command in the terminal:
/msg user@gmail.com your_message
As soon as the other user starts replying, a new window will be opened along with the window number. You can use alt+right or the left arrow keys to switch between windows.
Roster, subscriptions and groups
Roster: A roster is simply a list of contacts in your account.
The /roster command will show the Contacts list in your account. The output of the /roster command has four sets of attributes:
1. jid (Jabber ID)
2. Nickname
3. Subscription
4. Groups
To manually add a contact to your account, you must first use the /roster add command in the following format:
/roster add user@gmail.com
To remove a contact from the roster, use the /roster remove command by supplying the account ID as the argument:
/roster remove user@gmail.com
Subscriptions: Once a contact has been added to the account, you can subscribe to that contact for online activities with the /sub command:
/sub request user@gmail.com
Many service providers will make the contacts subscribed together automatically.
If you want a particular contact to be subscribed to your account, issue the following command:
/sub allow user@gmail.com
In some cases, you may not want to show your online status and updates regarding your online presence, for which you can use the /sub deny command in the following format:
/sub deny user@gmail.com
Assigning nicknames to the contacts: Assigning nicknames to contacts is very handy, as you don’t have to type the whole account ID in Profanity:
/roster nick chessurthecat@gmail.com chessur
The above command will assign the nickname ‘chessur’ to the account ‘chessurthecat@gmail.com’.
A nickname can be removed by using the following command:
/roster clearnick chessurthecat@gmail.com
Groups: Profanity allows you to keep contacts in groups.
- To view all the groups in your account, issue the /group command.
- To view the contacts that belong to a particular group, use /group show group_name
- To add a particular contact in a group, use /group group_name contact_name
- To remove a contact from a group, use /group remove group_name contact_name

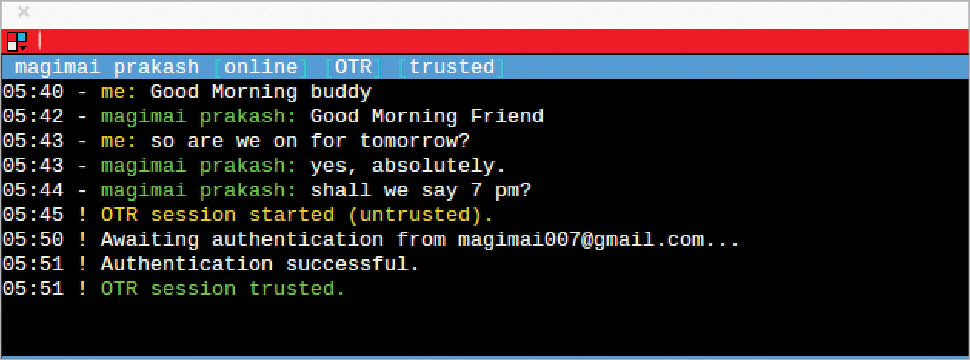
Chatting with OTR encryption
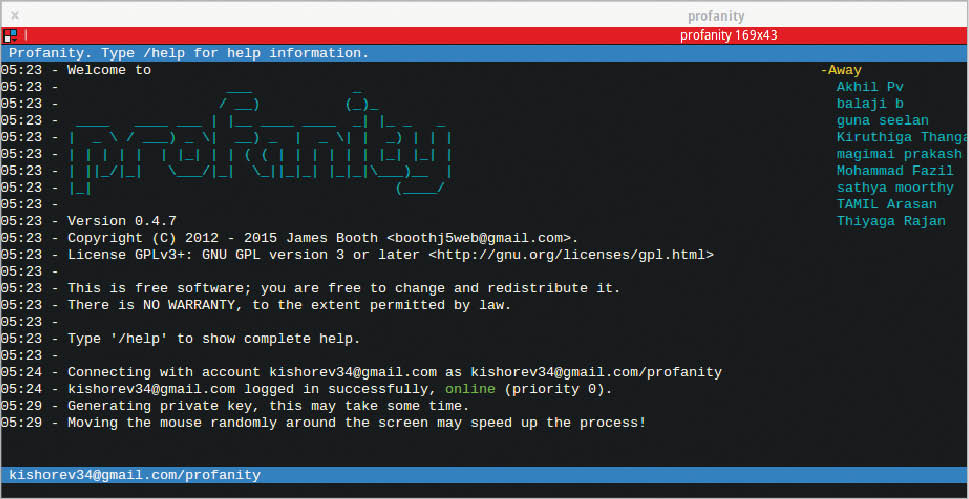
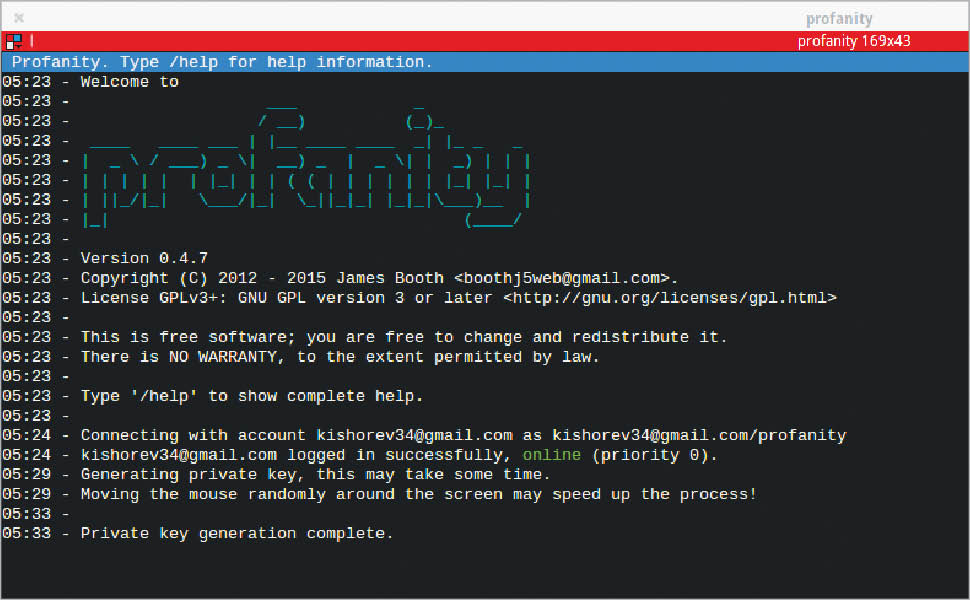
OTR (off the record) encryption is one of the salient features of Profanity. To start chatting with OTR, you must first generate your private key. To do that, type the following command:
/otr gen
You will see that your private key is being generated. This should take some time, but moving the mouse pointer randomly on the screen will speed up the key-generating process.
Once your key is generated, you can start your OTR session with the other user, who should have enabled OTR on the messenger also to achieve a successful trusted OTR session between two users.
/otr start user@gmail.com
The above command will attempt to establish an OTR session with the other user, but the set-up isn’t complete as we have not authenticated the other user’s identity. Hence, the OTR session will be shown as ‘untrusted’ in the title bar.
To authenticate other users, Profanity uses three types of authentication methods:
1. Question and answer
2. Shared secret
3. Fingerprint
In this article, we will use the ‘Question and Answer’ challenge method for the other user. If he/she provides the expected answer, then the identity is confirmed.
The following command will provide a question and answer challenge for that particular user:
/otr question “Who is the patron saint of desperate cases?” St Jude
Once your friend answers the question correctly, the ‘untrusted’ indicator will be changed to ‘trusted’ and also a message ‘OTR Session Trusted’ will be displayed.


[…] https://www.opensourceforu.com/2016/10/profanity/ […]