


Security concerns prompt the securing of networks against hacking and intrusion. OPNsense is an open source, FreeBSD based firewall and routing platform. It includes most of the features available in expensive commercial firewalls, and often even more. It combines the rich feature set of commercial offerings with the benefits of open and verifiable sources.
Network monitoring, traffic investigation, packet analysis and developing robust firewalls are the key aspects of digital forensics because of increasing threats and vulnerabilities. Efforts are being made to develop and deploy fully secured network infrastructure, but the escalating incidents of cyber terrorism and cracking attempts need constant alertness.

While a number of software as well as hardware components with the latest updates are released frequently, yet, there is a need to be conscious of every aspect of security. Proprietary firewalls and security devices are used in the corporate world as well as by government organisations, but these are very costly in terms of annual maintenance as well as the initial one-time investment.
In classical methods of implementation, network administrators make use of packet capturing tools and intrusion detection systems for deep analysis of the packets flowing in the network. These network administration and forensic activities are implemented using PCAP and related IDS tools, which include free and open source software as well as commercial proprietary products.
The key WinPcap/libpcap software suites working with PCAP at the base level include:
| WinDump | Snort | ngrep |
| Wireshark | Nmap | L0phtCrack |
| Bro IDS | XLink Kai | iftop |
| EtherApe | URL Snooper | Kismet |
| Tcpdump | Bit-Twist | Pirni |
| Suricata | NetSim | Firesheep |
| WhatPulse | Xplico | Scapy |
There are a number of intrusion detection systems (IDS) used in corporate as well as research organisations to enforce and implement threat analysis and digital security. Some of these IDS products are:
| AIDE | Samhain | OpenDLP |
| OSSEC | Security Onion | OpenWIPS-NG |
| ACARM-ng | Fail2ban | OSSEC HIDS |
| Bro NIDS | Prelude Hybrid IDS | Samhain |
| Snort | Suricata |
OPNsense: A free and open source firewall
URL: opnsense.org
OPNsense is a powerful and user-friendly firewall as well as a routing platform for network security and cyber forensic investigation. It is free, open source and is available under the FreeBSD licence. It has excellent features to guard the network against assorted attacks and malicious intrusions.
OPNsense has most of the secured modules and features that are normally only available with the very expensive proprietary and commercial firewall systems. It has the Bootstrap Framework based GUI that has a Web based interface to enable and deliver the easy-to-use platform without any complexities.
The core powerful features of OPNsense include:
- Forward caching proxy and blacklisting
- Rule based traffic transmission
- Traffic shaper
- Supports IP-less firewalls
You may refer to the website and the various resources available on the Internet for more features.
Installation and working with OPNsense
A USB memstick installer can be used. Simply write the downloaded image to a USB drive or hard disk and the steps shown below can be followed.
For FreeBSD, type:
dd if=OPNsenseVERSION of=/dev/daX bs=16k
For Linux, the command is:
dd if=OPNsenseVERSION of=/dev/sd(IDE-Device) bs=16k
For OpenBSD, type:
dd if=OPNsenseVERSION of=/dev/rsd6c bs=16k
The command for Mac OS X is:
sudo dd if=OPNsense img of=/dev/<RawDevice>disk<DiskDeviceNumber> bs=64k
For Windows, type:
physdiskwrite -u OPNsenseVERSION
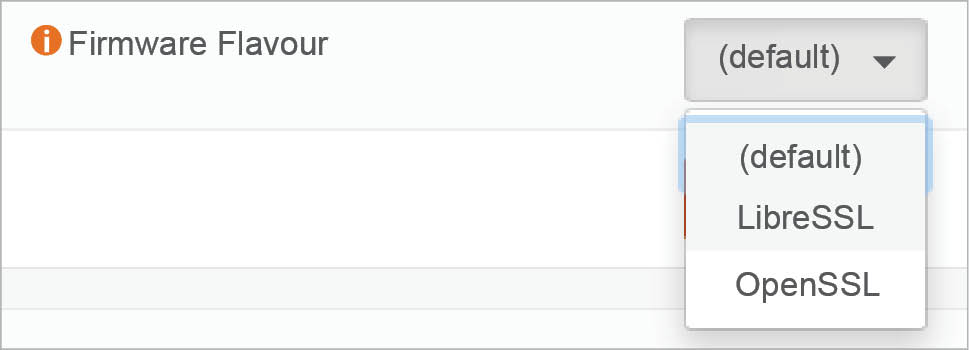
Integration with OpenSSL / LibreSSL
The OPNsense images are integrated with OpenSSL and can be selected on demand. LibreSSL is usable and selected from the GUI as System -> Settings -> General.
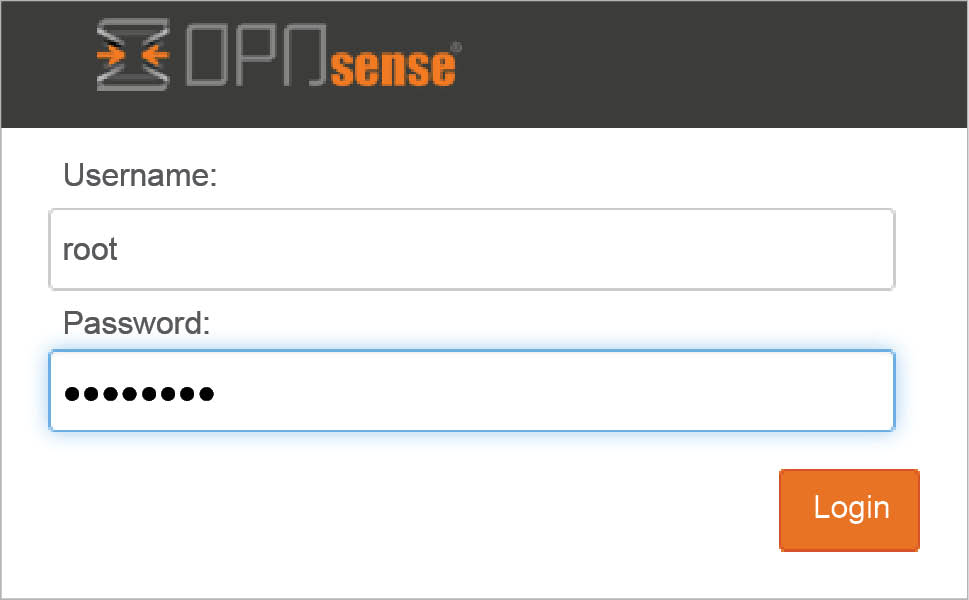
The default user name in OPNsense is root and the password is opnsense.
Key components and the GUI of OPNsense
Lobby: Click on the OPNsense logo in the interface and navigate the Lobby as well as the dashboard directly.
From OPNsense Lobby, the following options can be selected:
- Dashboard
- Widgets
- Licence information
- Change password credentials
- Logout
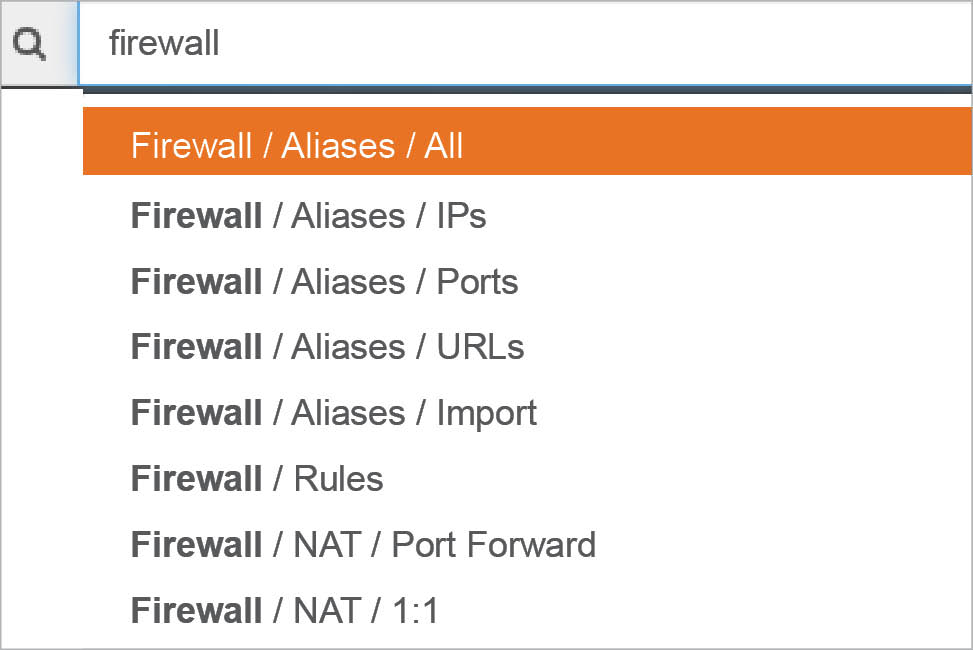
Menu: From Menu, the network administrator can select the various security and configuration features to be changed and customised.
There are three levels of layers in Menu:
- Category level
- Function level
- Configuration level
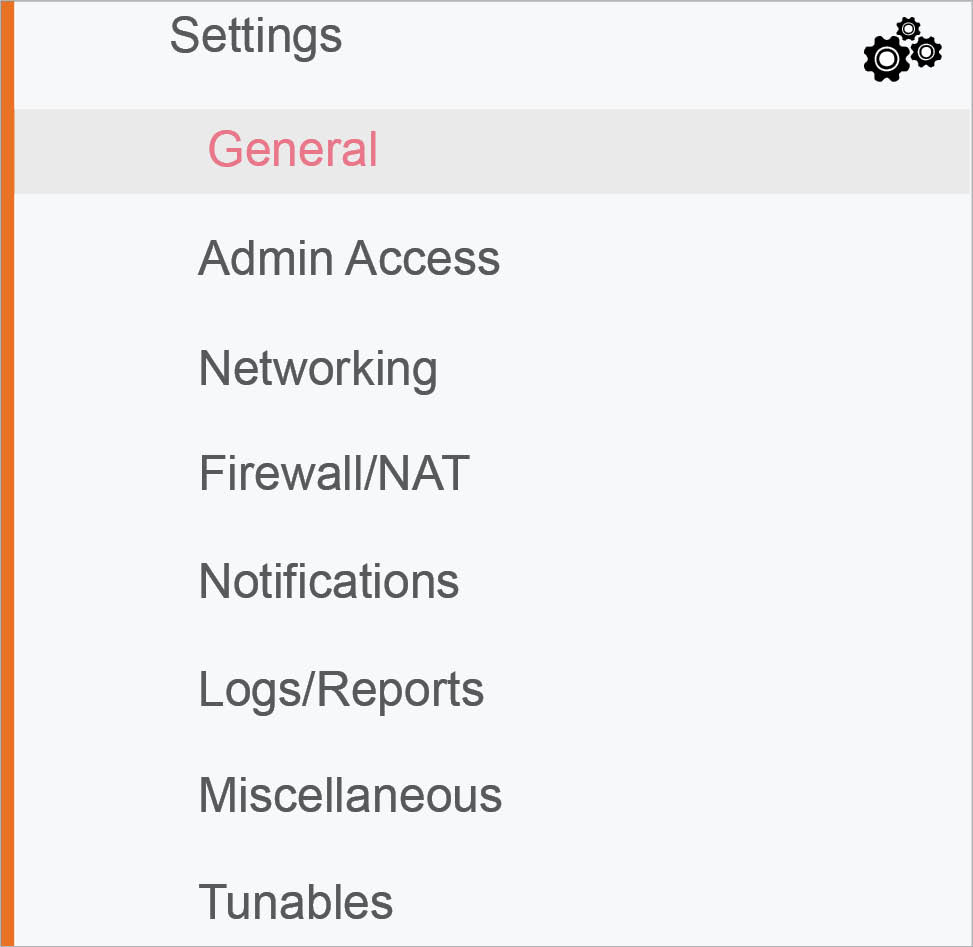
The depiction shown in Figure 4 directs the user to change the settings and then select from the firewall.
Settings -> General
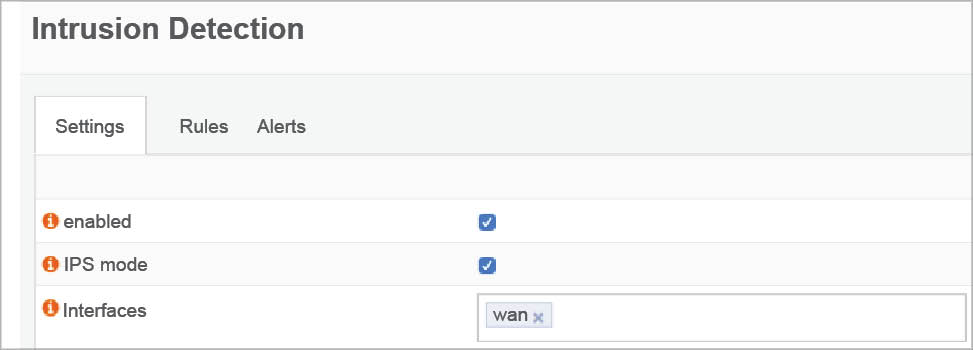
Setting up the IDS and intrusion prevention system
To enforce and enable the IDS/IPS, select Services -> Intrusion Detection and then enable the IPS mode.
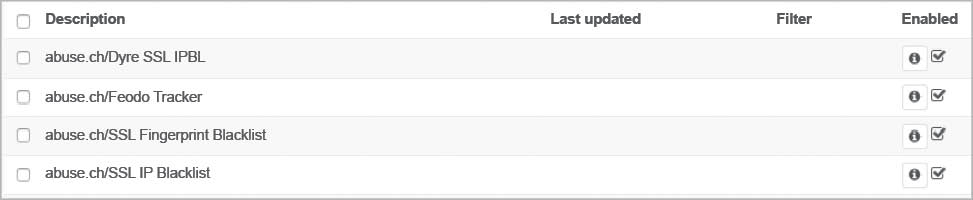
The sets of rules can be configured for different modules.
Scheduling: Scheduling is very important in network monitoring and control, so that a regular and timely fetching or sync can be done with the server.
Click on Schedule. A new pop-up window is generated with a number of options.

Setting up an anti-virus engine with OPNsense
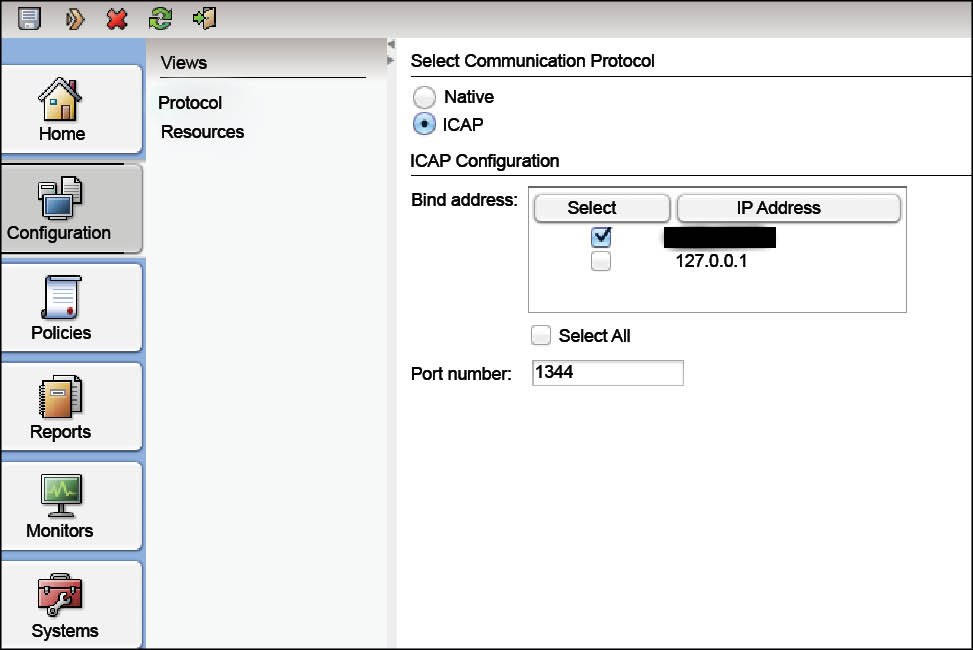
OPNsense provides the excellent and powerful standard ICAP (Internet Content Adaptation Protocol) for protection of HTTP as well as HTTPS traffic connections against assorted malware including trojans, botnets, malware, viruses and many others. It has an effective communication layer with third party engines including the Symantec Protection Engine.
After selecting the anti-malware engine, configuration is required. To encrypt the traffic with ICAP, there is a need to implement VLAN because the traffic in ICAP is not encrypted by default.
To configure ICAP, the navigation is Services->Proxy->Administration. Then select ICAP Settings for the Forward Proxy tab.


i want to learn this program