With Weka, anyone can harness the potential of machine learning and make impactful predictions. This article will guide you through the installation and usage of Weka to build and test machine learning models effortlessly.
Today, we know how popular and important artificial intelligence (AI) and machine learning (ML) have become. AI is definitely the future of every field, and data science plays a crucial role in driving advancements across various industries. Data science is utilised to enhance businesses, improve nature, and ensure a safer world by predicting natural disasters in advance. Consequently, the demand for data scientists has soared. With the rise of applications like ChatGPT and other paid ML software, there is now a need for equally powerful open source tools in the field of data science.
In this article we will explore one such amazing open source data science tool called Weka. Our aim is to guide you through the installation and usage of Weka for building and testing a simple machine learning model. Specifically, we will employ Weka to train and test the iris flower prediction problem.
Weka is basically a tool that offers a comprehensive set of machine learning algorithms that help us to solve various data science problems! Weka is an abbreviation. It stands for ‘Waikato Environment for Knowledge Analysis’. This tool has been developed at the University of Waikato in New Zealand. This free and open source software has been coded in Java, can run well on any platform and is compatible with most operating systems. Importantly, calling machine learning models from our own piece of Java code is a breeze with Weka! Now let us get started with the installation process.
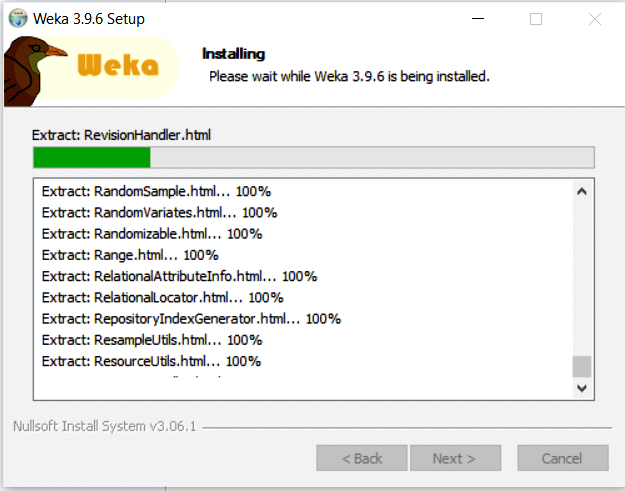
The first step is obviously to install Weka. For this we need to download the installer using the link https://prdownloads.sourceforge.net/weka/weka-3-9-6-azul-zulu-windows.exe. We can install Weka using the installer as shown in Figure 1.

Proceed by clicking ‘Next’, agree to the terms and conditions, and the installation process will start. Now choose the location where Weka needs to be installed and click ‘Next’.

Upon clicking ‘Next’, the installation will be completed automatically.
Now that the installation is complete, you can launch Weka from your applications and start using it. When opened, the user interface (UI) will resemble Figure 4.
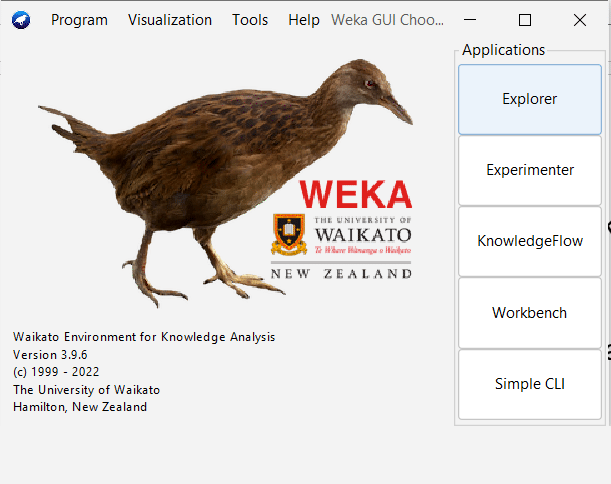
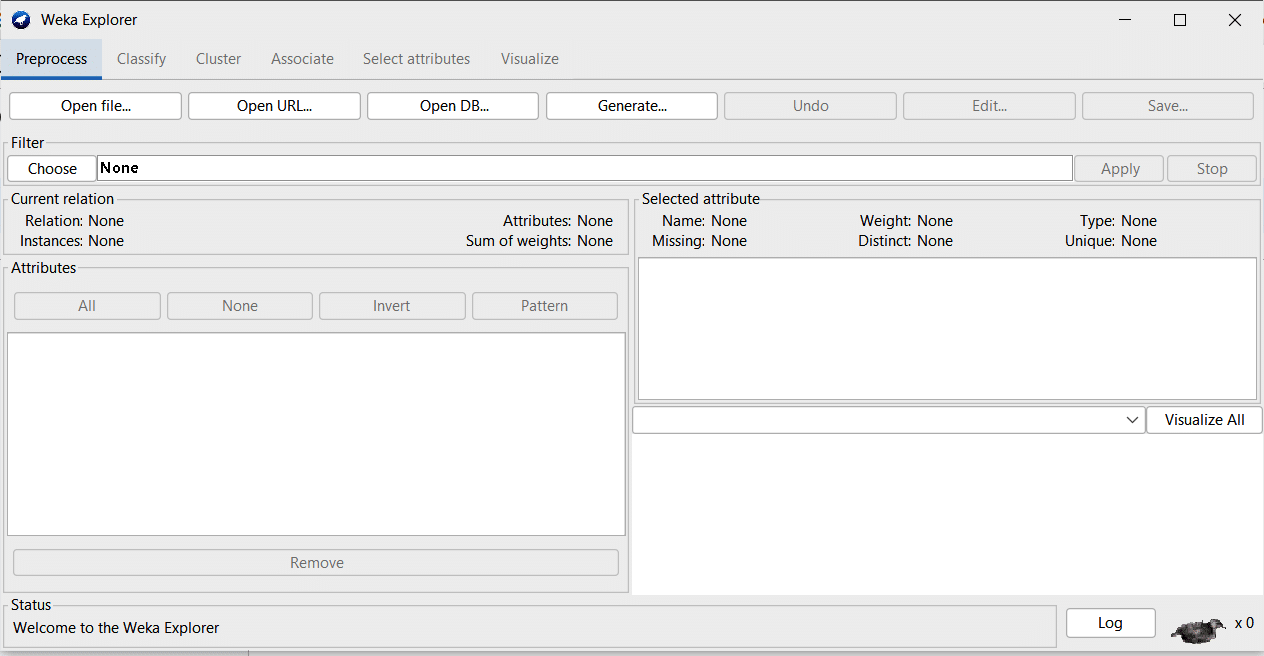
The next step is to click on the ‘Explorer’ button as shown in Figure 5.
Now, let’s proceed to download the iris data set. This data set comprises three major classes, which represent the sub-species of the iris flower: iris-setosa, iris-versicolor and iris-virginica. The data set features include the width and length of the petal and sepal. The goal is to classify a given flower into one of the three classes. To achieve this, we train our model using the four features, and the model can then be used to make the predictions if a new flower comes in.
The data set can be downloaded from https://gist.github.com/myui/143fa9d05bd6e7db0114. Once we download the data, it can be stored in a location accessible to Weka.
The UI of the application helps us load the data sets, use various algorithms and also perform clustering, visualisation and many more tasks. For this article, we will focus solely on training the model and testing it.
Now we can load the downloaded data set into the application. On the Explore page, choose the ‘Open’ file, go to the location of the .arff file and choose the file as shown in Figure 6.
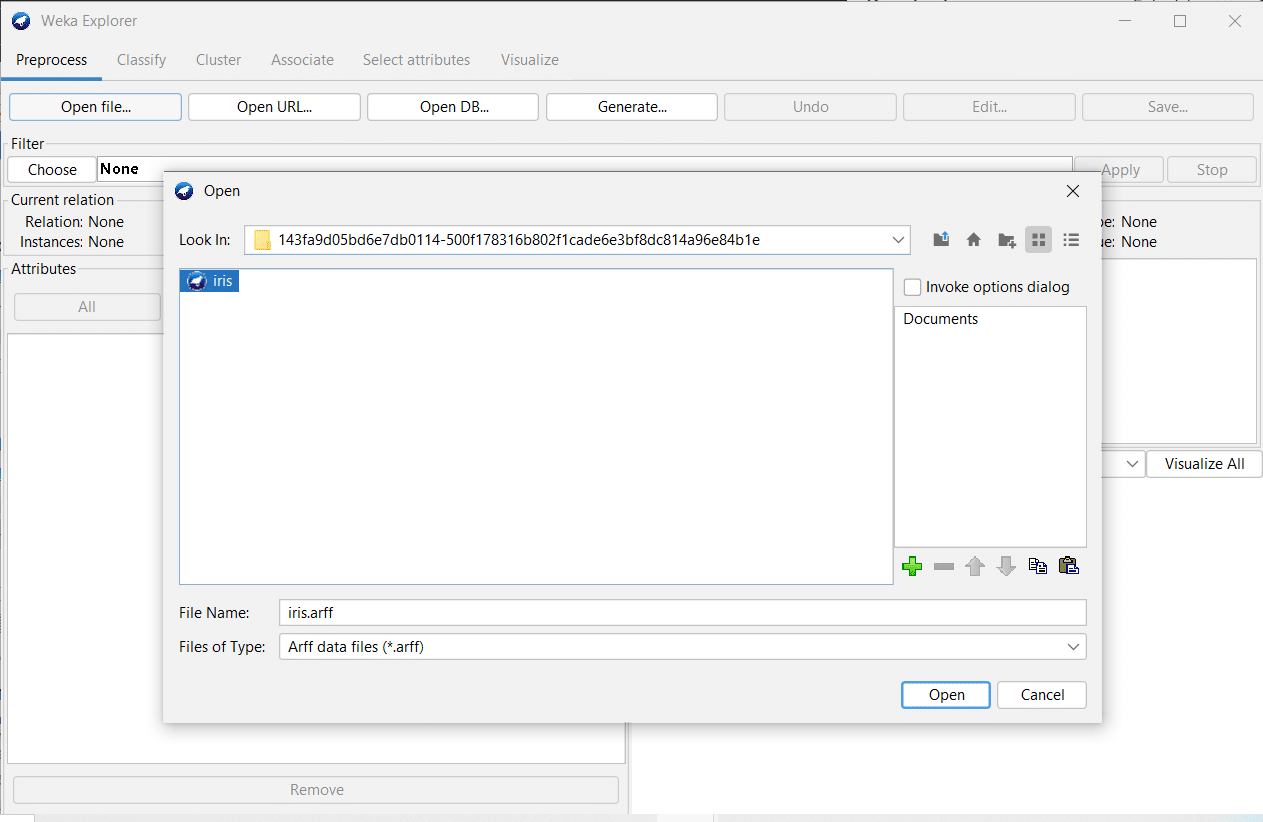
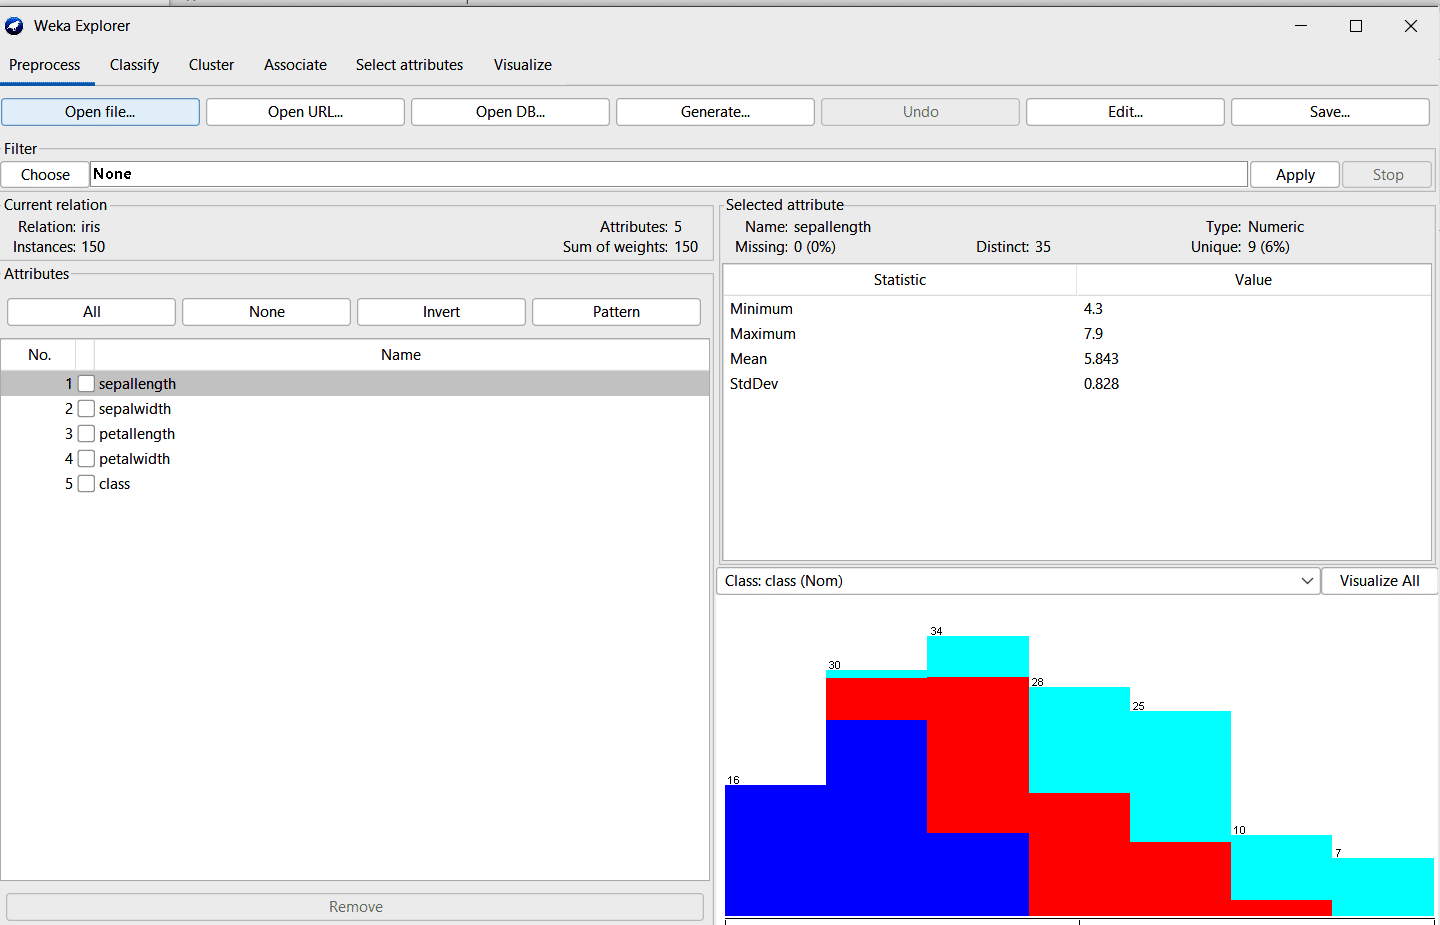
Once this is done, click on ‘Open’ and the data set will get loaded. The tool will present a basic visualisation and statistics of the data set, such as what are the columns and the averages, etc, as shown in Figure 7.
Next, select the appropriate algorithm. For this we need to go to the tab that our task requires. Since this is a classification task, we go to the Classify tab. Here, by default, the ZeroR algorithm is selected. This is a rule-based algorithm. However, you can choose from several other options as shown in Figure 8.
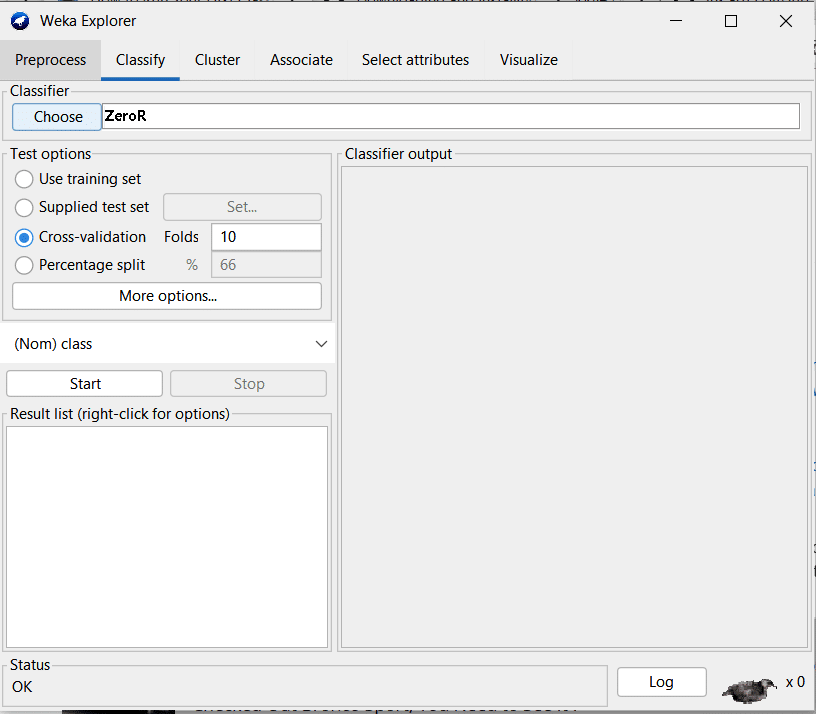
You can see that the cross-validation option has been chosen in the test option by default with ten folds. This means that we divide the data set into ten parts, use nine parts to train the model and use the last one part to test the model. We then repeat this process until each part gets a chance to be the test data set.
Once you have chosen the algorithm, you can click on the ‘Start’ button. The model starts getting trained, and we get the testing accuracies and confusion matrices. This is pretty cool as not much coding is required. Even individuals with minimal expertise can develop a machine learning model using this pretty amazing tool!
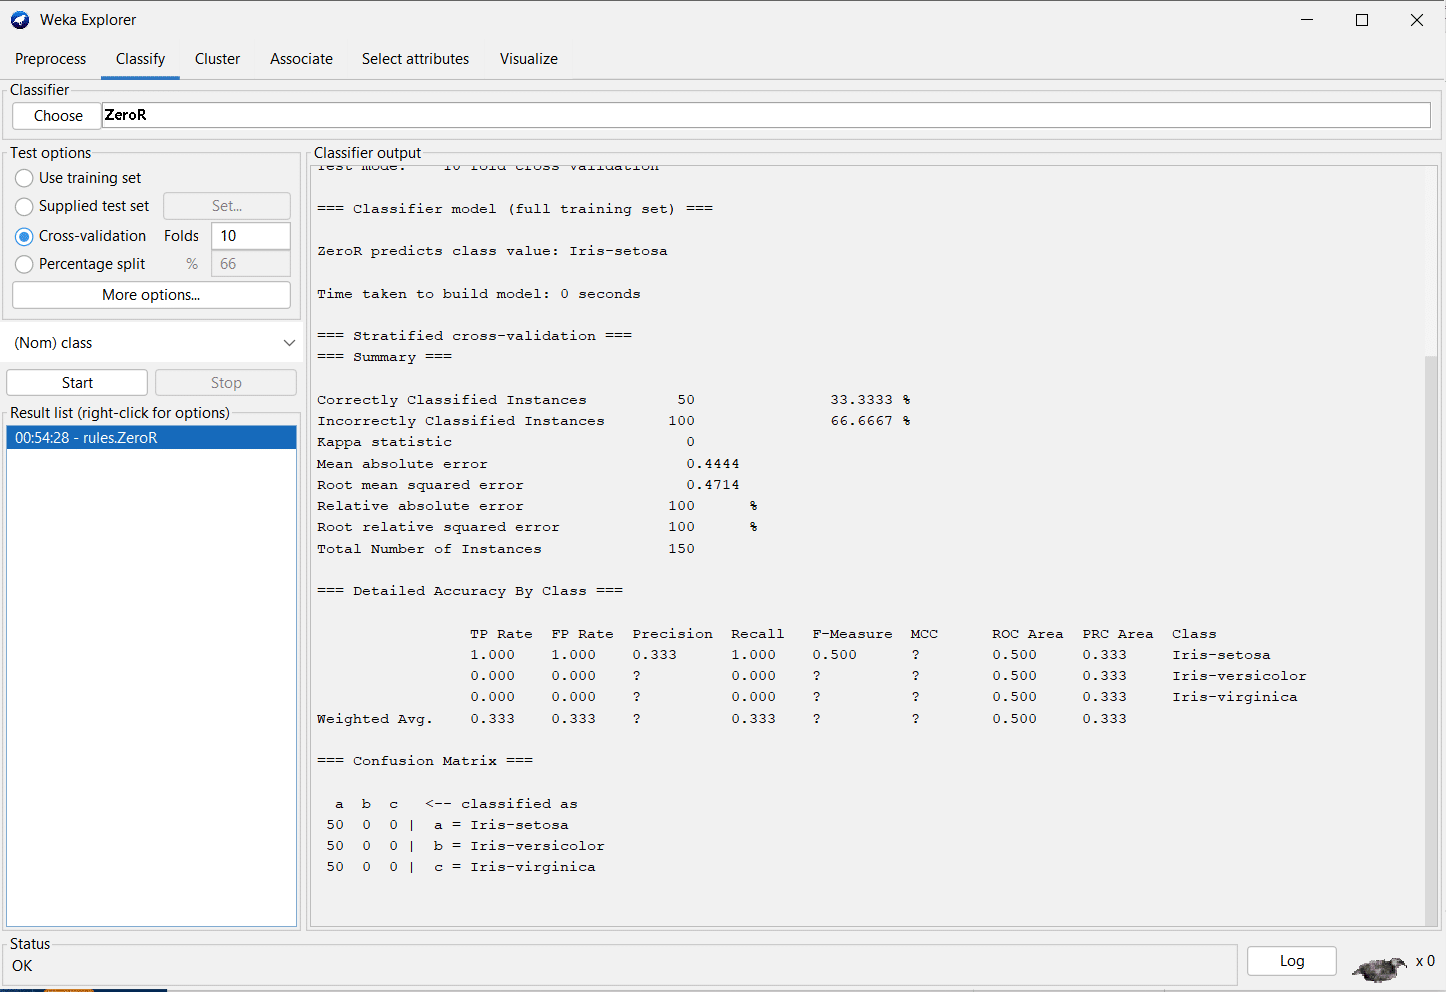
The results look as shown in Figure 9, when we use the ZeroR algorithm. As it is a rule-based algorithm you can see that the accuracies are pretty low — only 50 out of the 150 data points were predicted correctly.
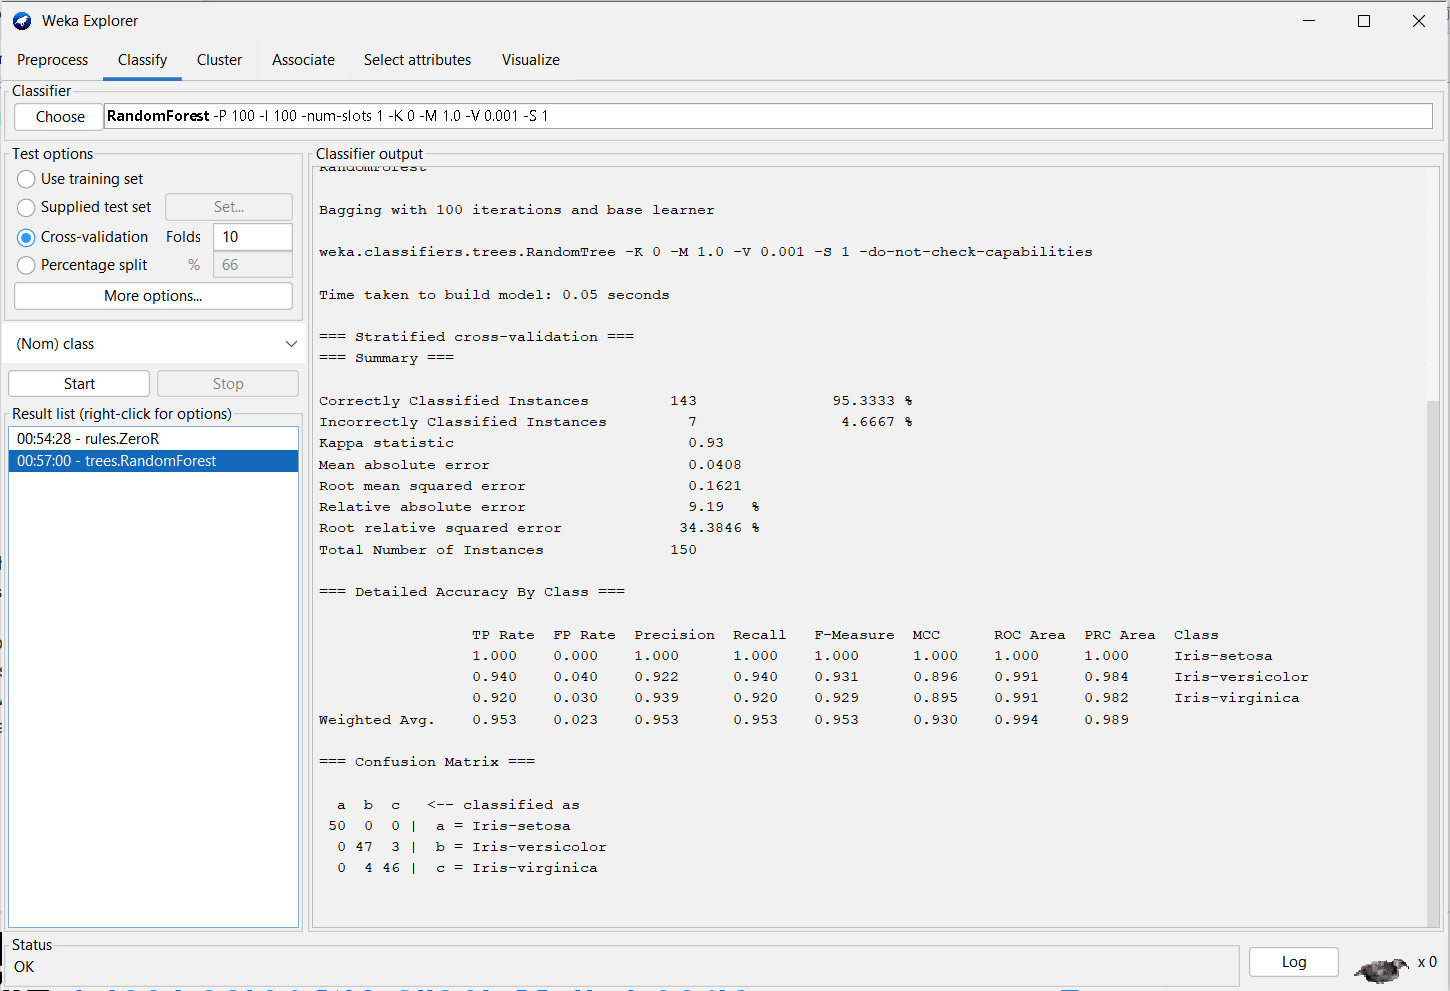
So, to improve the accuracy let’s switch to a better algorithm. We will be using the random forest algorithm. Click on ‘ZeroR’, and you will get a drop-down menu. Here, if you go into ‘trees’, you will find the ‘random forest’ option. Choose that and click on ‘Start’ like you did for ZeroR. You will soon get the results after the training as shown in Figure 10. As you can see, the accuracy has improved a lot, and now there are only seven wrong predictions.
Weka can be used to explore and compare different algorithms on a given data set and more. Additionally, you can explore more of the algorithms available and look at other options, like regression, and unsupervised algorithms like clustering.


