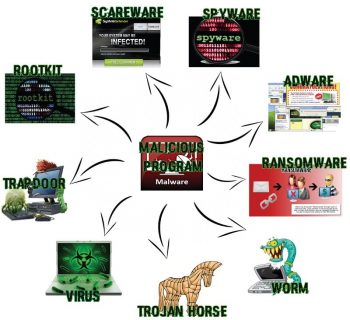
Malware is an intrusive software which includes computer viruses, worms, Trojan horses, ransomware, spyware, adware, scareware
–Wikipedia
In laymens terms, malware is defined as any code that performs hazardous activity to the computer. It might be an executable with unknown functionality.
How malware functions
It is target-specific: Todays zero day exploits are very specific to a target and are hard to identify using traditional security solutions.
Data exfiltration: Data leakage/data extrusion is unauthorised transfer, copying or retrieval of data from a computer or server.
The Remote Administration Tool (RAT)
A RAT is malicious software that hides itself and gives full control to the attacker, remotely. Generally, a RAT gives access to the system, whereby the attacker can perform such remote activities as triggering the camera, installing rootkits and key loggers, and even grab screenshots or turn a system on/off.
General behaviour
Generally, malware hides itself and runs in the background monitoring all the processes, while communicating with the command and control server outside the network. The behaviour of malware is target-specific and influenced by the following four major characteristics.
Initial infection vector: Initial infection vector is defined as how the malware reaches the system in the first place delivery can be through a USB stick, browser based downloads, any shared pools, etc.
Rubric: The actions the malware carries out after infection and the footprint it leaves in the log are studied via dynamic malware analysis, but zero day exploits can be unique in nature and remain undetected.
Proliferation mechanism: Generally, propagation of such malicious software depends upon what type it isif it is a worm, it exploits a known vulnerability. If it is a rootkit, it infects files at the root of the drives and adds autorun.ini. If it is a Trojan, it hides itself or binds itself to any dll in system 32 and adds to the startup process. Hence, learning the propagation mechanism of a given type of malware is very important during analysis.
Persistence mechanism: Malware is highly persistent and there are n number of ways to infect Windows based machines. Identifying highly persistent malware is a lot tougher than the traditional malware.
Malware with multiple functions
Malware can possess two or more functionalities with equal threat and persistent levels, and such malware is identified as hybrid.
For example,
- Trojan + Ransom = Hybrid Trojan
- Trojan + RAT = RAT
- P2P + Worm = Worm
Steps to building a malware analysis toolkit
The three steps needed to build an analysis toolkit are described below.
Create and allocate a safe environment for analysis: The conventional way of examining malicious programs involves infecting a system with the malware and learning about its behaviour using appropriate monitoring tools. This requires a sandbox or virtual machine (VM) in order to investigate the behaviour without affecting the real production bed.
Sandbox the system from the production environment: Running multiple VMs inside the sandbox helps to analyse the malware which seeks replication or interaction with other systems. Another useful feature of a VM is that an instant snapshot of the system can be recorded along with the system states (before and after infection of the system). In sandboxing, you can install as much RAM and memory, because some intelligent malware can detect its running state inside the VM.
Install a behaviour analysis tool: Before testing the malware in the sandbox, it is preferable to install appropriate monitoring tools, some of which are discussed in this article.
REMnux: A Linux reverse engineering toolkit
This article is primarily about the REMnux distro. This is a free Linux toolkit used for reverse engineering malicious software. It is bundled with various forensic investigation tools. The distro is based on Ubuntu, and it analyses both Linux and Windows based malware, examining obfuscated code, suspicious documents, etc. It can be freely downloaded from https://remnux.org/ as an OVA file, which can be imported directly into any virtual machine. A Docker image is also available for this distro in the same link.
Lets now go through a tutorial on inspecting executables and file properties using REMnux.
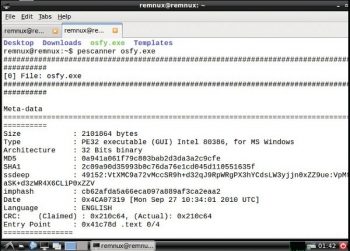
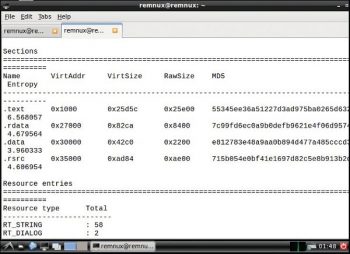
Pescanner: To inspect any files, malicious software or suspicious content in the form of portable executables files like .exe, .msi, .so, etc, use the following command:
pescanner <filename> |
The usage is:
pescanner osfy.exe |
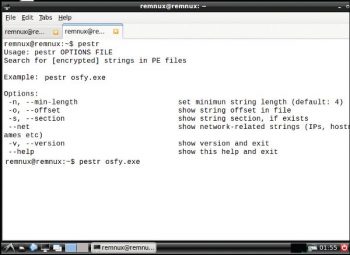
Pestr: To inspect for encrypted strings in PE files, use the following command:
pestr <filename> |
The usage is:
pestr osfy.exe |
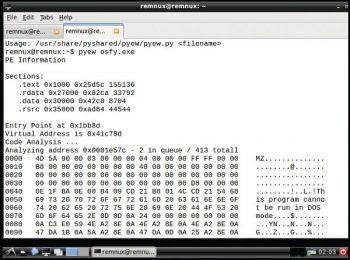
Pyew: This is widely used for code analysis, for which you need to issue the following command:
pyew <filename> |
The usage is:
pyew osfy.exe |
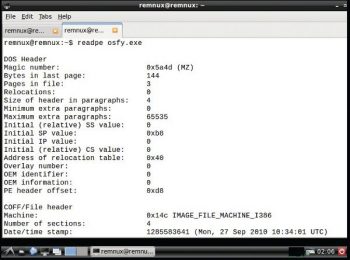
Readpe: This is used to extract file header information from portable executables, for which the command is as follows:
readpe <filename> |
The usage is:
readpe osfy.exe |
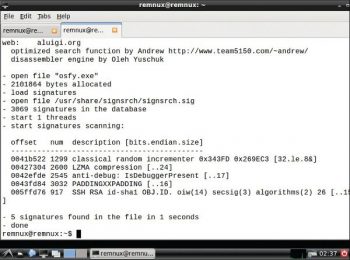
Signsrch: This is used to search for various signatures with specific options. For example, if my requirement is to extract an RVA (relative virtual address) from PE files instead of the offset address, I would use the following command:
signsrch <option> <file1>......<file n> |
The usage is:
signsrch -e osfy.exe |
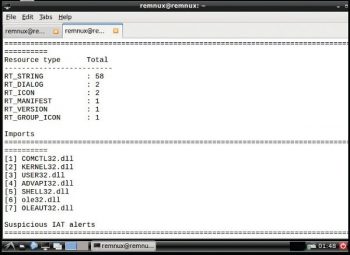
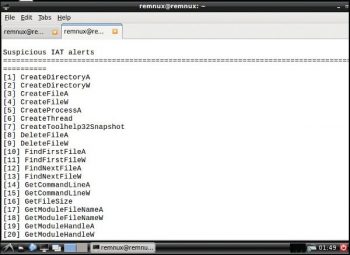
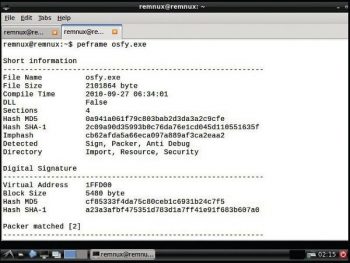
Peframe: This is used to extract file information, the packer method, digital signatures, suspicious API, metadata information, etc, by issuing the following command:
peframe <filename> |
The usage is:
peframe osfy.exe |
Pedump: This is a very effective tool to investigate file signatures, file imports, file resources, software watermarking, etc, in great depth. The following command is used:
pedump -option <filename> |
The usage is:
pedump -deep osfy.exe |
Some of the popular open source malware analysis tools are:
1) Cuckoo – http://www.cuckoosandbox.org/
2) Buster Sandbox Analyzer – http://bsa.isoftware.nl/
3) Malheur – http://www.mlsec.org/malheur/
4) REMnux – https://remnux.org/
5) Anubis – http://anubis.iseclab.org/
6) Malwr – https://malwr.com/
7) Eureka – http://eureka.cyber-ta.org/
8) Threat Expert – http://www.threatexpert.com/submit.aspx


