


This tutorial will teach you how to send messages between a client and a server using socket programming in Python.
Socket programming is one of the most important topics in computer science and refers to the way in which devices communicate with each other in a network. Here, software endpoints called sockets help send data packets through the network using protocols like TCP/UDP. To create a socket, we use the IP address of the device along with the port numbers to which we want to send the data packets.
It is important to learn socket programming because most major applications that we use daily like chat applications, games, etc, work using this programming. There are mainly two types of sockets — stream sockets (TCP) and datagram sockets (UDP). Each has its own advantages and disadvantages, and we choose between them based on the use case. For example, if we need a reliable connection for file transfers we use the TCP protocol. However, if we are streaming a movie, where the speed is more important, we use the UDP protocol.
Let’s learn how to perform socket programming in Python, as it has multiple functions that help us do this. In our example, two machines need to send messages to each other. So, one machine will be the server and the other will be the client.
To create the socket, we use the following command:
socket.socket()
Now that the socket is ready, we need to assign it to an IP address and port. The client sends the request to connect, and the server listens and accepts. Functions like connect(), listen(), send() and recv() are used for this.
Let us first write the code for the server system. You can open any text editor and start typing the following code. But we must first import the socket package and create the socket.
import socket
serv = socket.socket()
Now since we are running this on our local system, we will be running it on the IP address of the local host, which is 127.0.0.1. We can allocate any random port for this application, ensuring we are not using a port that is currently being used by another application. Typically, 8080 and 8081 are good choices of free ports. We can bind the IP and the port to the socket we created using the following command:
serv.bind((‘127.0.0.1’, 8080))
The next step is to make the server listen to any client calls. We use the listen() function for this:
serv.listen(1)
print(“Hi I am the server, listening on port 8080...”)
Now, we need to receive the connection from the client and send a message back, as shown below:
cli, a = serv.accept()
print(f”Connection established with {a}”)
data = cli.recv(1024).decode()
print(f”Received from client: {data}”)
cli.send(“Hello I am your server!”.encode())
Finally, we close the connection and the socket:
cli.close()
serv.close()
Save this code as server.py or something that signifies that this is the server code.
Let us now move to the client code. In the client code, too, the first step will be to import sockets and create a client socket:
import socket
cli = socket.socket()
The connection request is now sent to the server. Assuming that the device is in the same network, we give the IP address and the port number. In this case, since we are working on only one laptop, we give the same local host and the port number 8080 as we discussed above in the server section.
cli.connect((‘127.0.0.1’, 8080))
Once the connection is made, we need to send a message and receive the message from the server as an acknowledgement. This can be done using the lines of code given below:
cli.send(“Hello I am the client!”.encode())
data = cli.recv(1024).decode()
print(f”Received from server: {data}”)
This will print the message received by the client as well.
Finally, we close the socket as shown below:
cli.close()
You can save this code as client.py or any name that will signify that this is the client code.
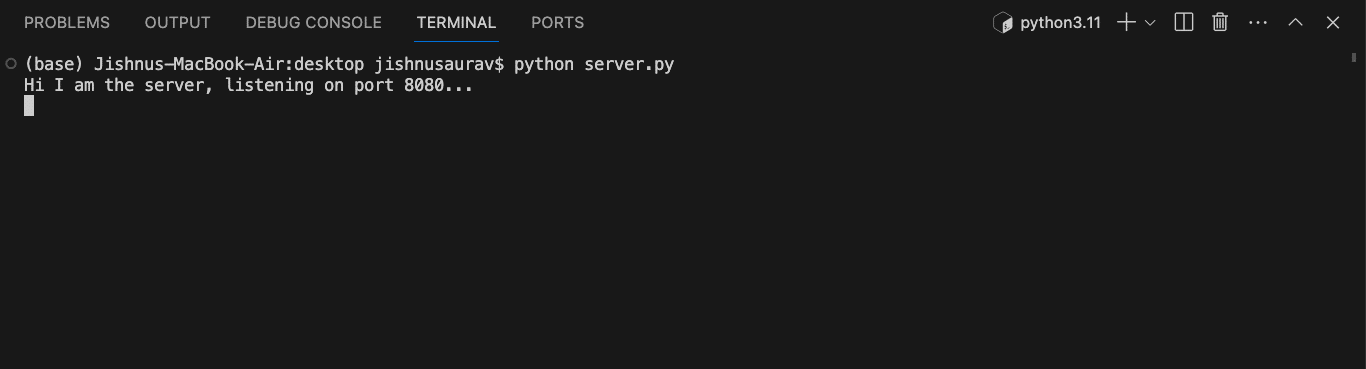
You should run the server code first. Just like there should be someone to listen to us before we start speaking, the client needs the server to be running first so that it can connect to it. When you run the server code first, it will be waiting for a client’s connection as shown in Figure 1.
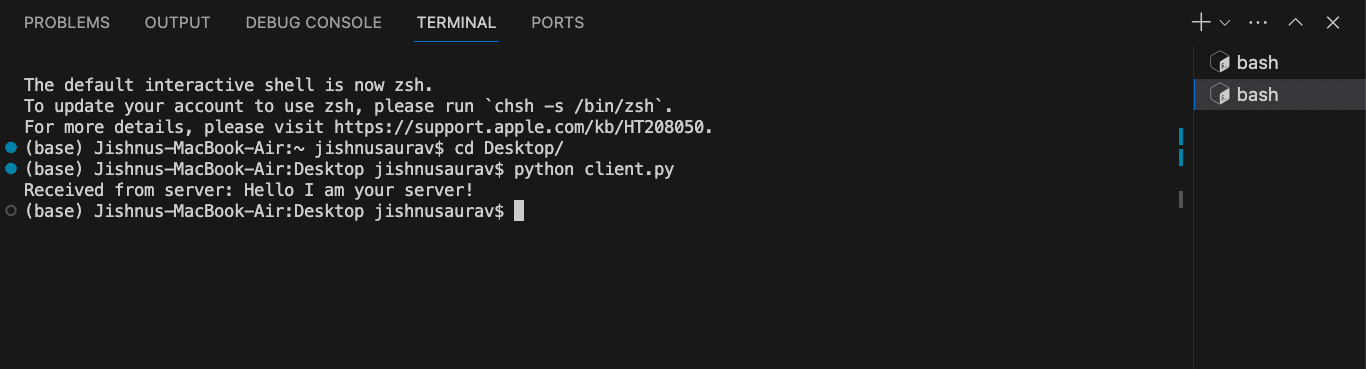
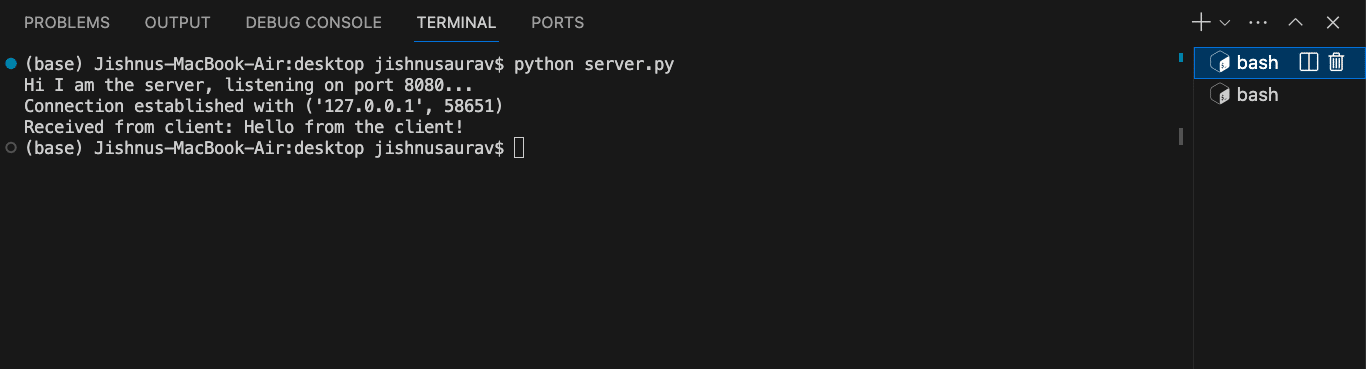
Now you can run the client code on a different terminal/command prompt. The connection will be made and the message will be sent as shown in Figure 2. The server will also receive the message, and the output will be shown on the server terminal as shown in Figure 3.
This is just a beginning to socket programming. You can research further on its usage and application if you wish to.


