


Mobile apps are an intrinsic part of daily life today – we use them to order food, groceries, taxis, and more. As these apps need to work across platforms, developers are focusing on cross-platform app development so that they code only once to create apps that function on multiple platforms. Ionic is a framework that can help developers build apps faster than with native app development, while saving them time and money. Let’s learn how to install and deploy it.
Developers can use HTML, CSS, and JavaScript to construct mobile apps with the Ionic framework. Developed by Drifty Co. (now a member of the Ionic team), it offers a collection of tools and UI components optimised for mobile devices to assist in creating superior cross-platform applications.
Pre-requisites for working with Ionic
In order to work with Ionic, you should possess some basic understanding of and proficiency with the following.
- HTML, CSS, and JavaScript
HTML: Recognise how to use HTML to organise web pages.
CSS: Understand the fundamentals of responsive design and web page styling.
JavaScript: Because Ionic uses Angular (or React/Vue), which depends on JavaScript, knowledge of JavaScript is essential.
- Angular (or) React
Angular: Since Angular is the most widely used framework for Ionic, it is helpful to understand Angular ideas such as components, services, and modules.
React: Ionic also supports this framework if that’s how you like to work. It’s important to comprehend its component-based architecture.
- Node.js and npm/yarn
Node.js: Since the Ionic CLI and other build tools rely on Node.js, it’s critical to understand it.
npm/yarn: To manage dependencies and scripts, become familiar with package managers such as yarn or npm.
Setting up Ionic
Node.js is a JavaScript runtime that lets you run JavaScript on the server side. npm (node package manager) comes with Node.js and is used to manage JavaScript libraries and tools. The software requirements are:
- Operating system: Windows 10 or later, or macOS Mojave (10.14) or later (for iOS development), or Linux — a recent version of your preferred Linux distribution
- Node.js and npm
- Ionic CLI
- Cordova
- A code editor (VS Code is recommended)
- Modern web browser: Chrome, Firefox, or Edge for testing and debugging
Go to the Node.js website and download the recommended LTS (long term support) version for your operating system.
Open the downloaded installer and follow the instructions to install Node.js and npm.
Next, verify the installation by running the following command in the terminal or command prompt depending on your operating system.
node -v
npm -v
This should display the versions of Node.js and npm, confirming that they are installed correctly.
To install the downloaded package on a Linux-based OS, we can follow the steps mentioned below:
sudo apt update
sudo apt install nodejs
sudo apt install npm
Check Node.js and npm versions:
node -v
npm -v
The Ionic command line interface (CLI) is used to create, build, and manage Ionic projects. Open the terminal and run:
npm install -g @ionic/cli
Verify the installation by typing:
ionic --version
Creating and installing Cordova
Cordova is a platform for building native mobile applications using web technologies like HTML, CSS, and JavaScript. To install it, run:
npm install -g cordova
The -g flag installs Cordova globally on your system, making the cordova command available from any directory.
Check the Cordova version to ensure it is installed correctly:
cordova -v
Creating a new Cordova project: Navigate to the directory where you want to create your project:
cd path/to/your/directory
cordova create myApp
myApp is the name of your new Cordova project. You can replace it with any name you prefer.
Navigate into your project directory and add platforms:
cd myApp
cordova platform add android
cordova platform add ios
To build the project for a specific platform, use the build command as follows:
cordova build android
cordova build ios
This will compile your project into an application for the selected platforms.
Creating an application using Ionic
Open the project in your Code Editor. You can use editors like Visual Studio Code. Edit src/app/home/home.page.html. Replace the contents of home.page.html with the following code:
<ion-header>
<ion-toolbar>
<ion-title>
Hello World
</ion-title>
</ion-toolbar>
</ion-header>
<ion-content>
<div style=”text-align: center; margin-top: 20px;”>
<h1>Hello World!</h1>
</div>
</ion-content>
Open the terminal or command prompt and build the app:
ionic start myApp
You will be prompted to choose a framework.
Building and deploying the application
Open the terminal and build the app using the command given below:
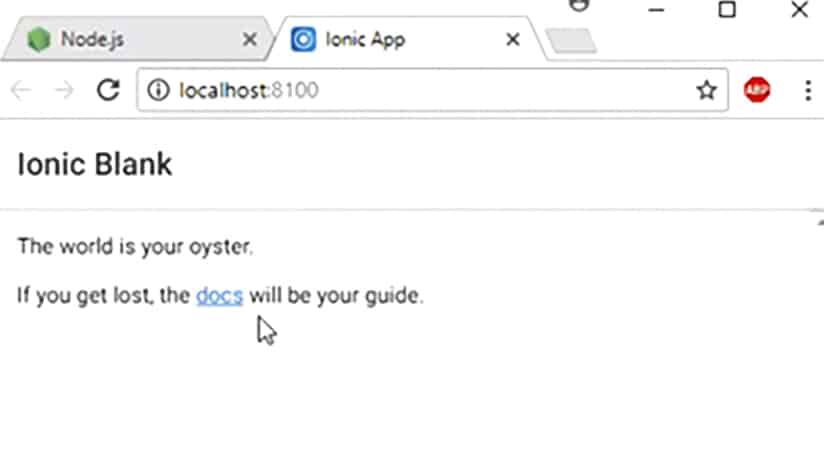
ionic serve
ionic serve –port 8080 (Use a specific port instead of the default 8100)
To check if your application is working successfully, open any browser and go to localhost:8080. You will see a page as shown in Figure 1.
Because they allow developers and enterprises to use a single codebase to deliver apps across various platforms, Ionic-based hybrid apps are a viable solution. They may not always equal a native program’s performance and user experience, but they nonetheless manage to balance price, speed, and cross-platform compatibility. The final decision between native and hybrid development is based on the requirements, budget, and user experience that you want for your project.


