A call centre is essential for businesses as it facilitates customer service, supports sales, and enhances the reputation of a brand. Here’s an overview of its importance, proprietary software options, and why Asterisk is a valuable open source alternative. Also, learn how to set up a basic call centre using Asterisk.
Call centres are an essential component of modern businesses for several reasons.
- Customer service: These centres manage large volumes of enquiries, ensuring prompt support.
- Sales and lead generation: They assist in engaging potential customers and converting leads.
- Feedback collection: Outbound calls allow businesses to gather valuable customer feedback.
- Brand building: Effective call handling improves customer satisfaction and brand reputation.
- Business continuity: They act as a fallback for customer support during crises.
Popular proprietary software for setting up a call centre are:
- Genesys: Scalable, AI-integrated software with CRM and workforce optimisation.
- Cisco Contact Center: Comes with robust security and multi-channel support.
- Five9: Has predictive dialling and real-time monitoring with CRM integration.
- Zendesk Talk: Integrates with Zendesk support; suitable for support-focused setups.
- Avaya Contact Center: Has comprehensive features with cloud/on-premises options.
These solutions offer extensive features and support but can be costly for small businesses. Asterisk is a popular, open source alternative for the call centre. It is a software implementation of a private branch exchange (PBX), in conjunction with suitable telephony hardware interfaces and network applications.
Why choose Asterisk as an alternative to proprietary software
Cost savings: Asterisk is open source, eliminating licensing fees and reducing costs; hence it’s ideal for small to mid-sized businesses.
Customisability: It’s fully customisable, allowing tailored configurations for IVR, call routing, and reporting.
Integration capabilities: It is compatible with telephony systems, CRMs, and databases, enabling a unified communication platform.
Community support: A large open source community provides updates, security patches, and continuous development.
Scalability: Asterisk can scale with business growth, supporting everything from basic setups to large-scale call centres.
Ownership and control: On-premises or private cloud setup ensures full data ownership, unlike vendor-controlled proprietary solutions.
Asterisk is indeed a great choice for setting up a call centre, especially for those familiar with basic Linux and networking. Its flexibility, active community, and open source nature make it accessible and adaptable, allowing for a tailored call centre setup without extensive technical expertise.
Getting started with Asterisk
To get started, you’ll need:
- A server: Preferably with a multi-core processor and at least 4GB of RAM for optimal performance.
- A Linux-based OS: CentOS or Debian are popular choices, but any distribution compatible with Asterisk will work.
- Basic Linux and networking knowledge: Understanding of command-line operations will help with installation and troubleshooting.
We can install and run Asterisk on Ubuntu 24.04. It can be installed either by using the source code or through the package manager.
Installing Asterisk from source offers several advantages over using package managers like apt-get, particularly if you’re looking for flexibility, customisation, and up-to-date features. Here’s why installing Asterisk from source is often recommended.
Customisation and configuration: When installing from source, you have complete control over which modules and features to include or exclude. This is particularly useful if you only need specific components of Asterisk for a specialised setup, allowing for a leaner and more optimised installation.
Latest features and security updates: The apt-get repository often has older versions of software. Compiling from source allows you to install the latest version of Asterisk, ensuring you have the latest features, performance improvements, and security patches.
Compatibility with other software: Some dependencies or modules may need specific versions that are not available in the default package repositories. Installing from source allows you to manage these dependencies more flexibly.
Optimisation for specific hardware: When you compile from source, you can optimise the build for the specific hardware or operating environment. This can improve performance, especially on resource-limited systems or high-traffic call centres.
Control over dependencies: Asterisk has many dependencies, and package managers like apt-get may install versions that are outdated or incompatible with your other software. Compiling from source lets you control exactly which versions of libraries (like libpri or dahdi) you use.
Better debugging and development options: If you’re actively developing or debugging, a source installation offers better options for compiling with debugging symbols. This allows you to track issues more effectively or integrate custom patches for experimental features.
However, installing from source requires a bit more manual effort and an understanding of Asterisk’s dependencies and configuration options. If you need a stable, less customisable setup and are fine with potentially older versions, apt-get is a more straightforward option.
Now follow these steps:
- Update Ubuntu
- Install pre-requisite library
- Download asterisk source
- Configure
- Configure and install asterisk
Each step is elaborated as under:
apt-get update

sudo apt install -y build-essential libncurses5-dev libssl-dev libxml2-dev libsqlite3-dev uuid-dev libedit-dev mpg123 libcurl4-openssl-dev

cd /usr/src

sudo wget https://downloads.asterisk.org/pub/telephony/asterisk/asterisk-20-current.tar.gz

sudo tar -xvf asterisk-20-current.tar.gz

cd /usr/src/asterisk-20*

./configure --with-jansson-bundled (See fig conf_complete.png)

make menuselect #select or deselect any module in asterisk

make # to compile source code (see fig compile_success.png)

make install

make samples

systemctl start asterisk

asterisk –rvvvvvv (see fig asterisk_console.png)
The setup is complete and we will now configure it to make a test call.
There are two files you need to learn and practice
— pjsip.conf and extensions.conf — which are located in the
/etc/asterisk directory.
We will first create two extensions 601 and 602. We will open /etc/asterisk/pjsip.conf and add the code given below at the bottom of this file:
[transport-udp]

type=transport

protocol=udp

bind=0.0.0.0

[1001]

type=endpoint

context=internal

disallow=all

allow=ulaw

auth=1001-auth

aors=1001

[1001-auth]

type=auth

auth_type=userpass

password=1001password

username=1001

[1001]

type=aor

max_contacts=1

[1002]

type=endpoint

context=internal

disallow=all

allow=ulaw

auth=1002-auth

aors=1002

[1002-auth]

type=auth

auth_type=userpass

password=1002password

username=1002

[1002]

type=aor

max_contacts=1
Let us see what is being done in the above code. The configuration is divided into four parts:
- transport-udp sets up the transport layer to handle SIP communications over UDP.
- 1001 and 1002 (endpoint sections) define the core details for each endpoint, specifying codecs, contexts, and authentication requirements.
- 1001-auth and 1002-auth (auth sections) provide username-password authentication for each endpoint.
- 1001 and 1002 (AOR sections) manage how each endpoint registers and specifies the maximum number of active registrations allowed.
After adding the configuration code to the pjsip.conf, save the file. Now open the Asterisk console using:
asterisk –rvvvv
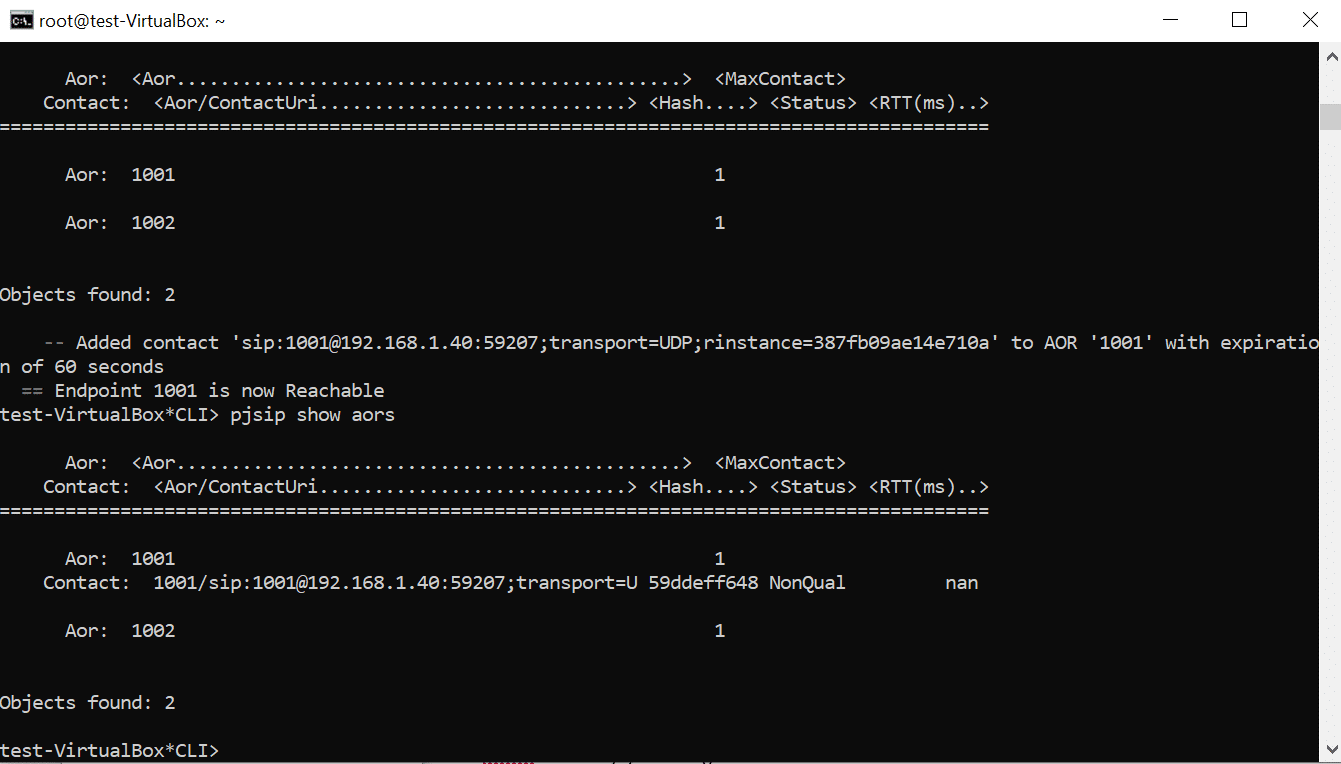
Type the commands pjsip reload and pjsip show aors to check the address of the records created. Refer to Figure 1 to see the output.

We will also need a SIP softphone or hardphone to register this account. Softphones like Ekiga, Zoiper or x-lite can work. Hardphones like Grandstream, DINSTAR, Cisco, etc, can also be used

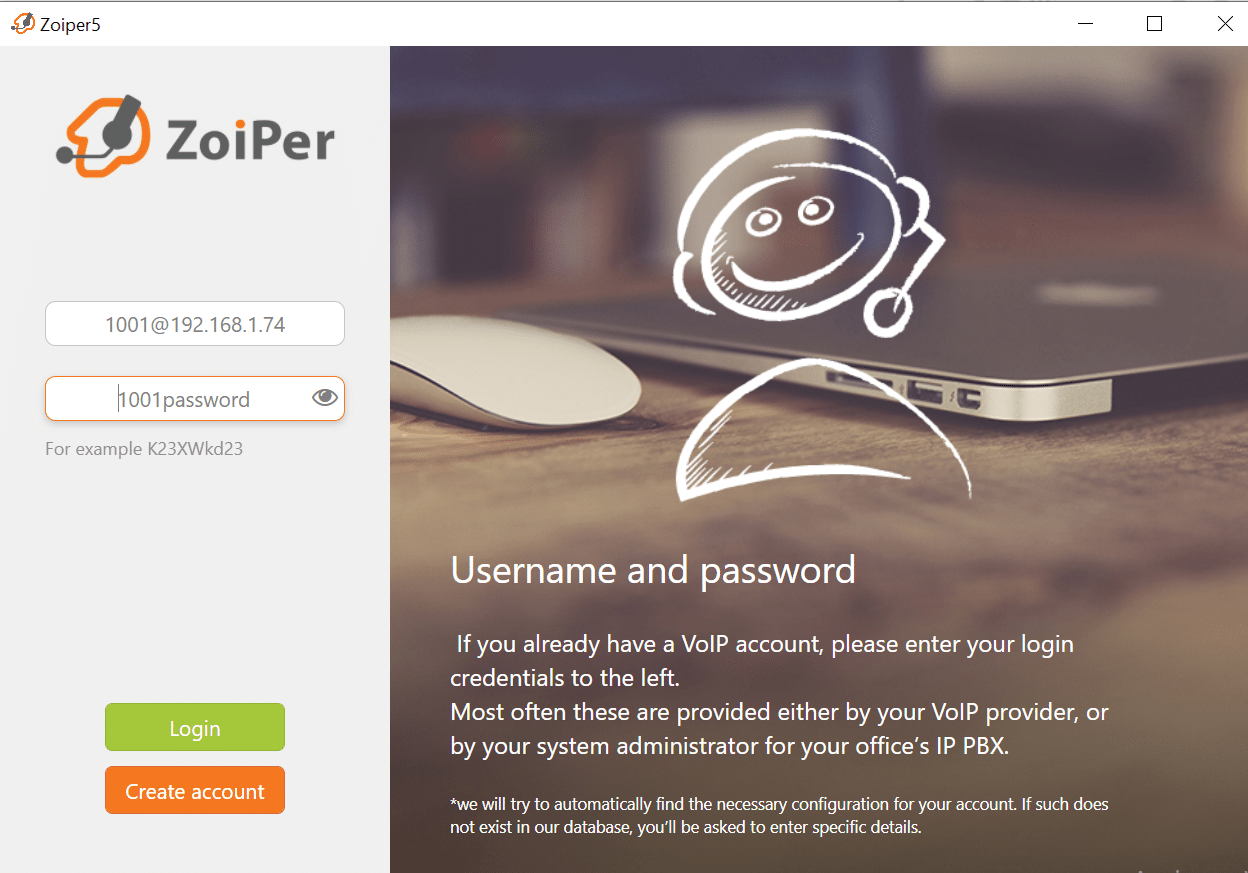
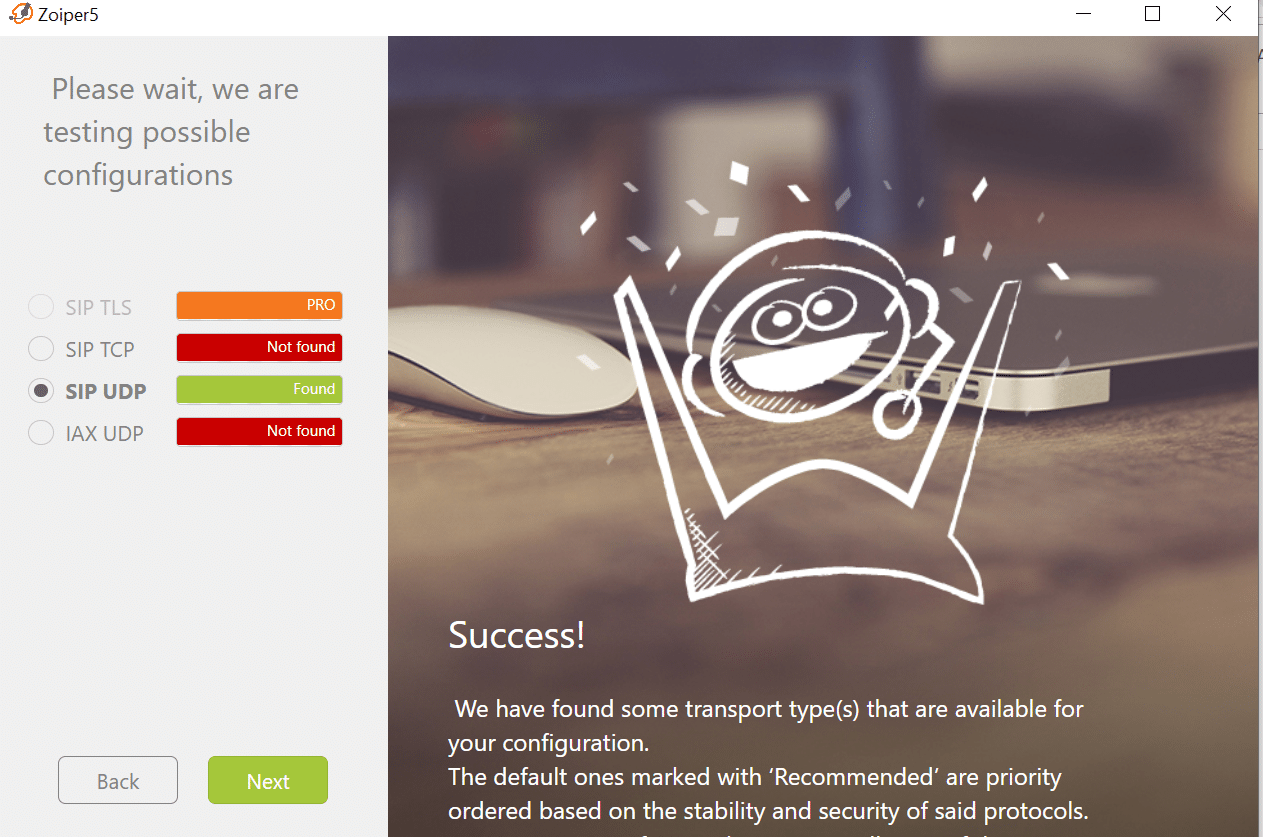
We are going to use the Zoiper softphone as an example in our setup. The username and password will be the same as we defined in the pjsip.conf. Domain/outbound IP will be the server IP where Asterix is running. In my case the IP is 192.168.1.73.

Once you have successfully connected your softphone to the server, you can check your connection on it by running the following on the Asterisk console:
pjsip show aors
Refer Figure 4 for the output.

Once we have done this, it’s time to make a dial plan. A dial plan is essentially a script or set of instructions that defines how calls are handled within the Asterisk system. It’s one of the core components of Asterisk and dictates how incoming and outgoing calls are processed. Configuration in a dial plan defines instructions like:
- Directing calls based on time of the day
- Routing calls based on caller ID
- Connecting to external systems, such as CRM or ticketing systems and many more such use cases
We will be creating our dial plan configuration in the /etc/asterisk/extensions.conf file. Open the file in a text editor, add the following code, and save the file:
exten => _10XX,1,Answer()

same => n,MixMonitor(/home/internal_call/${STRFTIME(${EPOCH},,%Y-%m-%d)}/${EXTEN}_${STRFTIME(${EPOCH},,%Y-%m-%d_%H-%M-%S)}_${EXTEN}_${UNIQUEID}.wav

)

same => n,dial(pjsip/${EXTEN})

same => n,Hangup()
Next, we need to restart Asterisk to reload the new dial plan:
asterisk –rx “dialplan reload”
Now we are ready with the new dial plan to handle incoming calls.
This dial plan handles internal calls to extensions starting with ‘10XX’. This is what it does.
- Answers the call: The line exten => _10XX,1,Answer() answers any call to an extension matching the ‘10XX’ pattern.
- Records the call: In the next line MixMonitor() is invoked to record the call. It saves the recording to /home/internal_call/ with a file name containing the date, extension, and unique ID for identification.
- Dials the extension: dial(pjsip/${EXTEN}) routes the call to the specified SIP extension that matches ‘10XX’.
- Hangs up: The call ends with Hangup() after the conversation is complete.
To test the working of our simple basic setup of the Asterisk system, dial 1001 and 1002 from the softphone to check the call ring and call recording in /home/inbound.
This is a basic introduction to getting started with Asterisk. You can also create your own custom portal with Asterisk for applications like automated outbound marketing calls or feedback collection, and playing an IVR for answering calls.


