This article gives a short tutorial on how GitHub can be configured on Windows. The task is not as simple as it is on Linux, though, but worth a try.
As most of us are aware, GitHub hosts software projects, applications and functions as a version control, using Git. The latter is basically used for tracking changes in a set of files shared among coders who work together to develop software.

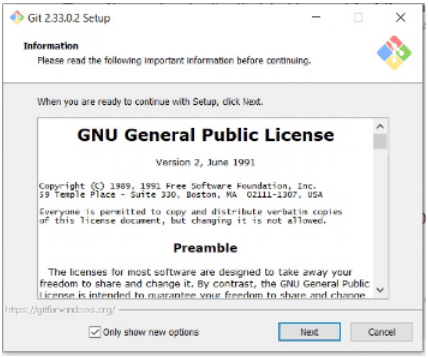
Unlike Linux, using Git on Windows is not easy and requires a few more steps that are mostly user interface (UI) based. The main steps are as follows.Once Git is downloaded, run the .exe file for installation using the UI, as shown in Figure 2.

The last step of installation is checking the Git interface option. The Git bash interface will open up. Enter the following command to check which version of Git has been installed, as shown in Figure 3:

git --version
To initiate the repository in a folder that we want pushed to GitHub, create a folder and file using the following commands:
mkdir hello
cd hello
Now, create a file with some content. Next, come back to Git Bash, and use the following command to initiate a Git repository:
git init
Next, to add the file to the repo, enter the following command:
git add file_name
We now need to connect to the GitHub repository; so enter the following command:
git remote add origin “link to github”
Next, to push the file to the repo, use the command:
git push origin master
A user name and password will be asked, post which GitHub can be checked and the files can be pushed, as shown in Figures 4 and 5.


Configuring GitHub on Windows is pretty interesting. Try it out for yourself!


