Data loss can occur for a variety of reasons, including technology problems, human error, physical theft, or ransomware. In this article we will see how Bacula, an application that helps us to back up crucial data, works.
Data backups are often stored in secure locations like the cloud. All organisations need to back up important data regularly including customer databases, machine and OS images, and even registry files. Most IT companies have a whole department to take care of this.
Data backups can be done in many ways such as by using physical devices and cron jobs. There are also many applications like Amanda, Bacula and BackupNinja that help in accomplishing this task. In this article, we will set up a basic Bacula backup system in order to see how it works.
Bacula is an enterprise level, open source computer backup system that can be used in networks, and has been designed in such a way that backup tasks are automated. Earlier, this required an admin or computer operator to do the same. We can also use Bacula to store the backup on a different machine or even a different network.
Setting up a basic Bacula backup system
To set up a basic Bacula backup system on a Linux machine, first install the MySQL server, Bacula server and the Bacula client.

But before that, update the packages using the following command, as shown in Figure 1:
sudo apt-get update |
Once this is done, just run the following commands, as shown in Figures 2 and 3.


sudo apt install mysql-serversudo apt install bacula-server bacula client |
Then get sudo privileges by entering:
sudo su |

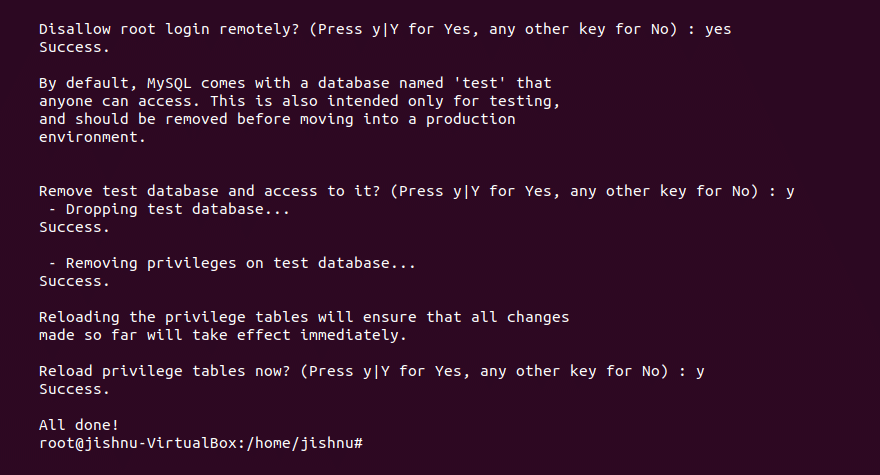
Now enter the commands shown in Figure 4 and 5.
During installation, you’ll be asked to configure the postfix. Just proceed with this, as this is like configuring the SQL database for Bacula with DB. Now that MySQL is up and running, you need to modify the Bacula configuration files in order to specify what is to be backed up and where the backup must be stored.

Open the file using the following command:
gedit etc/bacula/bacula-dir.conf |
After you enter the command, a file as shown in Figure 6 will open up.

Just modify the archive device field to the path of the files you want to back up. Then give all the required permissions to the file in order to allow Bacula to access the files. You then need to install something called webadmin using the following command:
sudo apt install webadmin |
Now run the following command:
uwf allow 10000 |
Once that is done, you need to SSH into your local host at port 10000 and you will find all your backed up files there. You can run the following command:
ssh -L 10000:localhost -N -F root@ipadress |
Then go to the browser and enter:
uwf allow 10000 |
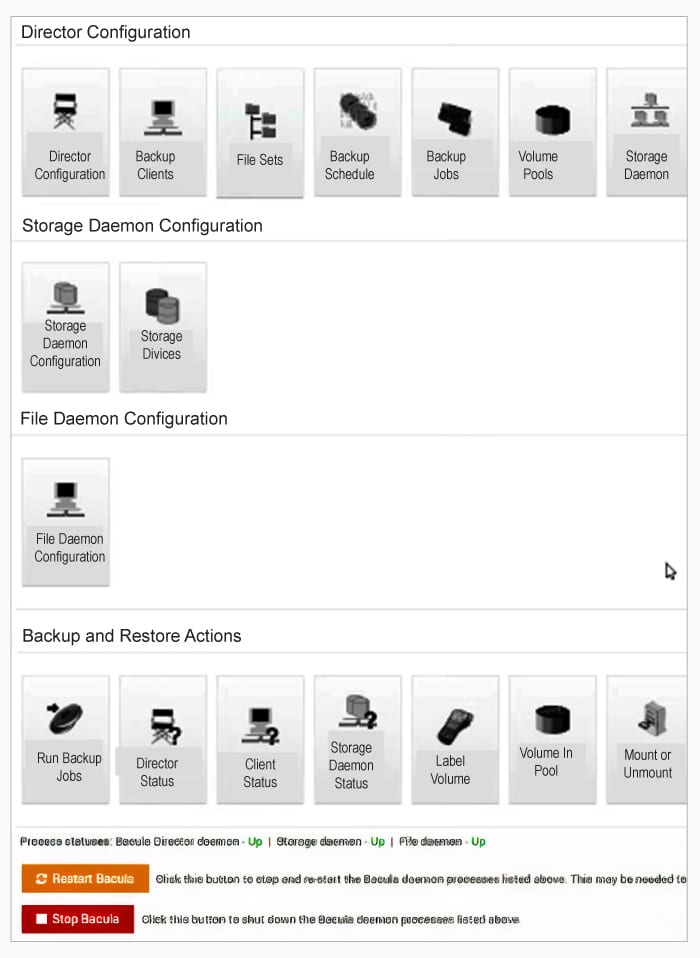
You will find the backed up files there, as shown in Figure 7.

The backup GUI shown in Figure 7 gives you all the power to backup and manage it. This is a very basic setup, which will allow you to understand how the system works. You can go through the documentation and manuals at https://www.bacula.org for understanding Bacula further.


