


OpenStack Queens is the 17th release from the OpenStack Foundation. It offers unique features to enterprises with mission critical workloads, as well as to SMEs investing in containers, NFVs, edge computing and machine learning. This article is a tutorial on installing OpenStack Queens on a CentOS 7 Server.
Rackspace Hosting and NASA jointly launched an initiative related to the design and development of open source cloud software in July 2010 – it was called OpenStack. The mission was “…to produce the ubiquitous open source cloud computing platform that will meet the needs of public and private clouds regardless of size, by being simple to implement and massively scalable.” OpenStack software controls large pools of compute, storage and networking resources throughout a data centre, which is managed via a dashboard or the OpenStack API.
The OpenStack Foundation was established in 2012. Today, it has more than 6700 members from 83 countries. Large companies from around the world, such as IBM, Dell, Red Hat and Cisco, make use of OpenStack and contribute towards its development.
OpenStack architecture and components
Typically, the components of OpenStack can be classified into three main groups:
- Control
- Network
- Compute
Control: The control component runs the application programming interface (API) services, the Web interface, the database and message bus.
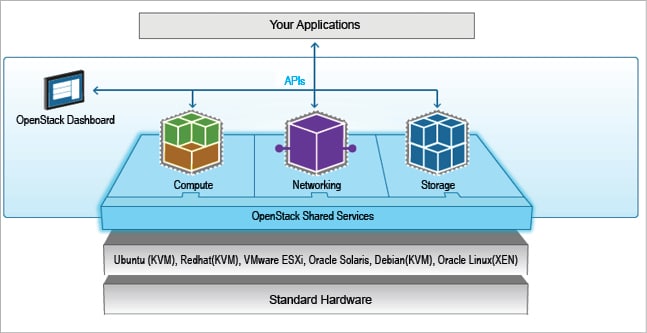
Network: The network runs network service agents for networking.
Compute: This is regarded as a virtualisation hypervisor.
During simple multi-node deployment, the control and networking services are installed on a single server and compute services can be installed on another one. OpenStack can be installed on more than one node, but the best model is to keep the control and network components together and the compute component by itself.
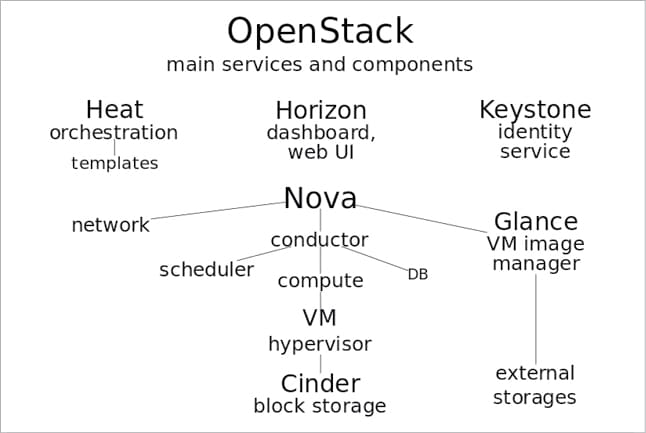
The following components make up OpenStack.
- Dashboard: The dashboard for OpenStack is the Web interface component provided with it. It is also referred to as Horizon, and is regarded as the graphical interface that can be used to start interacting with OpenStack. Developers can access all the components of OpenStack individually via the API. The dashboard also assists systems administrators to get a sneak peek into what is actually going on in the cloud and how to manage OpenStack.
- Keystone: This is the identity management component. The most important thing required to connect to OpenStack is the authentication process. During installation, Keystone manages tenants, users and roles, and also acts as a catalogue of services and endpoints for all components in the running cluster. Within the communication channel to Keystone, the client also asks the latter for the address of the component the user wishes to connect to, which makes managing the endpoint easier. Keystone uses user name and password authentication to request a token, and acquires tokens for subsequent requests.
- Glance: Glance is primarily used for image management. Before starting OpenStack, it requires an operating system. Glance acts as registry within an OpenStack deployment. In preparation for an instance to launch, a copy of a selected Glance image is first cached to the compute node where the instance is being launched. A copy is made to an ephemeral disk location of the new instance. All the instances launched on the same compute node using the same disk image will use the cached copy of the Glance image. These images are called sealed-disk images and can be accessed via the SSH shell.
- Neutron: This is the network management component. It provides networking capabilities for OpenStack. It ensures that every component of the OpenStack deployment communicates with each other, quickly and efficiently. Neutron puts all the configuration in the proper sequence to route the traffic via the virtual network resources into the launched instance. This is called Networking as a Service (NaaS). This component basically manages the software defined networking (SDN) infrastructure. OpenStack uses Open vSwitch to orchestrate virtualised networking infrastructure.
- Nova: This is termed the instance management component, and is also regarded as the primary computing engine running OpenStack. It is used for deploying and managing a large number of virtual machines and other instances to handle computing tasks. In order to launch any instance, there is a requirement for the image, network, key pair, security group, etc. The resource’s identifiers are provided to Nova, which looks at what resources are being used on particular hypervisors, and schedules the instance to spawn on a compute node.
- Cinder: This is the block storage management component of OpenStack. Storage volumes are created and connected to instances and used on them as any other block device. The block device can be partitioned, and a file system can be created and mounted. Cinder manages everything.
- Swift: This is the storage system for objects and files. Rather than using the traditional method of storing files on the disk drive, developers can refer to a unique identifier pointing to a file or particular data, and OpenStack decides where to store that information. This makes scaling a piece of cake, as developers don’t have to worry about the capacity of the single system behind the software.
- Ceilometer: This is the telemetry component. It gathers resource measurements and is able to perform cluster monitoring. It performs the task of metering to enable billing to end users as per their requirements. When Ceilometer reads a meter, it is called a sample. Many samples are recorded on a daily basis and a collection of these becomes a statistic.
- Heat: This is an orchestration component. It allows developers to store the requirements of a cloud application in a file that defines what resources are necessary for it. With this component, the users script the different components that are being spun up in an order. This is helpful when users want to deploy multi-component stacks. The system integrates with most of the services and makes API calls in order to create and configure different components. The template used in Heat is called the Heat Orchestrator Template (HOT). It is a single file in which users can script multiple actions.
OpenStack Queens
OpenStack Queens is the 17th release from the OpenStack Foundation. It offers unique features to enterprises with mission critical workloads, as well as to SMEs investing in containers, NFVs, edge computing and machine learning.
The enhanced features of the OpenStack Queens version are listed below.
- Cinder Multi-Attach: This enables systems administrators to attach the same Cinder volume, which means that if any one node goes down, the other takes over with full access to the volume. This supports high availability for mission critical workloads.
- vGPUs support: This is added to NOVA, the compute manager of OpenStack. This feature enables cloud administrators to set up VMs with vGPSs baked in. This is important for performing tasks related to AI, scientific applications and machine learning.
- Cyborg: This is a new framework in the Queens’ version for managing hardware and software like GPUs, FPGAs and the Data Plane Development Kit/Storage Performance Development kit enabled hardware.
- Ironic Rescue Mode: This is basically for repairing instances.
- Kuryr Container Networking Interface (CNI) daemon: This incorporates OpenStack into the container orchestration program of Kubernetes by adding a CNI daemon.
- Zun Container Service: This enables users to quickly start and run containers without having to manage servers or clusters. It adds networking, storage and authentication capabilities to containers by integrating them with Neutron, Cinder, Keystone and other core OpenStack services.


Installing OpenStack Queens (version 17) on CentOS 7
In this article, we will install single node OpenStack Queens on CentOS 7.5 using RDO repositories. In this case, all the basic functionalities such as compute, network, storage and the dashboard are installed on the same machine. The prerequisites are given below.
Hardware: To install OpenStack Queens on a single node machine, the basic hardware requirements are: core i5/i7 processor with VT support, 16GB RAM (minimum)/32GB RAM (recommended), 40GB hard disk space and a network adapter.
Software: For this installation, we are using Oracle VirtualBox (the latest version) and CentOS 7.5, which can be downloaded from https://www.centos.org/download/.
To begin, select Enable Network Adapter, which is attached to the‘Bridged Adapter’. Then take the following steps to install OpenStack Queens (version 17) on CentOS 7.5.
Step 1: Updating the system
Make sure that the machine is set to the latest version and all the packages are updated for a smooth installation of OpenStack Queens:
[root@localhost ~]# yum update
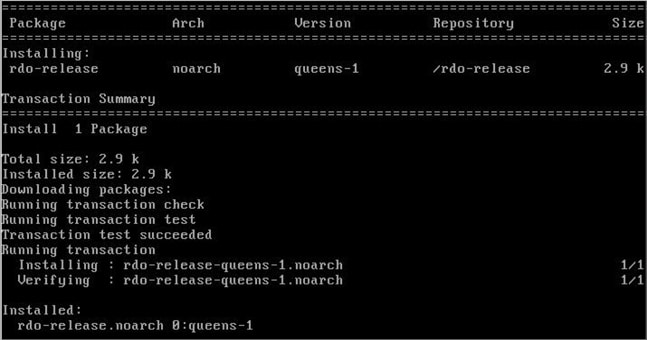
Step 2: Setting up the RDO repositories
To start the OpenStack installation, the RDO repositories are required to be set up, for which you can execute the following command:
[root@localhost~]# yum install -y https://rdoproject.org /repos/rdo-release.rpm
Step 3: Checking the repository and confirming
Give the following command for this:
[root@localhost ~]# ls /etc/yum.repos.d
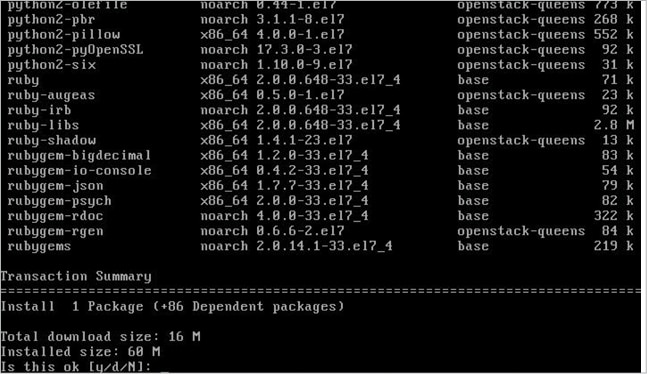
Step 4: Installing Packstack-Installer
Packstack is a utility that uses Puppet modules to deploy various parts of OpenStack on multiple preinstalled servers over SSH, automatically. Currently, RHEL OS, CentOS and other compatible derivatives are supported.
[root@localhost ~]# yum install openstack-packstack
Step 5: Configuring OpenStack Queens and creating an answer file
To run the installation, an answer is created and some changes are done with regard to the admin password and other settings.
[root@localhost ~]# packstack –gen-answer-file=/root/config.txt

[root@localhost ~]# nano config.txt
In this file, go to Line 327 and add the password (use a strong password for the OpenStack Web GUI console).

In the same file, go to Line 1191, and disable Demo User by typing ‘n’ .
Save the file and exit. All settings are now tuned to begin the installation of OpenStack Queens.
Step 6: Install OpenStack Queens
Type the following command to start the installation, which can take between 30 to 60 minutes, depending on the configuration:
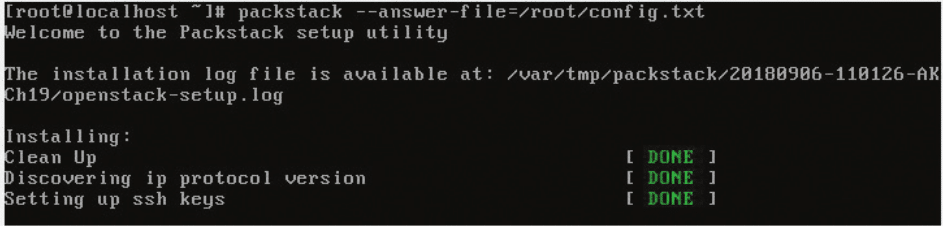
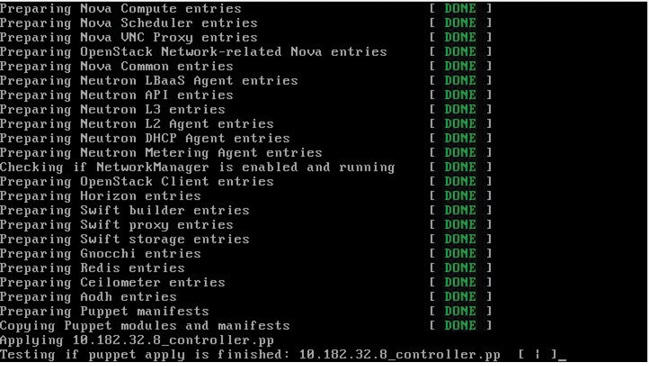
[root@localhost ~]# packstack –answerfile=/root/config.txt
Figure 9 demonstrates some of the working processes of installing OpenStack Queens.
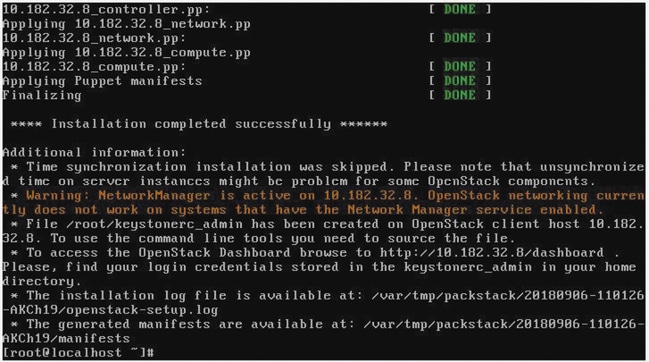
On completing the installation, the message that will be displayed is shown in Figure 10, after which we are all set to open the Web interface console of OpenStack Queens on CentOS 7.5.
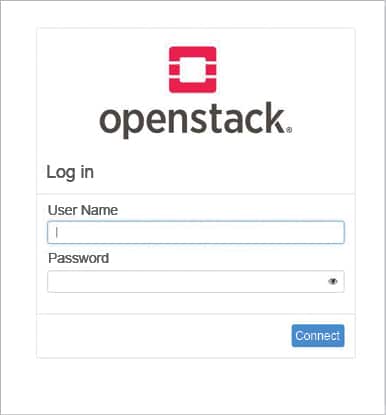
Step 7: Accessing the OpenStack dashboard
To access OpenStack dashboard, open the Web browser and type the IP address: http://ipaddress/.
Type the user name as admin and the password as Set in Config File. Figure 11 highlights the dashboard of OpenStack Queens on CentOS 7.5.
The article introduces you to what OpenStack is and how to install OpenStack Queens. In another article, I will introduce you to the different ways of managing OpenStack.


Great article..All the things you explain are very well..This is really very helpful for all..Thank you for sharing this
Hi nice tutorial… I have been using sander van vugt rhcsa openstack video series to install… He explains the need for setting one static address for connecting to the internet and another to connect to a different node… Both must be set to default eth0 and eth1….and disable network manager…I tried installing but it doesn’t complete… Am stuck at applying controller.pp….how do I fix this?