ClamAV is a free and open source toolkit to detect malware. It also performs Web/email scanning and provides gateway security for Linux distributions, in particular. Here’s a simple guide on how to install and use this tool.
We know that Linux is more secure than Windows, because of which many people think that we don’t require antivirus software in Linux. But the fact is that viruses and malware do infiltrate Linux systems too. Though, it is true that the risk is lower compared to Windows. Personally, I haven’t found any noxious intruders in my Linux box yet, but we can’t say that it will never happen. So it’s better to take some precautions to avoid any kind of attack.

When should ClamAV be used?
- When you have very sensitive data and hence don’t want to take any risks, ClamAV will provide an additional level of security.
- Use it when you want to do a system scan without booting into the system, so that viruses and malware do not get activated during the scan.
- When scanning external mails for any malware, since ClamAV is more helpful as a gateway scanner.
ClamAV installation
As ClamAV is open source, many third parties have developed different versions of it for different operating systems.
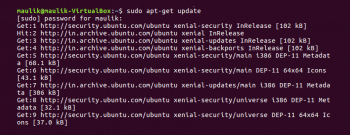
Let’s look at how we can install it in Ubuntu. First, update the repository packets lists as follows (this is optional):
sudo apt-get update |
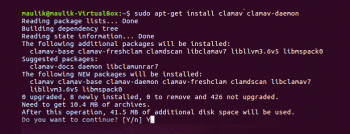
Issue the command given below to install ClamAV. It will install clamav-freshclam also.
sudo apt-get install clamav clamav-daemon |
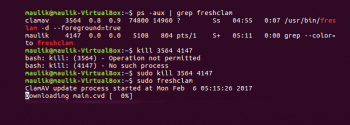
Now ClamAV is installed in our system. The next step is to update the virus definition database. This process is similar to normal updates done when instructing any antivirus software to fetch the latest virus related information. Once we run the command given below, two files — main.cvd and daily.cvd –will be downloaded and the virus database will be updated.
sudo freeclam |
Figure 3 indicates an error while updating the virus database. This is because after the installation of the ClamAV daemon, the freeclam process is already running; so we need to stop it or kill it before running the command again.
The first time, it will take longer to update the database because it is freshly installed.
Now we will scan the /home directory using ClamAV. Run the command given below to perform the scanning:
clamscan -r /home |

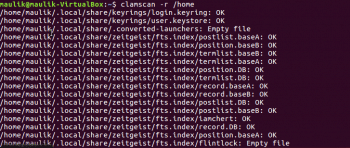

By default, it will update the freshclam daemon every hour (24 times). We can change this by using the command given below:
sudo dpkg-reconfigure clamav-freshclam |
To check the version of ClamAV, use the following command:
clamdscan –V |
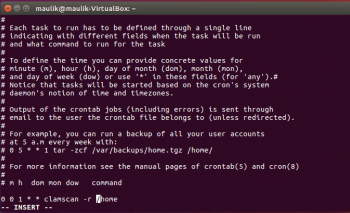
We can also set a cron job for it, so that it will repeatedly scan the mentioned drive/directory as per the given time.
To do that, run the command given below:
crontab –e |
A crontab file will be opened and you can append the file in the given (below) link before saving the file:
0 0 1 * * clamscan -r /location |
It will run the ClamAV every first day of the month at midnight (12 a.m.).
Here is the crontab format for reference:
Minute Hour Day of Month Month Day of Week Command (0-59) (0-23) (1-31) (1-12 or Jan-Dec) (0-6 or Sun-Sat) 0 0 1 * * clamscan -r /home |
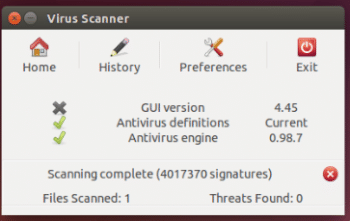
Till now, we have seen scanning using CLI; we can do the same thing using a GUI too. Run the command given below to do so:
sudo apt-get install ClamTK |
If you find any difficulties during this step, please refer to the link given below for troubleshooting.
http://askubuntu.com/questions/ 378558/unable-to-locate-package-while -trying-to-install-packages-with-apt

Similarly, we can install ClamAV for Windows. Refer to the link that follows to download the .msi file for the Windows version.
https://www.clamav.net/downloads
There are many third party tools supported by ClamAV, though ClamAV itself does not provide any support for those tools.
You can refer to the official site of ClamAV at https://www.clamav.net for more information.


