Websites comprise frameworks, libraries, assets and utilities. Keeping track of all these packages and making sure they are up to date (or set to the specific versions you need) is tricky. Bower manages all this for you, seamlessly.
Bower is an open source package manager for Web applications. We need to install a lot of packages while building a website. Bower helps in automatically fetching and installing all these packages. The main objective of Bower is not to minimise code but to install the right version of packages and their dependencies that we require for a project.


Installing Bower
To install Bower, you have to have the Node package manager, i.e., npm installed on your system.
To install npm, go to the Node.js website (www.nodejs.org) and download the current version of Node.js for your system. It is a command line utility.
Install Bower as a global node module. To do so, use the following command:
C:\>npm install -g bower |
Once the installation is complete, Bower is ready for use.


Creating the bower.json file
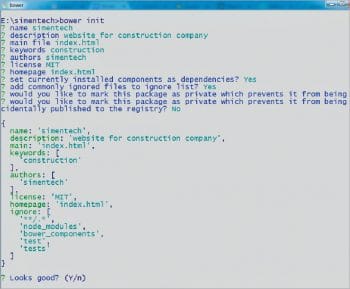
Bower uses a file called bower.json to keep track of all the dependencies that are used in your project. To build a bower.json file, use the following command:
C:\>bower init |
When you type this command, you will be asked a few questions and then you can initialise the bower.json file.
The description of the file properties of bower.json is as follows:
1. name – The name of your application
2. version – A version number for your application
By using Bower, we can add a new package to our project, automatically. Here, we will add Bootstrap to our project by using Bower. To install packages with Bower, use the following commands:
# install dependencies listed in bower.jsonC:\> bower install# install a package and add it to bower.jsonC:\> bower install <package> -S |
While installing packages using Bower, there may be a chance that we get this specific error:
ENOGIT git is not installed or not in the PATH |
To install Git on Windows, follow the instructions given below:
Download Git from https://git-for-windows.github.io/.
Run the Git2.110.2.exe file.
Follow the installation instructions. The path to my Git installation is C:\Program Files\. Choose a different one if you want.
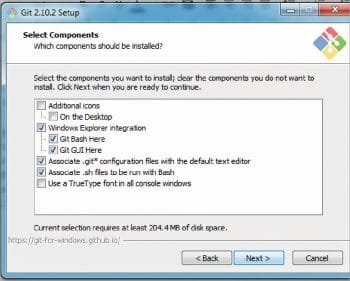
Select the Git component that you want.
Select the second or third option from the list. It will automatically add Git to your PATH variable.
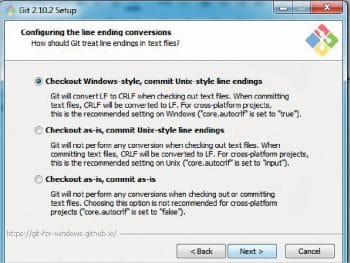
Configure the line ending conversations.
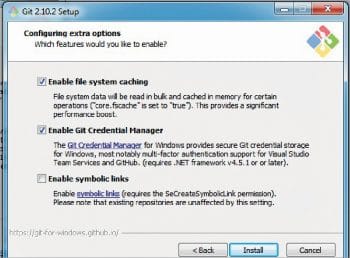
Click Next and then click install to install Git on your machine.
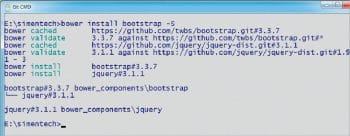
After successful installation of Git, open Git Bash or the Git Shell (Program files -> Git->Git Bash\Git Shell\Git cmd) and go to your project (using cd). Git Shell is installed by default with the GitHub Windows installation. To install Bootstrap, enter the following command:
C:\>bower install bootstrap -S |
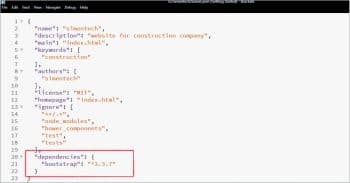
** In the above code snippet, ‘-S’means it will save Bootstrap as a dependency for your project in the bower.json file.
Now, Bower will automatically install Bootstrap to your project. It recognises that Bootstrap depends on JQuery. So, Bower will automatically install JQuery for us.
In your project folder, Bower has created a bower_components folder. The components that Bower fetched and installed are saved in this folder. Now, open the bower.json file to see that Bower has added new information about the dependencies.

Updating Bower components
To update Bower components, use the following command:
C:\>bower update |

Using Bower components
To make use of the Bower components, include CSS and JS scripts into the Web pages. Since all JS and CSS files reside in the bower_component folder, we will have to write the following code.
For CSS, the code is:
<link href=”bower_components/bootstrap/dist/css/bootstrap.min.css” rel=”stylesheet”> |
For JS, the code is:
<script src=”bower_components/jquery/dist/jquery.min.js”></script><script src=”bower_components/bootstrap/dist/js/bootstrap.min.js”></script> |


