VirtualBox is a cross-platform virtualisation tool. It can be used to create virtual machines running different operating systems on a single machine. This article discusses how VirtualBox can be installed in Windows 10.
VirtualBox, as the name suggests, is cross-platform virtualisation software that is based on x86 systems. It was developed by Innotek, which was acquired by Sun Microsystems, and then by Oracle in 2010.
VirtualBox provides the facility to install and run various operating systems such as Windows, Linux, Solaris and others, on multiple virtual machines. It provides high performance and various features to its users for professional or enterprise use. Since it is open source software, it is widely used.
It also supports various hardware such as multi-screen resolutions, USB device support, built-in iSCSI support, ACPI support, and guest multi-processing.
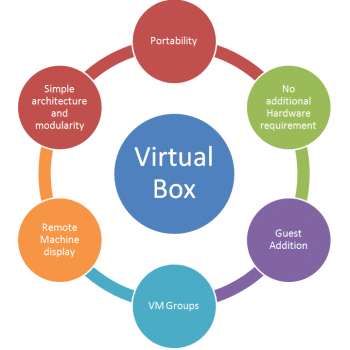
The main features of Virtual Box are shown in Figure 1.
Installation and configuration of VirtualBox on Windows 10
Go to https://www.virtualbox.org/wiki/Downloads and download the installation packages. VirtualBox platform packages are released under the terms of the GPL version 2. In our case, we will download the installation package of VirtualBox 5.1.6 for Windows hosts x86/amd64. Now, click on it to install it.
Read the instructions in each dialogue box and click on Next. There will be a warning regarding network interfaces, as the installation will reset the network connection.
Once you are ready to install, click on the Install button.
Click on the checkbox if you want to start VirtualBox after installation.
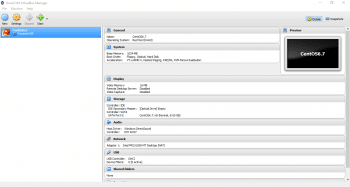
Once the installation finishes successfully, you will get the VirtualBox dashboard. We are now ready to create a virtual machine in the VirtualBox.

Creating a VM in VirtualBox
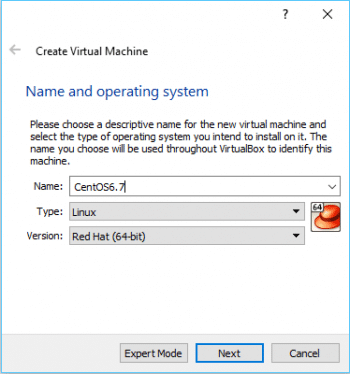
To create a virtual machine in VirtualBox, click on the New button. Provide a name for the virtual machine, select the operating system type, and select the version. In our case, we will create a CentOS 6.7 virtual machine.
Click on Next and select the memory size (in MB) for the CentOS 6.7 virtual machine.
Click on Next again. Configure the settings for the hard disk; in our case, we will select ‘Create a Virtual Hard Disk’ now. Click on Create. Select the hard disk file type as VDI-VirtualBox disk image.
Click on Next. Select a dynamically allocated size for efficiency as it will use space only as per requirements. Click on Next. Keep the file location and size as it is. Click on Create. You will now have a newly created virtual machine in VirtualBox on the desktop.
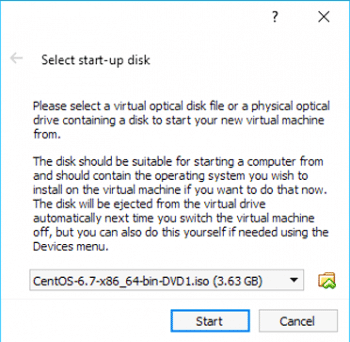
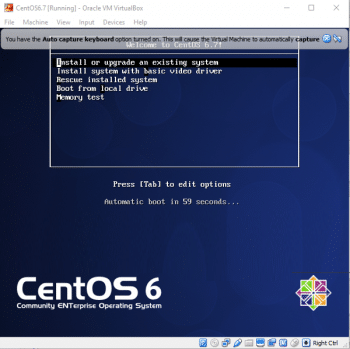
Click on Start. In the startup disk, provide the CentOS 6.7 ISO.
Click on Start and follow the rest of the process for a normal CentOS installation.
Once the virtual machine is ready and we want to preserve the installation (or if we want to create a similar type of virtual machine), we can clone it. Go to the left sidebar and click on Clone. Provide the new VM’s name and click on Next.
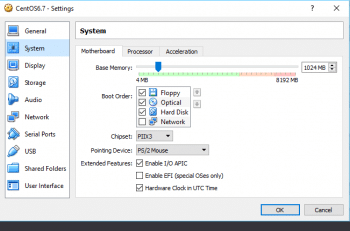
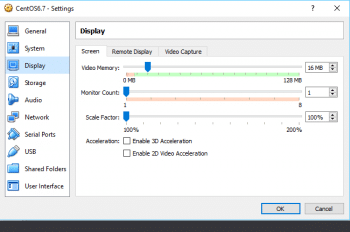
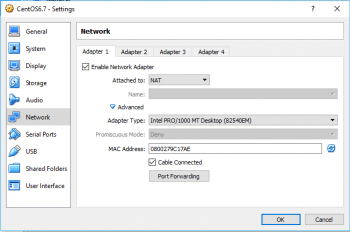
Select a clone type. We will select a Full Clone and not a linked clone. A full clone will create an exact copy of the original machine, and it will include all virtual hard disk files too in the process. In the case of a linked clone, it won’t copy the virtual hard disk files but a new virtual machine will be tied to the original virtual hard disk files. Click on Clone and then on Done.
To verify and edit the different settings available in the VirtualBox VM, click on the virtual machine and select Settings. In each case, verify and/or edit settings.
To verify what files are created for the VM, go to C:\Users\<UserName>\VirtualBox VMs and verify all files.


I installed Virtual box on Windows 10 . I installed Open SuSE (LEAP) and CentOS 7.3 on two VMs
the Virtual box network setup is bridged. OpenSuSE takes host-only networking and get 192.168.56.x address and CentOS 7.3 takes bridged network gets address from DHCP (my router) 10.0.2.x
May I know what setting I am missing? I tried all the config options so far no luck. Please assist!
Mangaged to figure out how VM gets IP address . The default setting in Virtualbox is NAT, changed it to Bridged with this VMs get IP from DHCP
I can not get it to install.
I watched a youtube video witch said to check if the virtual tools are enabled in the bios, It wasn’t so I enabled it but it still doesn’t work. I’ve tried vb6.04 vb5.something added an extension file. It will not run on my windows 10 HP laptop.
Just installed VirtualBox and the pack for it.
Doesn’t support USB at all.
Unusable.
I was depending on it to keep my business alive.
All Done.