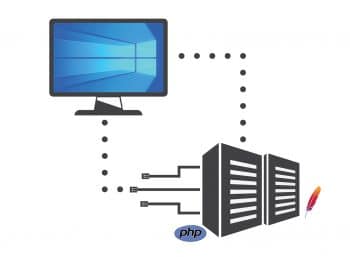
Developers can easily run or test their scripts in Windows before they put them out on the Internet, if they have Apache and PHP installed on their systems. This article is a tutorial on how Apache and PHP can be set up in Windows.
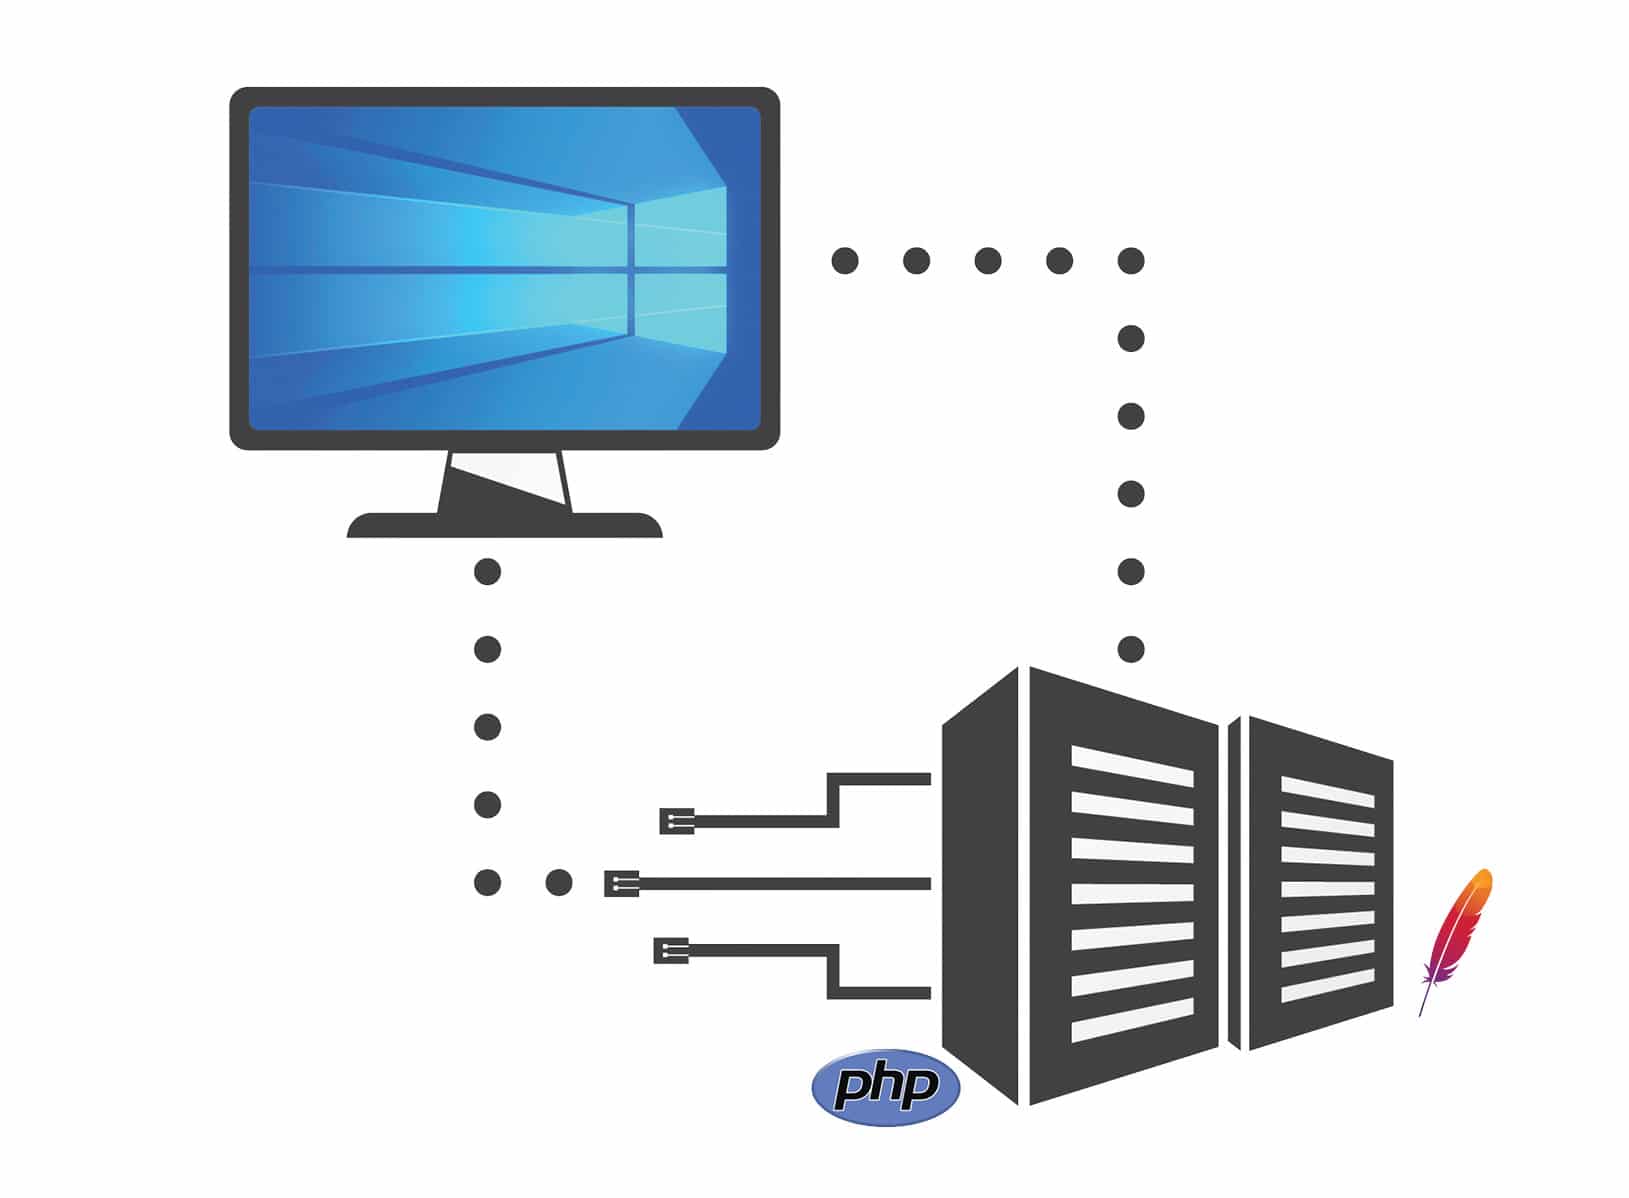
Web servers are computers that are usually set up in a facility called a data centre. These servers are maintained and operated by hosting companies, to store websites, so that people can visit them on the Internet. The files stored on a Web server are read by browsers, which convert these files into images and text for viewing. Your browser communicates with the Web server to bring you information from the Internet. The purpose of Web servers is to serve files, as requested. A server can send the same file, or a different one, to hundreds of users at the same time.
Web server software
Web servers typically run two types of operating systems —Linux or Microsoft Windows. Most of the Web servers today operate on Linux and most websites are hosted by Linux servers. It is confusing that these software programs are also referred to as servers. So you must distinguish between servers that refer to hardware and those that refer to software. Web servers also run other software programs in the background. Such software is useful for creating websites.
Basically, the Web server software receives your request to access a Web page. It runs a few security checks on your HTTP request and takes you to the Web page requested. Depending on the page you have requested, the server may be asked to run a few extra modules while generating the document to serve you. It then serves you the document you requested. The process is an example of the client/server model. All computers that host websites must have Web server programs and Apache is one such program.
An introduction to Apache
Apache is the most widely used Web server software. Developed and maintained by the Apache Software Foundation, it is open source software available for free. It can be highly customised to meet the needs of diverse environments through the use of extensions and modules. Most WordPress hosting providers use Apache as their Web server software.
The Apache HTTP server is software (or a program) that runs in the background under an appropriate operating system; it supports multi-tasking, and provides services to other applications that connect to it, such as client Web browsers. It was first developed to work with Linux/UNIX operating systems, but was later adapted to work under other systems, including Windows and Mac. The Apache binary running under UNIX is called HTTPd (short for HTTP daemon), and under win32 is called Apache.exe.
In this tutorial, we will install Apache and PHP in Windows in order to run your system as localhost (server).
The system prerequisites to do so are:
- Download and install Visual C++ redistributable 2015
- Download Apache24
- Download PHP 5.6
Downloading and installing Visual C++ redistributable 2015
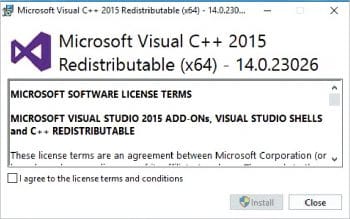
Let’s first install Visual C++ redistributable. The earlier packages like Visual C++ redistributable 2012 will give an error of a missing vcruntime140.dll file; so it would be better if the newer version, Visual C++ redistributable 2015, is installed, which will solve most of the issues. Most computers nowadays have it pre-installed. Nevertheless, I will lead readers through the step-by-step procedure of the installation.
First, download Visual C++ redistributable 2015 from the Windows official site.
Next, download the preferred version, i.e., if your system is 32-bit then download the x86 version, or download x64 for a 64-bit system. Proceed to install after the download is complete.
Installation wizard of Visual C++ redistributable 2015
Read the terms and conditions of the licence, click on the tick mark to accept these, and then click on Next.
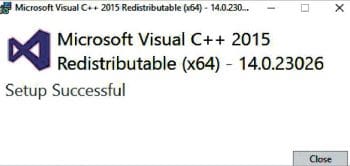
Click on Close when the installation finishes.
Downloading and installing Apache
We can download the latest version of Apache from https://www.apachelounge.com/download/. Download it based on your system’s requirements (32-bit or 64-bit).
Extract it and put it in the C:\ folder.

Downloading and installing PHP
Download PHP from http://windows.php.net/download. In the dropdown, Binaries and Source Releases, there will be many versions of PHP. The latest release is PHP 7, but I strongly suggest that you download PHP 5.6 because it is more common and will be installed in most of the servers and by the hosting services providers. You can use PHP 7 in the future but, as of now, we are coding something so we can continue with the PHP 5.6 thread safe release.
Download the Zip file and unzip it. Place it in a newly created folder named PHP inside the C:\ drive.
Running Apache and PHP in your system as localhost
Let’s access the Apache24 folder that we moved to the C:\drive earlier. Then, get into the conf folder and edit the httpd.conf file using Notepad or your favourite text editor.
Scroll down to the bottom of the file and add the following lines:
LoadModule PHP5_module “c:/PHP/PHP5apache2_4.dll”
Addhandler application/x-httpd-PHP .PHP
# configure the path to PHP.ini
PHPIniDir “C:/PHP”
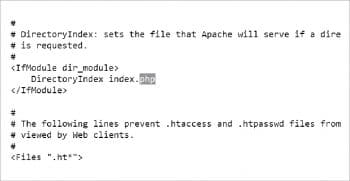
Next, find DirectoryIndex (you can use Ctrl+f) and change index.html to index.php.
What we are doing here is telling Apache that the first file we need is a PHP file and not an HTML one. Save the changes.
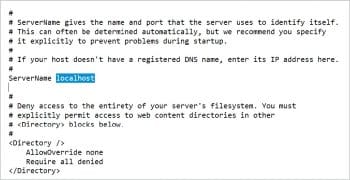
Now, search for ServerName (Ctrl+f ). Initially, it is commented; so uncomment it. We are changing this because we will use it for our browser search. Instead of typing www.example.com:80 in the browser search box, we just type localhost.
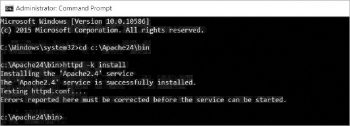
Next, launch the command line tool by typing cmd in the search bar of Cortana. Before we start CMD, we need administrative privileges too. Hence, instead of hitting Enter, we will hit Shift+Ctrl+Enter (or right-click and select Run as administrator). Sometimes, to install specific software, we need to run this with administrative privileges.
Then, write the following script:
C:\apache24\bin\httpd -k install
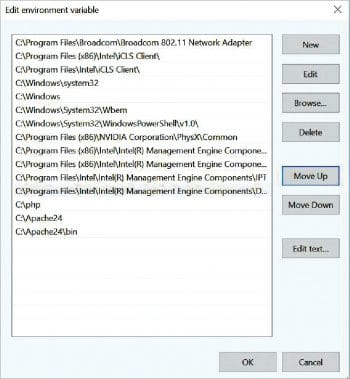
We now have to configure a number of environmental variables. To do that, right-click on the Windows button and click on System. Then, click on Advanced system settings. Inside the Advanced tab, down below there is a button called Environmental variables. Click on it and under System variables select Path. Click on Edit to add some variables. Inside the Edit environment variables window, click on New to create new variables and add the following:
- C:\PHP
- C:\Apache24
- C:\Apache24\bin
Use the Move up or Move down button to keep them in order, just to be sure. Click OK and close the window.
We can now check whether the Apache settings are correct and if all the servers are set up properly by running the following command in CMD, under administrative privileges:
C:\Apache24\bin\httpd -S
Some PHP settings have to be edited in order to tell Apache which PHP setting we need to have. Let’s access the PHP folder in the C:\ drive. Scroll down and search for the PHP.ini-development file and rename it PHP.ini.
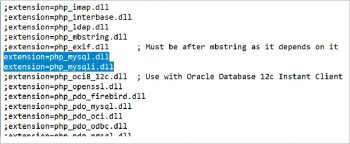
Let’s open this file and uncomment a number of sections.
First search for extension_dir and uncomment extension_dir = “ext” by removing the semicolon.
To uncomment PHP modules, let’s search for PHP_mysql.dll. There we have to uncomment two extensions of my_sql, which are used along with PHP.
Save the changes.
Let’s go back into our command line and then to the root folder, as follows:
C:\Windows\System32>cd .. && cd ..
To go back one folder, for instance, if we are in C:\ drive and want to access the PHP folder, type:
C:\>cd PHP
Inside the folder, type the following command:
C:\PHP>PHP -m
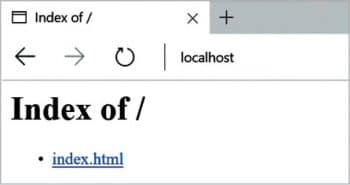
To see the list of all the modules that are loaded, I suggest you restart your system. Open your browser, and type localhost in the URL search bar.
If something like what’s seen in Figure 9 shows up, we have the confirmation that our servers are running fine because we can see the files inside the localhost index. To access the folder, go to the C:\ drive and open the Apache folder. Find a folder named htdocs and create a new file named info.PHP inside it. Then type the following:
<?PHP
PHPinfo();
?>
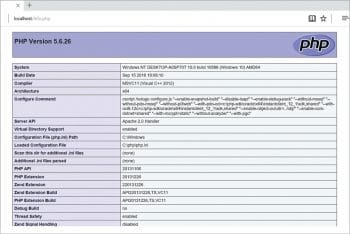
Again, go to your browser and type localhost/info.PHP in the URL search bar to get information about the PHP version. There lies all the information on the localhost, modules and everything that we just installed.







If you dont like big Apache environments, there is a small Webserver for Windows with integrated PHP 7.2.0, also usable from command line: https://www.mwiede.de/windows-php-webserver/
Hello, when I browse localhost it shows “it works ” text only. The list of files isn’t available on the screen.