Before installing WordPress on a desktop, it’s necessary to also have a local server environment on it. Let’s use the WAMP server to install WordPress on a Windows computer. If you want to have a live WordPress site available to the public, then you need to have a domain and WordPress Web hosting, for that’s where you can transfer your site to later from your local server. Average users can use the local server environment to test plugins or make changes to the site before making it live for their audiences.
The WAMP server
WAMP or WampServer is a virtual server for the Windows platform. The acronym stands for Windows Apache MySQL PHP. It allows the management of a website and all its components. The advantage with this software is that it deals with three different website formats, which are MySQL, PHP and Apache. WAMP is free and can be easily downloaded.
Installing WAMP on your desktop
Once the WampServer is downloaded, run the installation program and follow the on-screen instructions. At one point during the installation, WampServer will ask for the location of the default Web browser. By default, it will use Internet Explorer, but you can change that to Google Chrome or Firefox by locating the browser in Program Files. When the installation is done, just launch the WampServer. Once that’s done, you get two modules, one is Apache and the other is MySQL; so just start both modules. Once these modules start working, check out your server by opening the URL http://localhost/.
Installing WordPress on a WAMP server
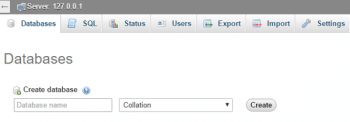
Before installing WordPress, let’s build a database for our WordPress site. There is one Web application module called phpMyAdmin in WampServer, which is used to manage MySQL databases. Just open it by clicking on the WampServer icon in the Windows taskbar, and then click on phpmyadmin.
Enter the name of your database here, like wordpress_db and just click on the Create button to create a database of your WordPress application. Now it’s time to install WordPress. We can download a copy of WordPress from https://wordpress.org/.
Extract the Zip file and there you will find a copy of WordPress in it; just copy the WordPress folder and paste it in C:\wamp\www.
Open your first WordPress website by using the URL http://localhost/wordpress/.
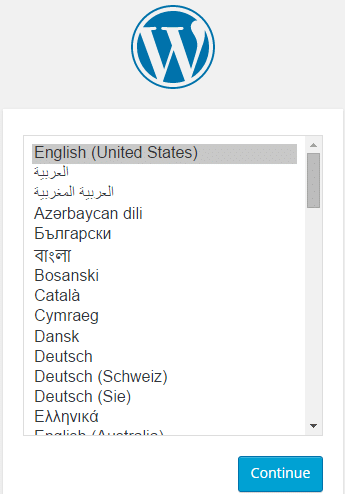
1) The first thing you will see is a prompt to select the language for your site. So let’s choose the language and click on Continue.
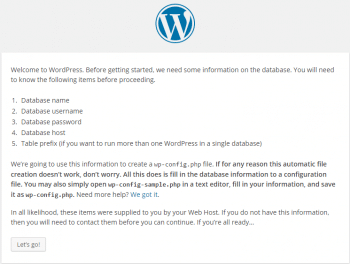
2) Next, you will see the Welcome screen of WordPress, where we are informed that we have to know the database name, user name, password and the host name before going further.
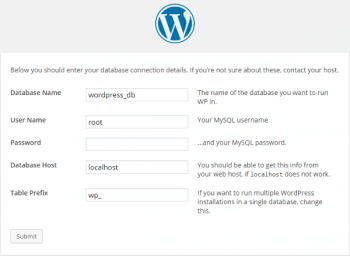
Database name: We have just created the database for our website and named it wordpress_db.
Database user name: The default user name for WAMP server is root.
Database password: The default password for the WAMP server is blank, so leave it blank.
Database host: Here, our host name is localhost.
Just click on the Let’s go button because now, we know everything.
3) The third screen is for entering database connection details. Here, you will find something called Table prefix; just enter ‘wp’ in it, which is the default prefix of WordPress. Enter all the details and submit it.
4) After that, just continue with the installation.
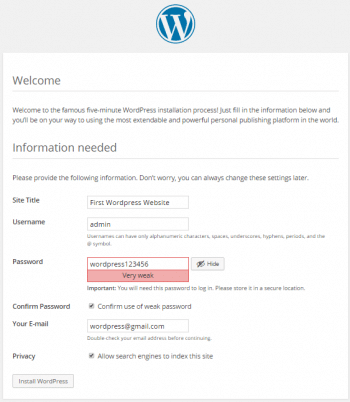
5) On the next screen, fill out the installation form. You need to provide a title for your website, choose an admin user name and password, and provide the admin’s email address. Finally, press the Install WordPress button.
6) Now, it’s time to proceed to our first WordPress site by clicking on the Login button.
Logging in to your first Web application
To view the website, just go to http://localhost/wordpress/.
To log in to our WordPress site’s admin panel, go to http://localhost/wordpress/wp-admin/.
The details are the same as what we gave at the time of installation:
Username: admin
Password: wordpress123456
So log in and set up your blog or whatever you would like to use this site for.




How to publish from localhost to online after developing Website in Local Host