According to IDC, globally, Androids share of the smartphone market is about 45 per cent. The best part is that Android is open source and learning it is not at all difficult. Students and professionals want to, at least, know its basics. There are many platforms, like Android Studio, where even beginners can get into Android development. Android Studio is a cross-platform integrated development environment (IDE) for developing on the Android platform. It is written in Java and is available for Linux, Windows as well as for Mac OS X.
Eclipse, which also provided Android development tools, has been replaced by Android Studio as Googles primary IDE for native Android application development. The main reason for this move is because Eclipse was not stable.
Android Studio offers a better Gradle build environment, smarter short cuts, an improved user interface (UI) designer, a better memory monitor, an improved string translation editor and better speed. The build system in Android Studio replaces the Ant system used with Eclipse ADT. It can run from the menu as well as from the command line. It allows you to track memory allocation as it monitors memory use. It has built-in support for the Google Cloud Platform, making it easy to integrate Google Cloud Messaging and App Engine. It also comes with inline debugging, and performance analysis tools. Android Studio has Android Virtual Device (AVD) which comes with emulators for Nexus 6 and Nexus 9 devices. It also offers build variants and the capability to generate multiple apk files. Whenever one compiles a program, the configured lint and IDE inspections run automatically.
Configuration
Installation
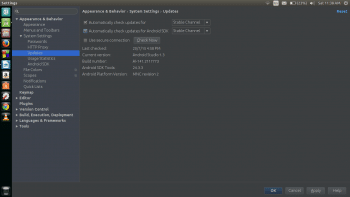
Before you set up Android Studio in Linux, you need to install JDK 6 or higher. In fact, JDK 7 is required for developing Android 5.0 or above. The other requirements are a minimum of 2GB RAM (though 4GB is recommended), 400MB hard disk space and at least 1GB for the Android SDK, emulator system images, caches, GNU C Library (glibc) 2.15 or later, etc. After installing Android Studio and setting it up, go to the SDK manager to update the required tools, platforms, etc, required for app-building. These packages provide the basic SDK tools for app development, without an IDE. If you prefer to use a different IDE, the standalone Android SDK tools can be downloaded. One can set up an update channel to Stable by going to: File > Settings > Appearance & Behaviour System Settings > Updates as shown in Figure 1.

Proxy settings
One needs to set the proxy settings for the IDE and the SDK manager in order to support Android Studio to run behind the firewall.
For Android Studio:
- From the main menu, choose: File > Settings > Appearance & BehaviourSystem SettingsHTTP Proxy.
- In Android Studio, open the IDE Settings dialogue box. Choose: File > Settings > IDE Setting — HTTP Proxy.
- When the HTTP proxy page appears, select auto-detection to automatically configure the proxy settings or manually enter each of the settings.
- Click Apply to enable the proxy settings.
For the SDK manager:
The SDK managers proxy settings enable proxy Internet access for Android package and library updates from the SDK manager packages. Start the SDK manager and open the SDK Manager page.
- Choose Tools > Options from the system menu bar.
- The Android SDK Manager page appears. Enter the settings and click Apply.
Features
- Code samples are available on GitHub. To import them, go to File > Import Samples as shown in Figure 2. This would be very useful for newbies.
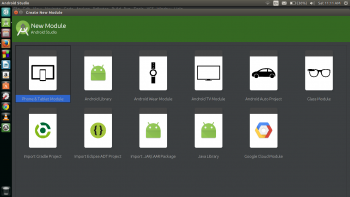
- Android Studio also supports Android Wear and T.V. While creating a project, you can select features according to the requirements. For that, go to File > New > New Module (Figure 3).
- Template based wizards are used to create and manage activities within the project. This tool helps the developer choose which API level to target by displaying information about the Android version name and number, the distribution and the APIs present.
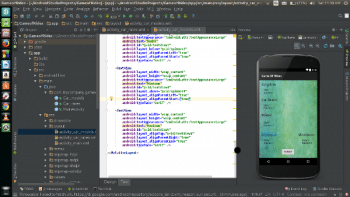
- It has a rich layout editor that helps in adding UI components by just dragging and dropping. The layout can be previewed for various screen orientations providing cross-platform consistency. It also shows the preview of the app (Figure 4).
- It supports fingerprint authentication for the app.
- The android manager page appears. Enter the settings and click apply
Using hardware devices
After you have successfully created a project, it can be run either on a virtual device (emulator) or on your own device. Though seeing your app run on your own device can be fun, the advantage of running it on the emulator is that it can be verified on different versions of the Android platform. You also have the option to check how it functions in different orientations and screen sizes. To run the app on your device:
- First connect the device to the development machine through a USB cable.
- Go to Settings > Developer Options on your device. If you use Android versions higher than 4.2, the developer options are hidden. So, to activate them, go to Settings > About phone and tap Build number seven times. Then go back to the previous menu where you will now find the Developer Options.
- Enable the Debugging over USB option.
- Now, go to your project and select one of your projects files and click Run from the toolbar.
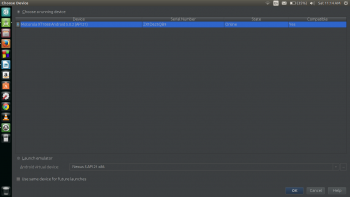
- In the Choose device window that appears, select the Choose a running device radio button, select your device, and click OK.
Building and running a project
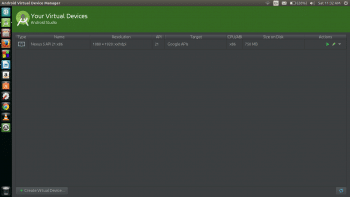
Before you can run your application on the Android emulator, verify the default AVD or create one. To run (or debug) your application, select Run –> Run (or Run –> debug) from the Android Studio menu bar. It will compile the project, create a default configuration, install and finally run on an emulator. If you run the application in debug mode, the Choose a Device option appears so you can select an attached device or emulator.
Running from the command line
To build in debug mode, open a terminal and navigate to the root of your project directory. Use Gradle to build your project in debug mode, invoke the assembleDebug build task using the Gradle wrapper script, as follows.
$ chmod +x gradlew$ ./gradlew assembleDebug |
To see a list of all the available build tasks for your project, type the following command:
$ ./gradlew tasks |
Tips
- Here are few tips for newbies. The following short cuts can save a lot of time and help you work efficiently.
- It would be very easy if when you missed adding attributes to your button or text view, a rendering message gets displayed, which, when clicked upon, would automatically add all the missing attributes.
- While creating a new project/activity, you can select the type of activity you want. It has very smart auto-code completion. Just pressing Ctrl+space will enable this feature.
- Method documentation can be obtained by hovering your cursor over the method definition, and clicking and pressing F1 will bring a pop-up box with the required details.
- Alt+Enter: This helps in fixing coding errors like missing imports, variable assignments, etc.
- When a reference to an image is inserted in the code, a preview appears in the margin. Pressing F1 with the preview image selected displays the resource asset details.
References
[1] http://developer.android.com/intl/zh-tw/tools/studio/index.html

