
Blender is great software for animation and is particularly suited for character animation. Following a process of modelling and creating vertex groups for complex models, and then auto-assigning bones using the same nomenclature as for the vertex groups, makes it very easy to set up a working character rig. The Armature tool in Blender is very advanced, yet quite simple to use even for novices. Setting up controls is also quite easy in Blender, compared to software like Maya or Max.
Create controls and add IK
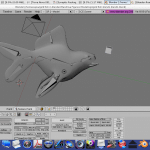
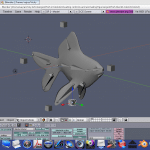
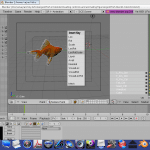
Shift to the orthographic side view by pressing 3 and 5 on the numeric pad. Click just in front of the mouth of the fish. Press the space bar and Add-Mesh-Cube. Scale down the cube as shown in Figures 1 and 2.


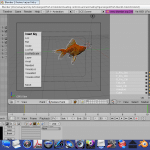
You can create IK in Blender in various ways. The easiest is to first shift to Pose Mode. Select the control cube you just created. Shift-select the head bone. Press Ctrl+I. A pop-up asks you whether you want to assign IK to the active object. Click OK. Go down to the Armature panel and set the chain length to 1.
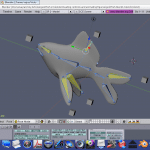
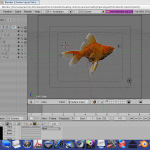
Add similar cubes to create controls for the fins and the tail. Add IK for all the controls. Shift to the Animation UI and click the render boxes next to the cube icons in the outliner (Restrict/Allow renderability). This will disable rendering of the cubes (since in our renders we want only the goldfish to be displayed and not the controls). Figures 3 to 6 show the process of adding controls and IK, and Figure 7 shows how to toggle rendering of the cube.


Testing the controls
Next, it is time to test the controls. While in object mode, move around the cubes to test the deformations on the fish. If you find these are not as expected, shift to the weight painting mode and try to get rid of overlapping weights — remove extra weights and add weight where necessary. On the weight painting slider, the lower part is for lower values and the upper part for higher values.
Creating keyframes for animation
Shift to the Animation UI through the drop-down menu. Select the whole armature at Frame 1. Press ‘I’ for a pop-up menu to key in various attributes. Key the location, rotation and scale on the first frame. Selecting the armature and controls, move the goldfish forward in the viewport.
Shift to frame 250 and key the frame (press ‘I’ and key the location, rotation and scale). Shifting back to Frame 1, test your animation — press Alt+A to play it. You will observe that the goldfish moves forward and the animation loops. Figures 8 and 9 show the insertion of keyframes at 1 and 250. Figure 10 shows the goldfish playing as a loop in the camera view.
Path animation: a good way to animate simple objects
The easiest and the most convincing method of animating simple objects is path animation. It can create both the simplest and the most complex animation, depending on the type of path you create. In Blender, you first create your object, and then your path, after which you parent the object to the path using the Follow Path command, which could be done in various ways. Once your object starts to follow the path, the animation can be fine-tuned in various ways (modify the path’s attributes, or modify the IPO curves in the Curve Editor).
Creating circular motion
While at the Animation UI, press Add to add a nurbs circle. Press F9 to go to the buttons for nurbs and surface attributes. Set the path length to 250. Make it a 3D object. Also enable Curve Path and Curve Follow. Now select the armature, the controls and shift-select the nurbs circle.
Press Ctrl+P. From the pop-up menu, select Follow Path. This makes your fish follow the path defined by the nurbs circle — a circular motion. Play your animation (Alt+A). If you find the fish is not aligned to the path properly, you can fix this by manually rotating and aligning the fish on the nurbs circle. Figures 11 and 12 show how the nurbs circle is used to make a circular path for the goldfish.


Creating random motion using a hand-drawn path
Create a path. Shift to edit mode. Select the end-point and start to extrude it using E. Make a random path. Once you are done with path creation, select the armature with the fish controls and the parent to the path (Follow Path from the pop-up menu).
Play the animation (Alt+A). Using Shift+D, you could make multiple copies of the same animation and place them randomly before the camera. When you play the animation, it gives the impression of a whole school of fish swimming randomly. This is by far the best way of creating animation using the Animate along path method.
Once you practice creating such animation you could fine-tune it to make it appear more realistic, perhaps by using the cube controls to move the fish fins back and forth, move the tail from side to side, open and close the mouth of the fish as it moves, and so on.
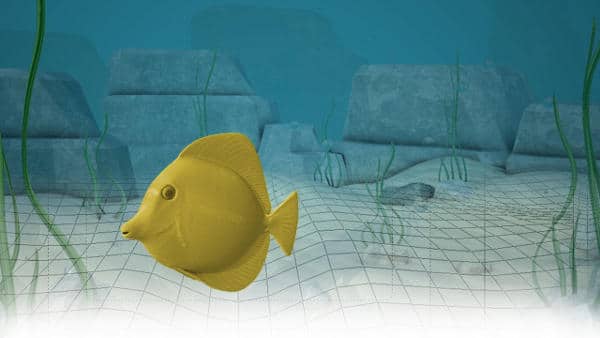
There is no limit to the innumerable ways you can make your animation more realistic. Figure 13 shows you the goldfish moving along randomly created paths.


























[…] background-position: 50% 0px; background-color:#222222; background-repeat : no-repeat; } http://www.opensourceforu.com – Today, 5:59 […]
great work