

Compared to texturing, decaling is a faster way of showing up textures on a 3D model. Decaling involves first assigning any one type of UV projection to a 3D model, and then applying a pre-made texture to the model. It saves a lot of time, since you just apply the texture rather than take the UV map to a 2D painting program to paint it. On the other hand, decaling may not be handy if you have to texture a complex 3D model like a human body. It is fairly useful on simple bodies, like that of a goldfish.
Working with a split viewport
While decaling, it is always best to open the model, and then split the viewport into two side-by-side viewports. Open the goldfish model. Using the Middle Mouse Button (MMB), click at the top inner border of the default viewport. From the options that appear, choose Split Area. Click and accept the default settings.
Make sure the left view is set to side view (press 3 on the numeric pad), and ensure it is set to the orthographic view (press 5). Set the right viewport to the UV/Image Editor window (select the option from the drop-down menu at the separator bar). See Figure 1 for an example.

Creating the desired UV projection
To create a UV projection, select the UV Face Select mode from the drop-down menu at the separator bar. Type A to select all UV faces. Now, to choose the projection, press U to bring up projection options, and select the Project From View option (Figure 2).

Once the UV mapping is projected in the UV/Image Editor window, it becomes fairly easy to open the background goldfish image that we had used as a reference for the modelling work (Figure 3).

Applying the decal and making adjustments
Adjust the size and shape of the UV projection to match that of the profile image of the fish that appears in the background of the UV/Image Editor. Once you are satisfied, press F12 to render the scene. If it appears too dark, press the space-bar and add a lamp/sun light. If the texture does not seem to fit correctly, make further adjustments to the UV map by moving the vertices in the map in the UV/Map Editor. Look at Figures 4 and 5 for example results.


Creating a skeleton in Blender
The process of creating a working skeleton in Blender is a little different from that in other 3D applications. It begins by adding an armature, which is basically the first parent bone created. The armature panel provides us many options for setting up our skeleton, including the following for setting up different types of bones and editing them.
- X-Ray: It lets you see the armature through anything in the scene, solid or not. It is useful to know where the bones are in your character, so you can select them.
- Automatic IK: This is a Posemode option, which lets you pose a chain of bones as if the bone you are holding is an IK target. More information is available in the Posemode page.
- Display options: These let you visualise bones in various ways. Note that some options and features are specific to the display mode you’re in.
- Octahedron: This is the default view. There is nothing exciting about it, except that you have a good idea of how the bones in your character move.
- Stick: This display mode is really useful when you have a lot of bones in your view. It lets you ‘unclutter’ the screen a bit, drawing the bones as tiny sticks.
- B-bones: This is more a feature than a display mode; it is only useful to visualise the effect you get when you activate the B-bones (Bézier-Bones). Each bone acts like a curve handle, and lets you get extremely curvy poses. This will be exposed in the following pages.
- Envelope: Again, this is more a feature than a display mode, but this visualisation will be useful to tweak your rig later. It lets you easily tell which part of your character this bone will animate, and it is visually possible to change the zone of influence exclusively in this display mode. The zone is only visible in Editmode or Posemode, though.
Creating the skeleton for the goldfish
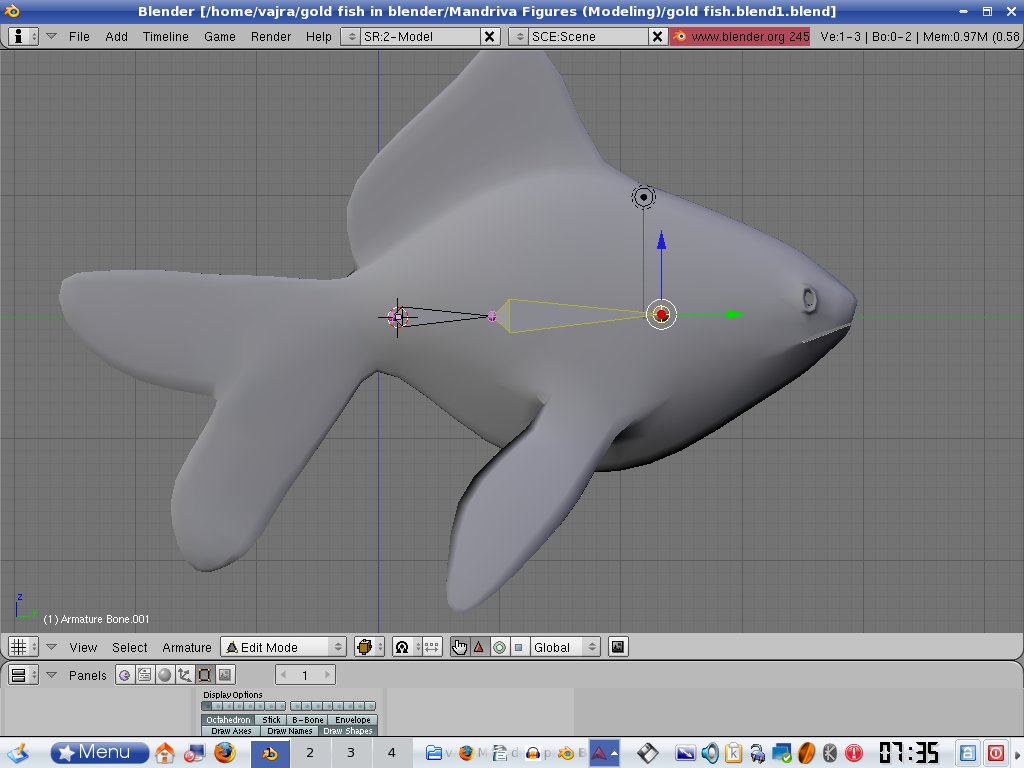
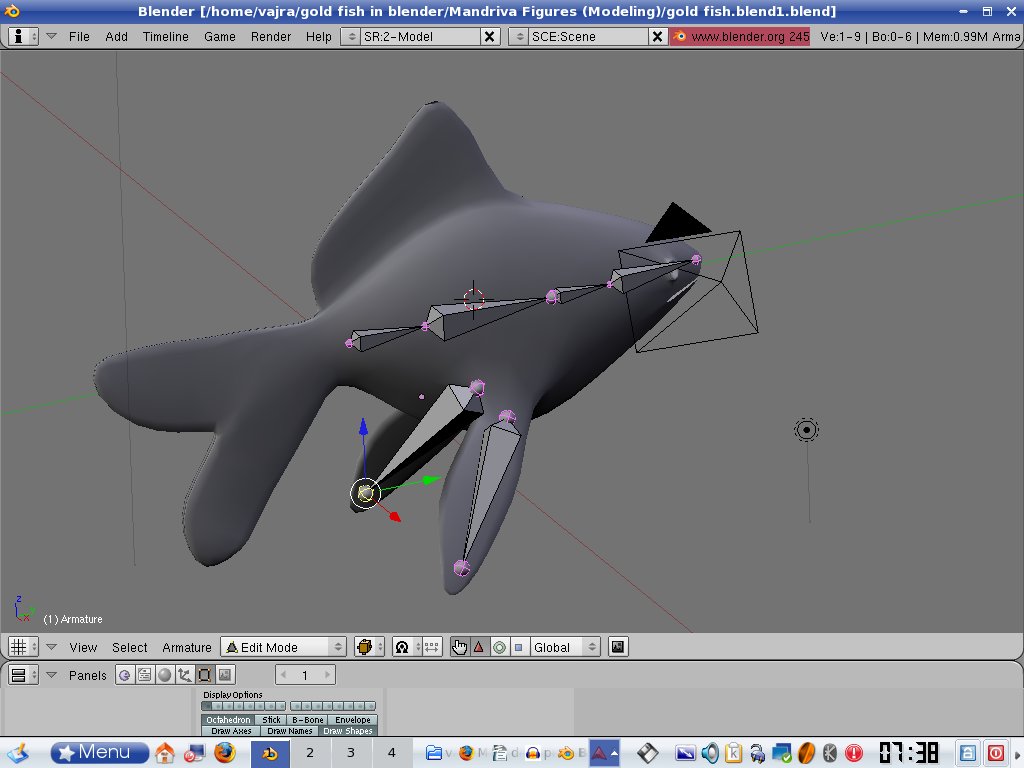
Shift to side view (press 3). Click at the back of the fish, just before where the tail should begin. Press spacebar; click the Add menu’s Armature option to add a default parent bone that will act as the hip bone. It’s easiest to create all the bones first, parent them in the correct hierarchy, and later name them appropriately.
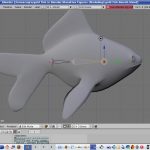
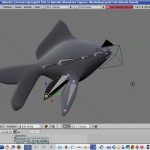
Care has to be taken to see that the first bone is properly created and placed in the body of the fish — ensure that the X-ray option is on at the bone creation level. Look at Figures 6 to 11 and ensure your bone is aligned the same way.
-

- Figure 6: Armature 1

-
- Figure 7: Armature 2
-
- Figure 8: Armature 3
-
- Figuire 9: Armature 4
-
- Figure 10: Armature 5
-
- Figure 11: Armature 6
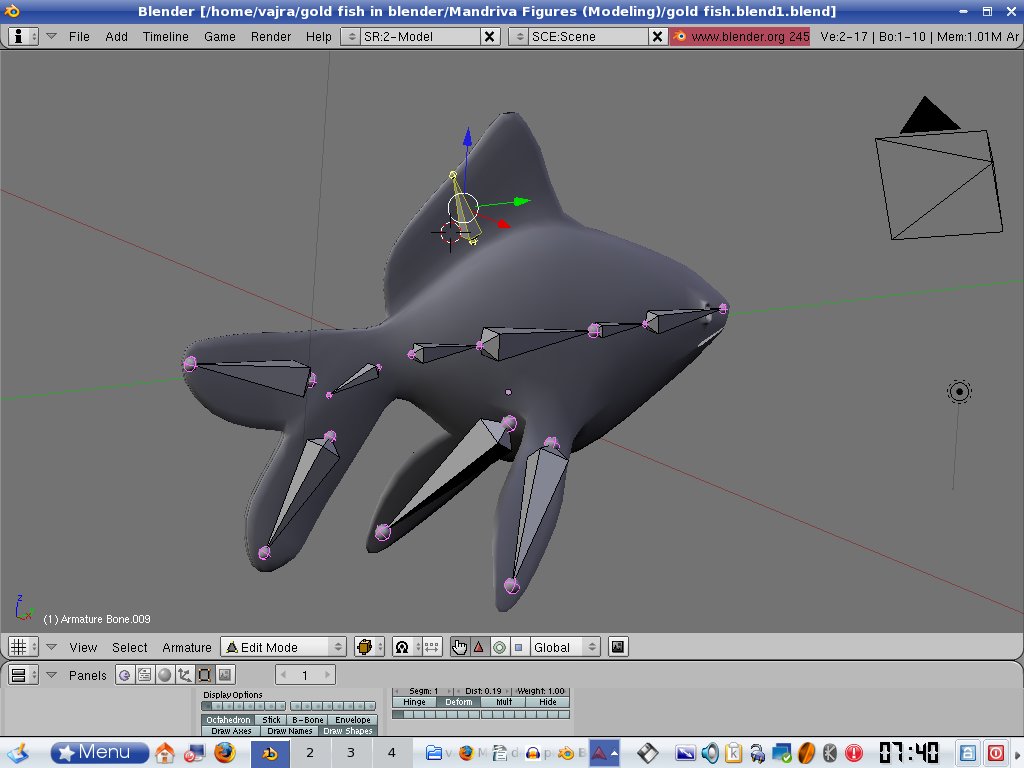
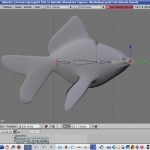
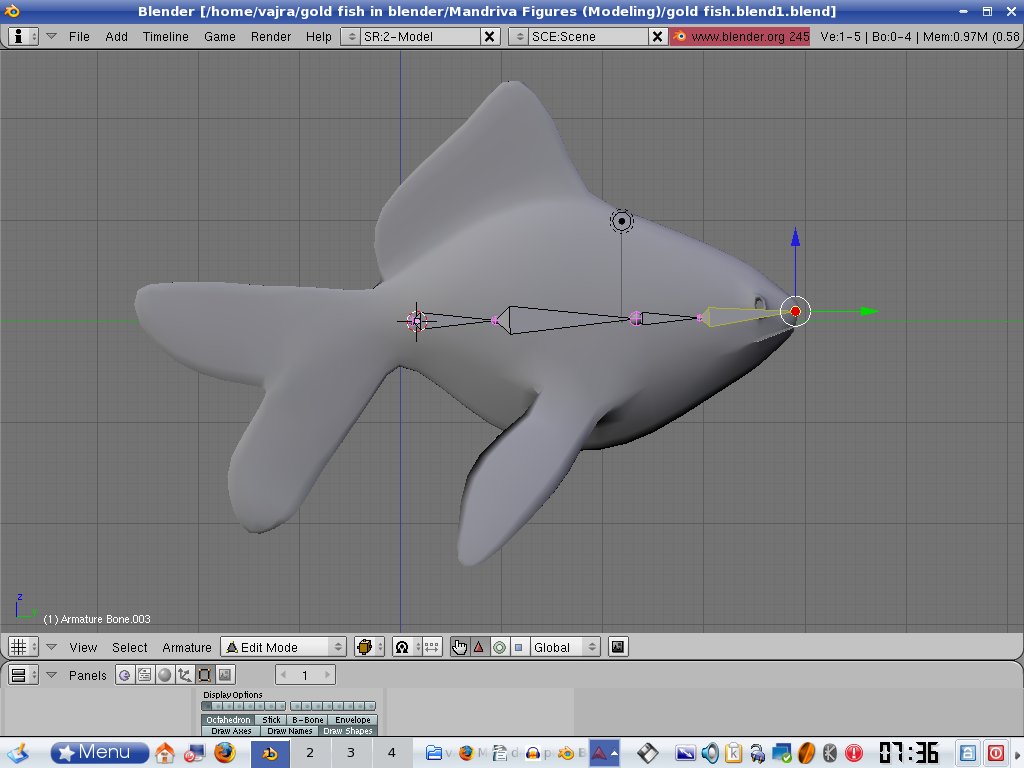
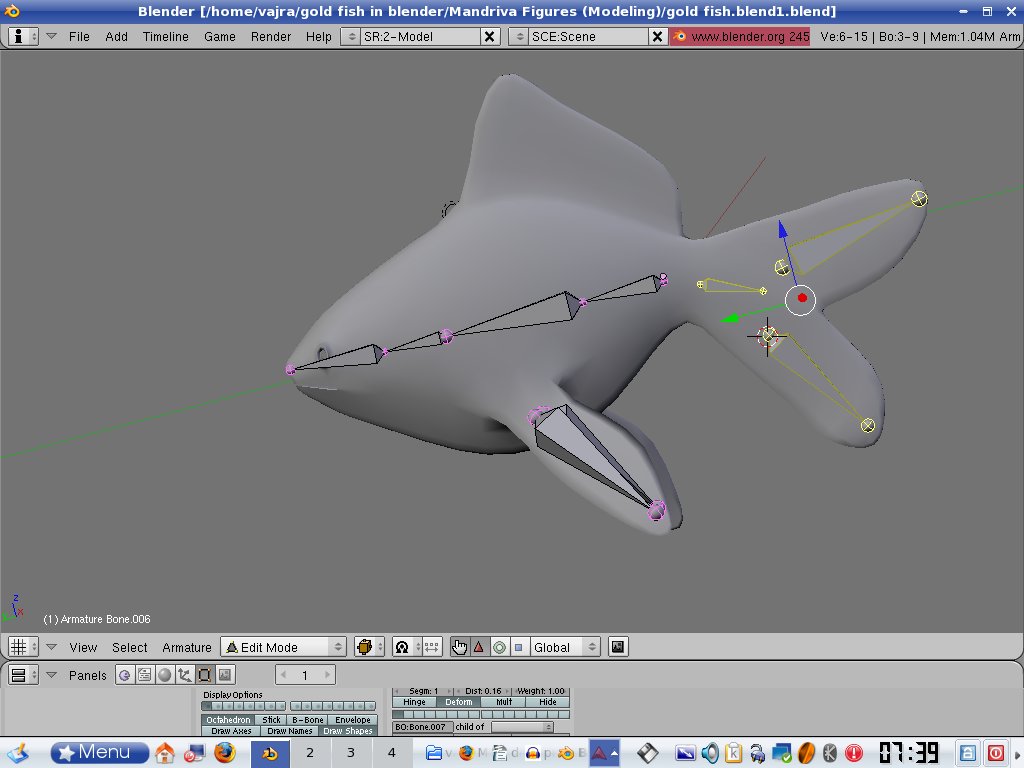
Click the tip of the hip bone in the edit mode. Press E to extrude a single bone, which will be the abdomen bone. Extrude another two, for the chest and head. Similarly, add bones for fins, the tail and the jaw. Parent the bones as seen in the figures: RMB-click-select the bone in Edit mode; then shift-select the second bone to which you want to parent the first bone. Press Ctrl+P and from the pop-up, select Keep Offset. In this way, parent all the bones appropriately.
Parenting the body to the skeleton
Once the skeleton is created, parent the fish body to the skeleton. First select the body and then shift-select the skeleton. Press Ctrl+P to bring up the Make Parent to — Armature/Object dialogue box. Make the body a parent to the skeleton by selecting the Armature option. This brings up another pop-up dialogue asking whether you wish to create vertex groups.
Choose the third option, Create from closest bones. This is how the fish is rigged. The basic deformations on the fish could be tested by going into the pose mode and rotating the bones on either end of the fish. You will observe that the corresponding body part also moves. For a better deformation, you could even switch to the autoIK mode in the armature panel.
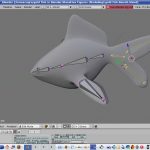
Figure 12 shows the dotted lines that result from parenting all the parts into a single working skeleton.

Painting weights for exact deformations
Once the fish body is parented to the armature, all the parts of the fish may not deform the way you want. For exact deformations, slight alterations have to be made, in terms of the influence of a particular bone on a particular part of the body. To paint weights, get into weight painting mode, using the drop-down menu from the separator bar.
Painting with the slider at the highest level paints red, which stands for full bone influence; the slider paints green at the middle level — half the bone influence; the slider’s extreme left provides zero bone influence. Paint weights if you are not happy with the deformations that take place in the pose mode. Figure 13 shows the default weight painting mode.

In the next article in this series on Blender, we will create controls for our fish, and will observe ways of animating it.


