Plone is a content management framework built on top of Zope. It is the most popular application using Zope. Plone continued to use Zope 2, and did not migrate to the Zope 3 application server as the migration cost was considered too high. The Zope community also realised that it was better to enhance Zope 2 with the new component architecture features, which were the core of the Zope 3 architecture.
This has enabled projects to enhance their applications without having to redesign or rewrite the whole system. As a result, Plone 4 finally uses the current release of Zope, and also uses Python 2.6 instead of Python 2.4. The Plone community has also made it relatively easy to migrate from Plone 3 to Plone 4, despite the major changes in it.
However, the focus of this article is how to get going if you were starting afresh with Plone 4.
Installation
A major concern with a complex application built on top of many components is to ensure that all the pieces fit, and work well. An upgrade in one component may break the system. Hence, it is best to work with a known set of versions.
The installation technique used by Plone is the Zope Buildout, which uses a list of specified Python egg versions to build and install a local Plone environment. It builds a Python 2.6 environment by default, so as not to depend on the distribution to provide a supported version.
You will need to download the current release of Plone’s unified installer, which is version 4.1 at the time of writing. You will find the installation instructions in README.txt, but the simplest option is to run the following command:
sudo ./install.sh standalone |
You will find the installation in /usr/local/Plone, with the sub-directories buildout-cache, Plone-docs, Python-2.6 and zinstance. The role of the first three directories is pretty clear. This leaves zinstance, which must then contain the Zope instance of the Plone application.
The installer also creates a plone user account, which will be used to run the Plone server.
First steps
You will be working in /usr/local/Plone/zinstance to run Plone-related commands and to alter Plone configuration files. Start the Plone server with the following command:
sudo u=plone bin/plonectl start |
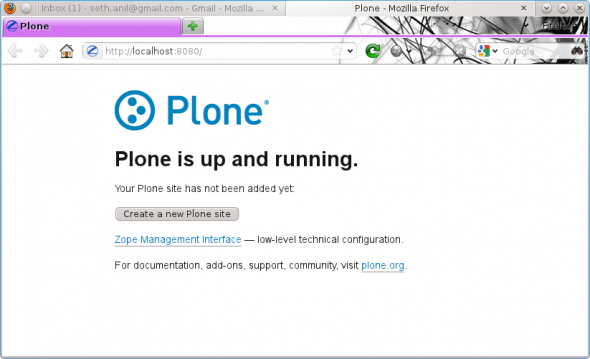
You can now browse the site at http://localhost:8080/. The startup page offers you a button to create a Plone site (Figure 1).

Once you have done that, you will want to create one or more users of the site. You need to select the Site Setup option from the upper right corner, which will give you the option of Users and Groups.
You may create a user named Writer, who will be adding content to the site. This user need not be a member of any of the suggested groups. However, you will want to add the role of a Contributor in addition to the role of Member.
Plone organises content in Folders, much like the desktop paradigm. Hence, as an administrator, create the folder, Articles. You can do this on the home page using the Add New... option. The newly created folder will be shown, and its state would be Private, which you should change to Published.
Now sign in as the user Writer. You will notice that the options available to this user are fewer. You can add a page in the Articles folder tab. You may enter the content using a visual editor. If you like writing HTML code by hand, you have the option to do so as well!
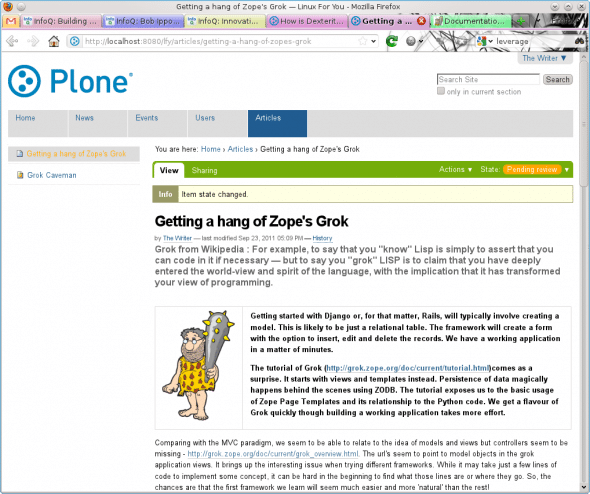
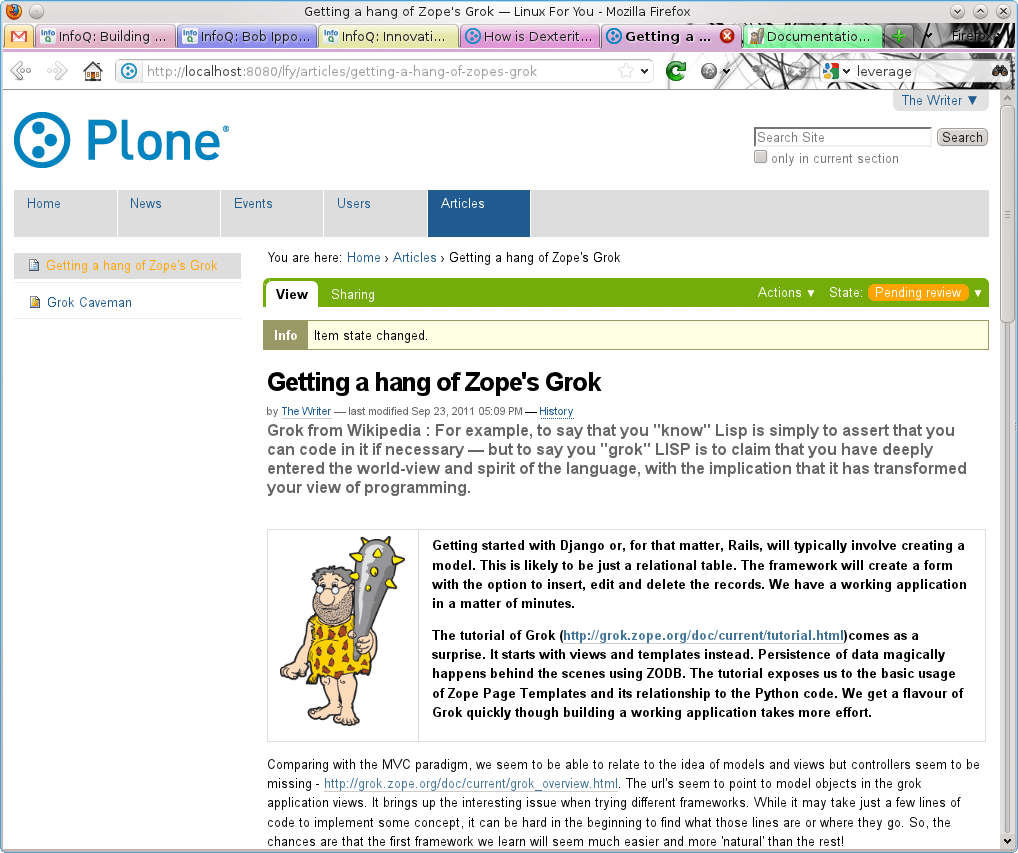
Create your first article. Its state will be private, and you will notice that you may submit the article for publication — but cannot publish it. Submit it, and the state changes from Private to Pending Review
(Figure 2).

Publishing can be done by a user with the role of Reviewer. The administrator has all the privileges, so at present you may use the administrator account to publish the article.
Clicking on Articles will display items within the folder. This is normally not very attractive. Hence, you may choose the Display option to “Select a content item as default view”. Try it and see the difference.
Model-based content
A great capability of Plone has been to easily manage content objects based on schema definitions, and not just HTML pages. Archetypes has been the framework for this task. Further, ArchGenXML converts your schema in UML to working Python code for Plone. See ArchGenXML Getting Started guide to get an idea of the possibilities.
However, the future seems to belong to another package — Dexterity. It is an example of an enhancement in Plone, which has leveraged Zope 3 technologies. For me, the most interesting part was that it uses the grok framework behind the scenes. So, you get a CMS that is extensible by a model-driven system. The possibilities are immense. Grok, incidentally, is functionally analogous to Rails or Django.
Currently, Plone does not include Dexterity in the core, so you will need to install it. Modifications to the buildout configurations can be confusing in the beginning. In the zinstance directory, you will find a number of cfg files.
The key file is buildout.cfg. You need to tell buildout about a suitable set of versions needed for Dexterity. You can find the latest set at here. You should change the extends section of buildout.cfg to look like what is shown below:
extends = base.cfg versions.cfg http://good-py.appspot.com/release/dexterity/2.0-next |
You will also need to include the egg for Dexterity in your Plone instance. The eggs section in your buildout.cfg will look like what follows:
eggs = Plone Pillow lxml plone.app.dexterity |
You should stop Plone and run buildout. If all is well, then start Plone:
sudo u=plone bin/plonectl stopsudo bin/buildoutsudo u=plone bin/plonectl start |
Sign in as the administrator. From the Site Setup page, choose Addons. You should see the option, “Dexterity Content Types — Plone Integration 1.0rc1”.
Activate it. The Site Setup should now include the option “Dexterity Content Types”. Selecting it will allow you to create a new content type. Create a new type called Resume. Now edit it to add fields, e.g., Title — a text line, i.e., a string; Birthdate — date/time; Mugshot—image; Experience –Rich text field; etc.
You can select the settings option of each field to change some of the attributes, like Required. In particular, you have to use the field name Title, as it is needed by Dexterity. In the mandatory field, Title, that you have created, you want the content to be the person’s name. Hence, it is better to change the label to an appropriate description. So, replace the default label Title by Name.
Select the behaviour option and disable “Dublin core
metadata” to ensure that it does not show the additional fields Title and Summary.
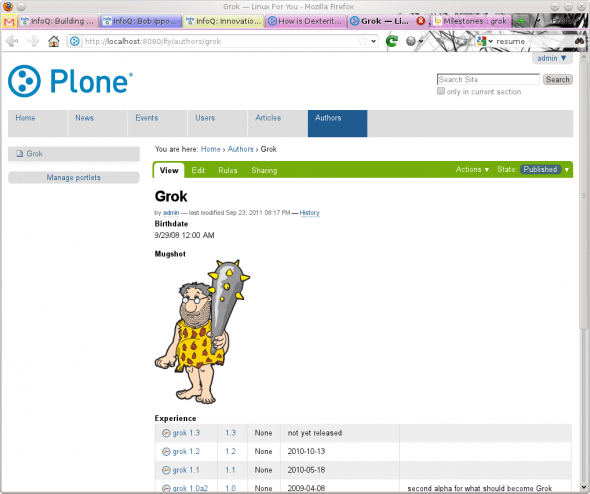
You should now create another folder, Authors, from the home page. You may notice that there is now an additional content type, Resume. For the Authors, in Add new, choose Restrictions and allow only content of the type Resumeto be added. Now, if you add a Resume, you will get a form. Once the form is filled and published, all users will see a pretty decent HTML page for it (Figure 3).

Capabilities like customising CSS and themes for a great-looking site are obviously possible. In case you need proof, have a look at the University of Washington site.
Plone 4 with Dexterity enhancements based on grok makes it an even more exciting framework. It should definitely be an option considered by anyone looking at a new content management framework.


