
Before we begin, let’s list the ingredients for this recipe. We need the following:
- A Web server — namely, Apache.
- A database server, MySQL.
- A server-side scripting engine called PHP. (In the early days, PHP stood for Personal Home Page; now it’s a recursive acronym — PHP: Hypertext Preprocessor.)
- These three components will run on a Linux OS (Ubuntu 11.04, in our case).
Apache, MySQL and PHP together are referred to as an AMP setup. AMP can run on Linux, Windows, BSD, etc. In our case, we will install and run them on Linux, so ours will be termed a LAMP (Linux-Apache-MySQL-PHP) setup.
Then comes the CMS (Content Management System), which is a Web application built to manage content (in our case, discussions and posts on a forum). We will use phpBB (PHP Bulletin Board), which is designed specifically for forum setups. It’s one of the best seamless forum CMSs out there — and to top it all, it’s free and open source, so we can customise it to our heart’s content.
Setting up AMP
Let’s use our favourite package manager (mine is Synaptic) to install AMP:
- Click the Ubuntu button (new in 11.04, with Unity and all) and type “synaptic”; locate it and hit Enter.
- Search for “apache”.
- Select the Apache packages.
- Repeat this for PHP (“php”) and MySQL (“mysql”).
- Hit Apply to install the packages.
That should do it. We don’t need to configure anything yet. To check the installation, open a Web browser, and navigate to http://localhost/. You should get an “It works!” page.
Setting up phpBB
Head over to the download page of phpBB, and download the software. It’s a tiny zip file, not more than 2 MB — sweet things come in small packages! Extract the contents into a folder called phpbb (or any name of your choice) in /var/www.
Launch the Terminal (Ubuntu menu –> Terminal). Fire up mysql in root mode with the command mysql -u root -p (by default, the password for the root user is a blank). This will bring up a mysql> prompt. To create a database, run the following command:
It should respond with something like: Query OK, 1 row affected (0.44 sec). Our database has been created. Now, the rest of the installation can continue from a Web browser of your choice.
Configuring phpBB
In your Web browser, go to http://localhost/phpbb(or whatever folder name you used when extracting the archive). You will be greeted by a page as shown in Figure 1.
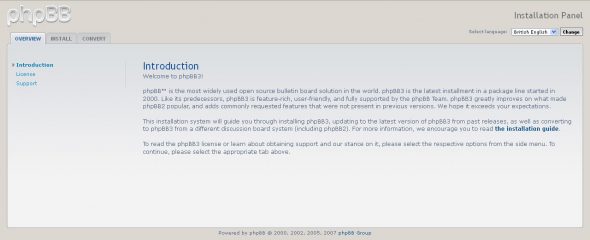
Click the Installtab to begin installation, which will result in the page shown in Figure 2.

The phpBB installer script will now check whether all the requirements have been addressed (Figure 3). Some may not have been, but that’s fine as long as the minimum are met.
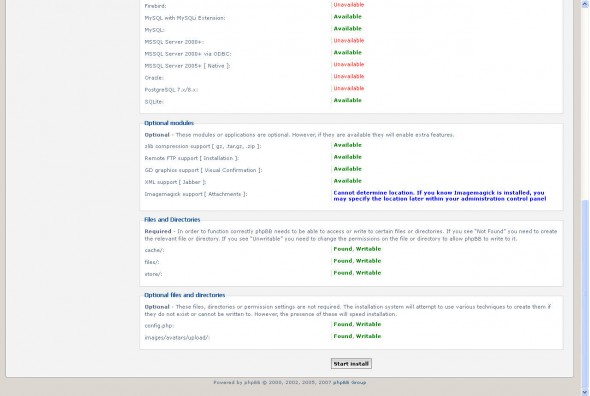
Click the button to proceed to the next screen (Figure 4). This is where to enter the database details. The host will be localhost, the database name phpbb and the username root. Figure 4 shows a password for root because I happen to have one set on my system; you can leave the field blank if it’s a default install of MySQL.

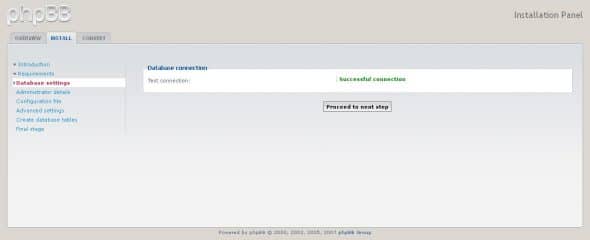
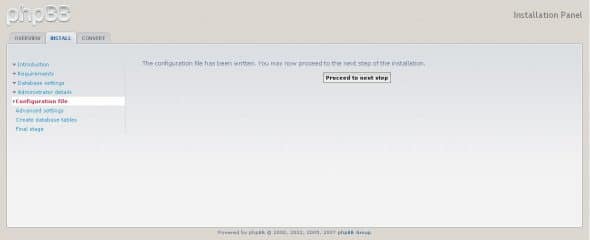
phpBB will test the connection (Figure 5). Once it is successful, you can proceed to the Administrator details page (Figure 6). Enter information like the administrator username and passwords. phpBB will then run some admin tests to check the data (Figure 7). Once the admin tests are done, it will write the configuration file (Figure 8).


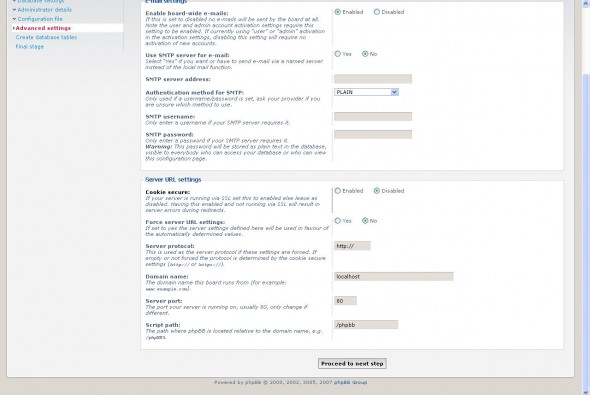
This is followed by the advanced settings screen (Figure 9). Let’s leave things as they are for now. You may enter SMTP server information if you want it here, to send out emails.
phpBB will then create the tables and a report about whether this was successful or not (Figure 10).

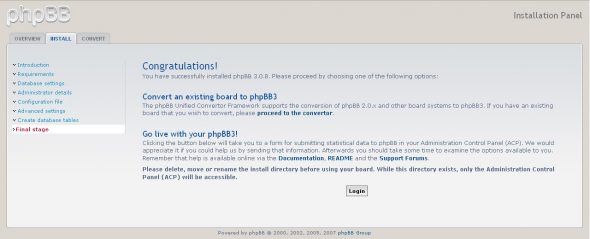
Follow this to see the conclusion screen for the installation (Figure 11). At this point, rename the install directory in /var/www/phpbb/to avoid accidental reinstall or misuse. If this is not done, we will not be able to use the forum; only the Administrator Control Panel (ACP) will be accessible.
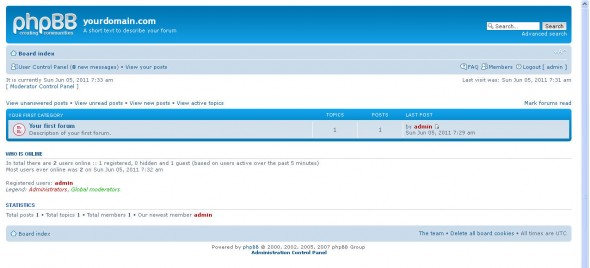
Time to navigate your browser to http://localhost/phpbbfor the forum’s index page (Figure 12).
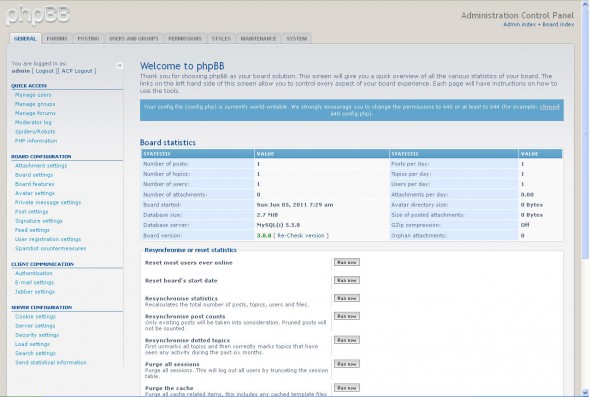
Now, customise this forum to suit your tastes and requirements. Log in as the administrator, and at the bottom of the index page, you will see the link for the Administrator Control Panel; click on it to access the ACP (Figure 13). Here, you can modify most parts of the forum — add/manage users, set up categories and topics, view statistics, etc.
So, we have now set up our very own forum. Since it’s all PHP code, we can customise it beyond the options available in the ACP. Of course, for most of us, that won’t be necessary, but if you are hungry to hack away, feel free to do so! Off you go; hold discussions to your heart’s content on the new forum you just set up. Until next time, adios!


You missed the command for creating the database
see:
To create a database, run the following command
Thanks for this article. it find it a little bite complex. I personally prefer using Forumotion. You can create a forum in a few seconds :)
Nice guide. I didn’t know that installing AMP on PHPbb is so easy. This is the only thing I needed. I already have a platform (https://www.cloudways.com/blog/install-phpbb-on-cloud-server/ ) that has made it easier for me to install PHPbb on debian based cloud server. Now, I only need a tutorial on how I can configure my forum registration page to use SSL.
i use AMP for the first time and i going through the “Boost Setup” try going thru “Standard Setup” instead. thanks for your article it really very helpful to us