


In the previous article, we covered some important Qt non-GUI classes; I hope you experimented with others, since the secret to learning lies in experimenting. In this article, we will work on the backbone of GUIs — the signal and slot mechanism.
Signal and slot mechanism lets us communicate between objects. In everyday life, we see a lot of such examples; take, for example, a traffic signal — when it turns red, you stop your vehicle. The red light is the signal, and stopping the vehicle is the slot. When the traffic signal emits a red signal, you call the slot, i.e., you stop the vehicle.
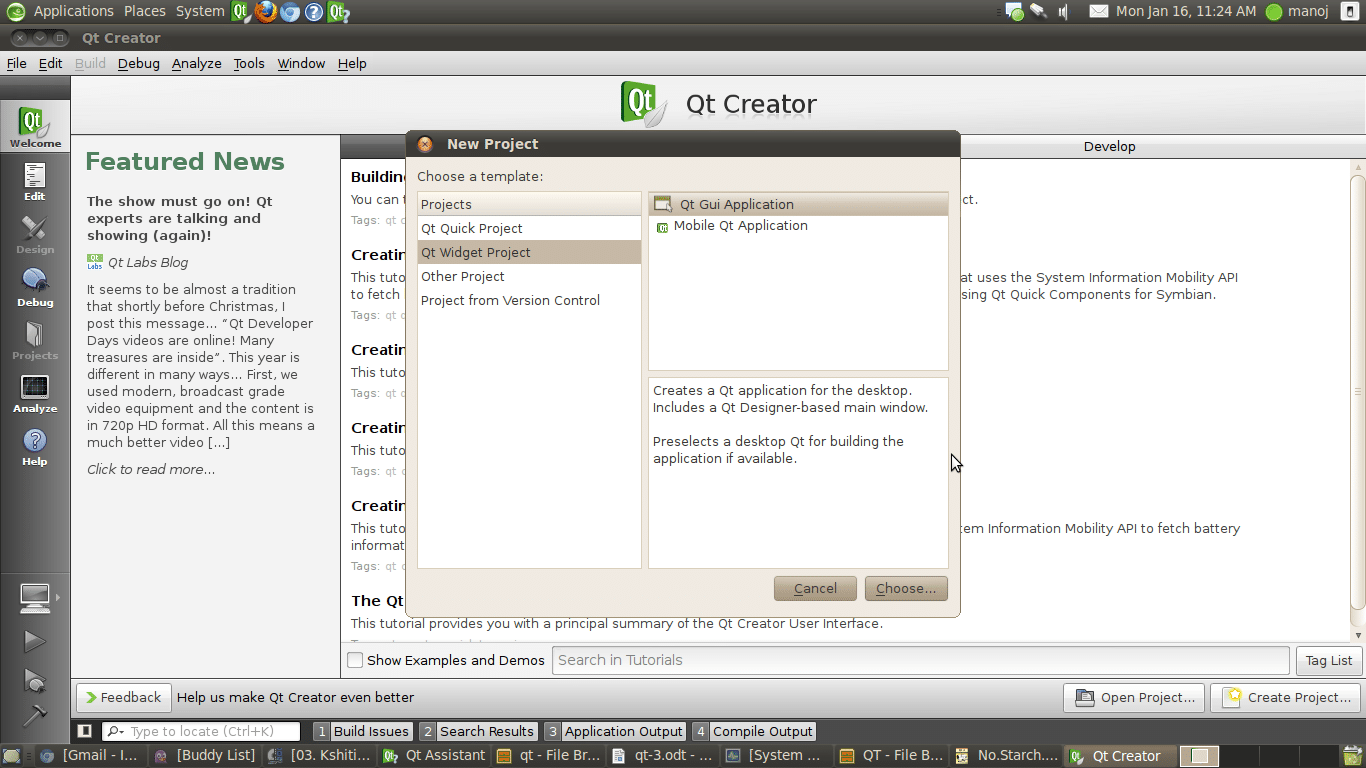
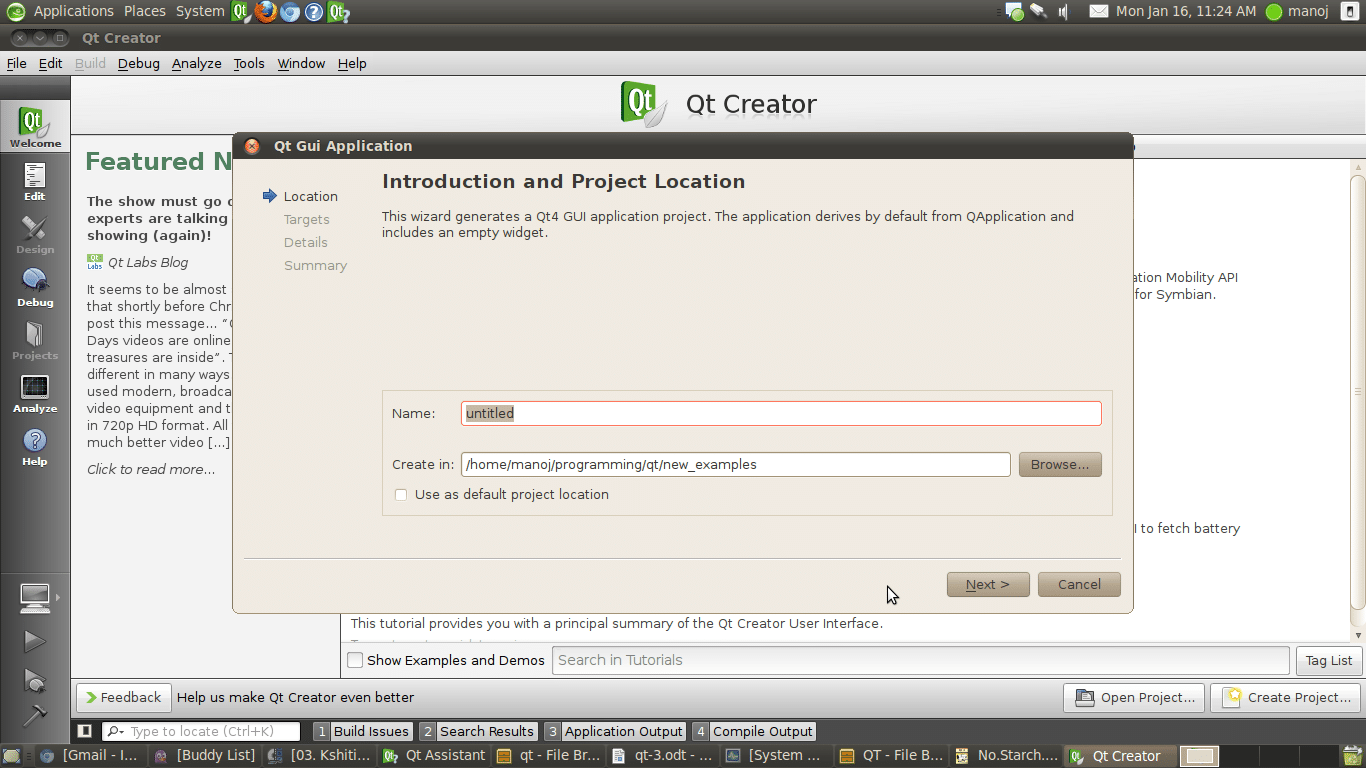
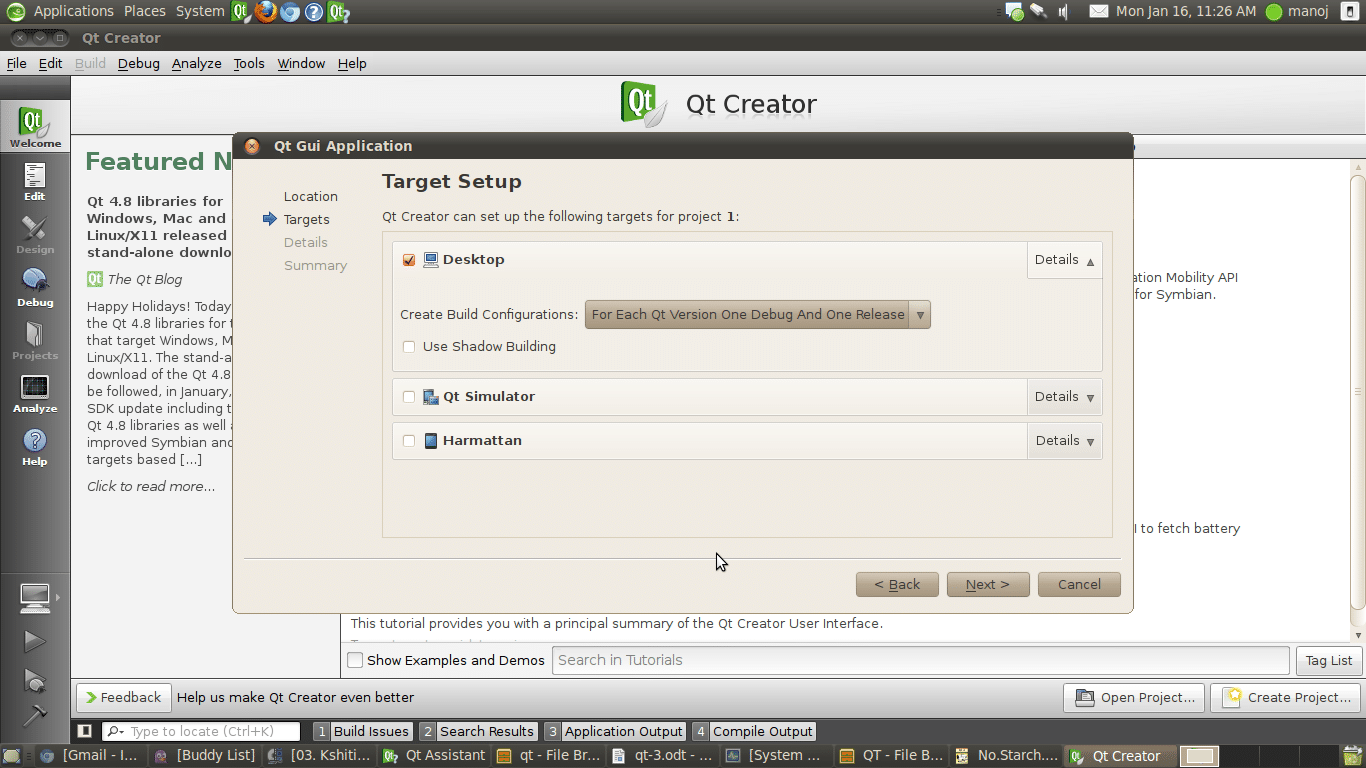
To understand the mechanism properly, we need some GUI experience with Qt — our first GUI program, with signals/slot. Open Qt Creator. Navigate to File –> New File or Project –> Qt Widget Project –> Qt GUI Application (Figure 1). Choose your location and name your new project (Figure 2). Choose the target as Desktop (Figure 3).
Then you will be asked for class information. In the Base Class combo box, you will find three options, each used for a different purpose. We will cover these in the next article. For now, select the QDialog Base Class (Figure 4). Name your class, then click Next, and finally, Finish.

Once this is done, Qt Creator will open your newly created project (Figure 5), with the project window on the left side. The project will have one project file,
project-name.pro; in this case, 1.pro since I named my project “1”.
Below that are three folders: Headers, Sources and Forms, which contain the respective types of files. Double-click any file to open it. The class we named during project creation has three files:
dialog.h (header file), dialog.cpp (CPP source) and dialog.ui (UI or form). Double-click the UI file to open the UI editor (Figure 6).
The left pane has different widgets that you can simply drag and drop on the dialogue box. In our first example, let us use one label and two push-buttons. The dialogue window should look like what’s shown in Figure 7.

For the sake of simplicity, let’s not use any layout. Double-click the push-buttons and change their text to “Count” and “Quit”; double-click the label and clear the text. Clicking the “Count” button will increment a counter and display it on the label, and the “Quit” button will quit the application.
Now we will add a slot for the “Quit” button’s “clicked” signal. Press F4 to edit signals/slots. Click the “Quit” button and drag your cursor to Dialog. When you release the mouse button, a new “Configure Connection” window will pop up (Figure 8). On the left are the signals that can be emitted by the widget; on the right are slots (actions, in every day language) that can be performed on a QDialog widget.

On the left side, select clicked() and on the right, select close(). Thus, when “Quit” is clicked, the window will be closed. Press F3 to edit the widget section. The “Count” button also needs to be attached to a slot. Right-click it and choose “Go to Slot”. The pop-up window (Figure 9) “Go to Slot” lists the signals emitted by the widget.

Here, select clicked() and click OK. You will be taken to the void Dialog::on_pushButton_clicked() function in dialog.cpp (Figure 10).

Edit this code as follows:
void Dialog::on_pushButton_clicked()
{
    static int count;
    count++;
    ui->label->setText(QString::number(count));
}
This code uses a static variable count, incrementing it each time this function is called, and converting it into a QString, before setting this as the label widget’s text. Press Ctrl+R to build and run the application (as in Figure 11).

Test it — click the “Count” button and check the results. Click “Quit” to end the run.
Custom signals
So we have seen how to use the Qt signal/slot mechanism. You might well ask if we can have our own signals? Yes, we can. Let’s try to understand this with a piece of non-GUI sample code. (We described how to create a non-GUI application in the previous article.) Right-click the new project folder in the project window, select Add New. Then select the C++ and C++ class from the lists in the pop-up window (Figure 12).

Click Choose. You will be asked to enter the new class details (Figure 13). Name the class, and use QObject as its base class (this is necessary in order to use the signal/slot mechanism in a non-GUI class). Proceed to finish the class creation. The files added to the project are test.cpp and test.h.

First have a look at the final code, and then we will dissect it.
This is main.cpp:
#include <QtCore/QCoreApplication>
#include"test.h"
int main(int argc, char *argv[])
{
    QCoreApplication a(argc, argv);
    test t1,t2;
      QObject::connect(&t1,SIGNAL(valueChanged(int)),       &t2,SLOT(changeValue(int)));
      QString name = "manoj@nxitsolutions.com";
      t2.setName(name);
       t1.setValue(225);
    return a.exec();
}
Here is test.h:
#ifndef TEST_H
#define TEST_H
#include <QObject>
class test : public QObject
{
    Q_OBJECT
public:
    explicit test(QObject *parent = 0);
    void setValue(int);
    void setName(QString &name);
signals:
    void valueChanged(int newValue);
public slots:
    void changeValue(int newValue);
private:
    int value;
    QString str;
};
#endif // TEST_H
And here is test.cpp:
#include "test.h"
#include<QtCore>
test::test(QObject *parent) :
    QObject(parent)
{
}
void test::setName(QString &datastr){
    str = datastr;
}
void test::changeValue(int newValue)
{
    qDebug() << "Value " << newValue << "\nString  = " << this->str;
}
void test::setValue(int newValue){
    emit valueChanged(newValue);
}
Now, let’s dissect the code.
In the class test, we have added two public functions — setValue and setName; one custom signal — valueChanged; and two private variables — value and str. In setValue, the value of int newValue is changed, and the signal valueChanged is emitted, using the keyword emit.
We can also pass arguments to the signal; here, we have passed the value variable. In main.cpp, we created two objects of the test class. Then we used the connect function to connect the signal valueChanged() emitted by t1 to the slot changeValue() of t2. So the call to setValue will cause the signal emitted by t1 to be captured by t2. The syntax to connect signal and slot is as follows:
QObject::connect(&t1,SIGNAL(valueChanged(int)), &t2,SLOT(changeValue(int)));
Compile and run this sample code; you will get the following output:
Value  225
String  =  "manoj@nxitsolutions.com"
Let’s cover some theory.
To use signals/slots, you must inherit the class from QObject. The QObject function connect() creates a connection between two objects. One object will emit the signal, and the other will respond by executing its handler (slot). The connect() function accepts four arguments: the first object reference, the signal, the second object reference, and the slot function. A single signal can be connected to multiple slots, and a slot can be invoked for multiple signals. All the widgets and layouts too inherit from the QObject class. Here are some possible experiments:
- Try with less or more arguments in the slot than the signals and see what happens.
- Watch out for errors generated by not inheriting
QObjectclass. - Emit the signal without connecting it to any slot
Try these to get to know more about the behaviour of signals/slot mechanisms. In the next article, we will work on the GUI classes of Qt.


Very good series on Qt programming.
Nice
[…] Part 4By Manoj Kumar on May 3, 2012 in Coding, Developers · No CommentsIn the last article, we worked on the backbone of GUIs, the signal and slot mechanism. In this article, we move ahead to the GUI part of Qt.The basic block of any GUI application is the […]
Excellent, very lucid explanation.
Thanks for the encouragement
Excellent article! plz keep up the good work
Nice quiick explanation. Thanks.